Getting Started
Welcome to Kooperacia - the all-in-one platform for running a condominium, residential complex or HOA: units and owners, finances, the bulletin board, events, neighbour chat, notifications and more.
This guide takes a building manager from an empty account to the point where the Dashboard and Statistics start filling with real numbers. If you were invited to a building as a resident, jump to Joining a building.
Your first-time setup at a glance
Follow these steps in order. Each links to the section with the full details.
- Create your account and sign in - below.
- Complete the setup wizard and create your building - below.
- Fill in building details and structure - see Building Management.
- Add your units and assign owners/tenants - see Units & Owners.
- Build your resident directory - see Contacts.
- Set up finances (accounts, the fee wizard, payments) - see Finance.
- Invite residents and managers - below.
- Watch your numbers appear in the Dashboard and Statistics.
Tip: You can start using Kooperacia after step 2 - the rest can be filled in gradually. But the more you complete, the more useful the statistics become.
Signing in and creating an account
Open the app at koop.elka.dev to reach the Sign in screen. There are three ways in:
- Google or Apple - click the button and sign in with that account. Quickest if you already use one of them.
- Email with a one-time code - type your email and click Continue; we email you a 6-digit code to enter. No password needed, and the easiest option if you don't use Google or Apple.
- Email and password - prefer the classic way? Click Use password instead and sign in with your email and password.
New here? Click Sign up under "Don't have an account?" to create your profile first.
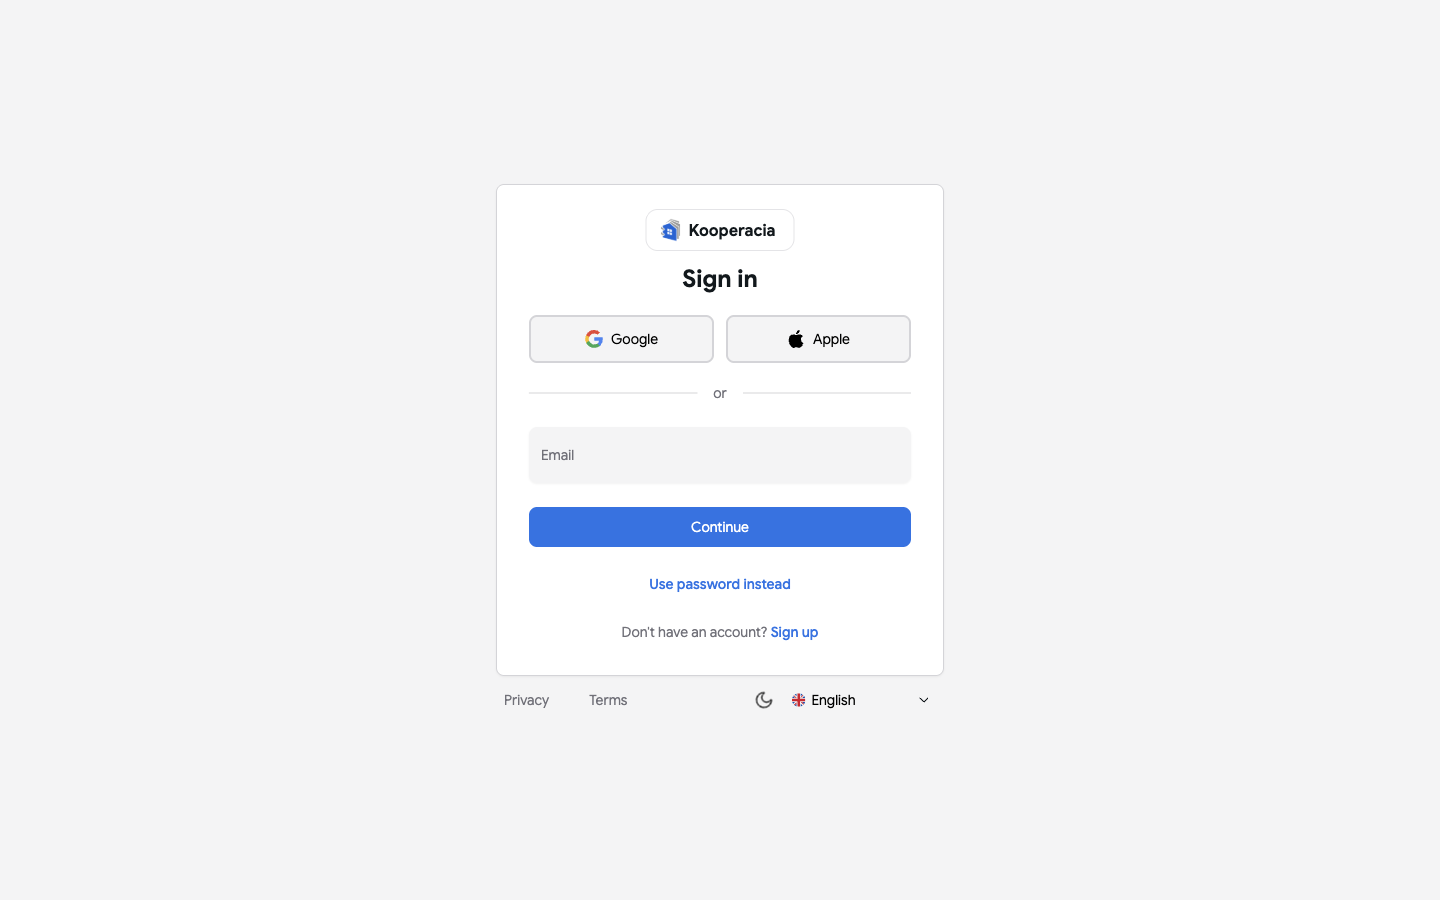
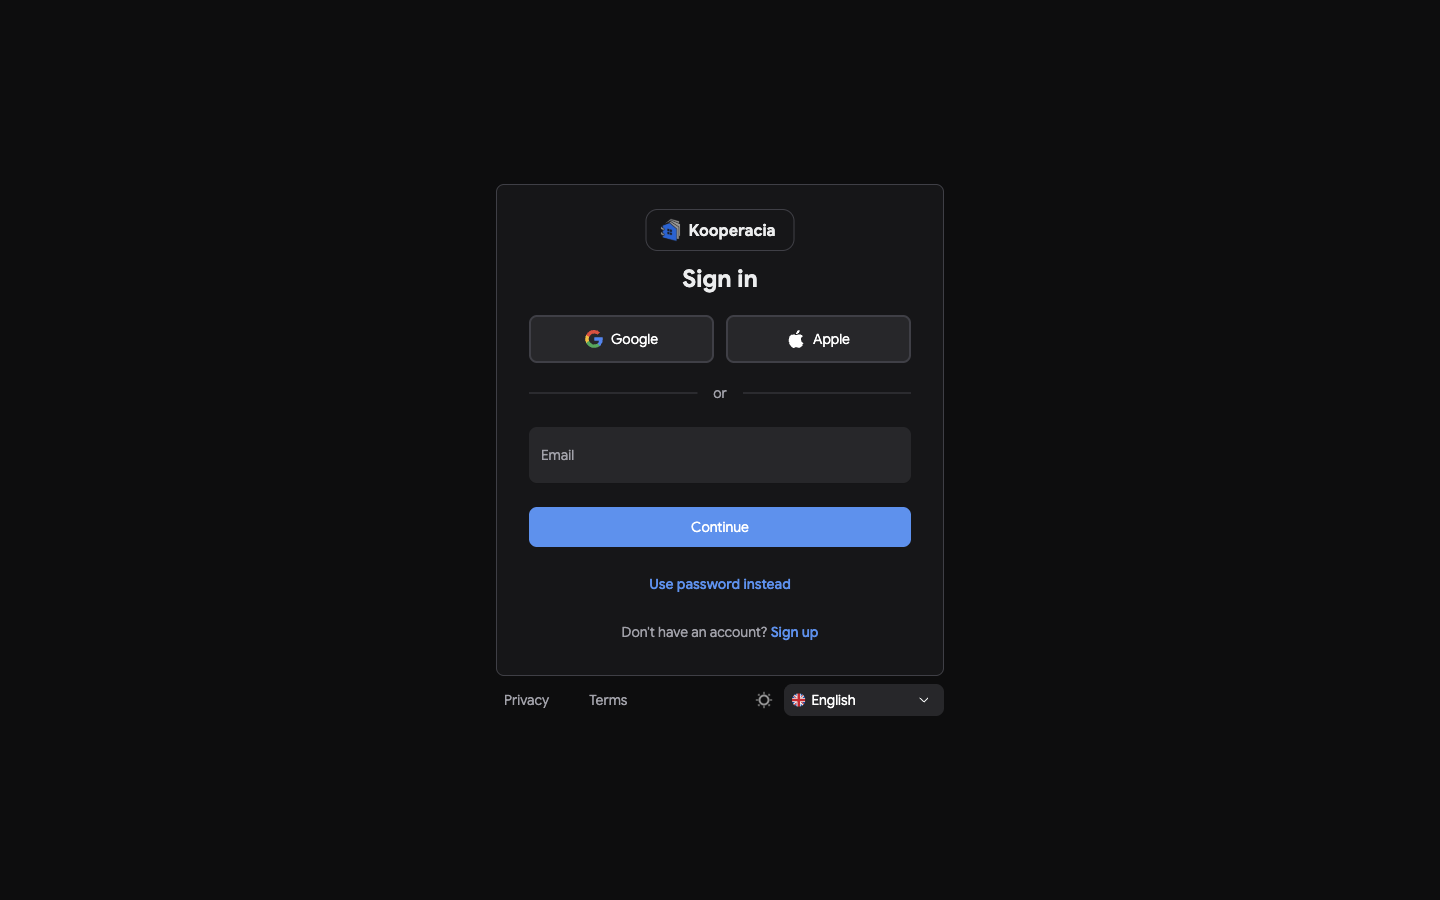 The sign-in screen (Google/Apple, email + Continue, "Use password instead") and the 6-digit code entry.
Initial setup wizard
The first time you open Kooperacia - before you've joined or created a building - a short wizard walks you through the basics and shows any invitations waiting for you.
Step 1 - General settings
Select your preferred language and theme. You can change both later in Settings.
Step 2 - Buildings manager
Create and edit buildings, or join an existing one:
- If you've been invited to a building, it appears here - accept the invitation and it's selected automatically (see Joining a building).
- Otherwise, create your own building (next).
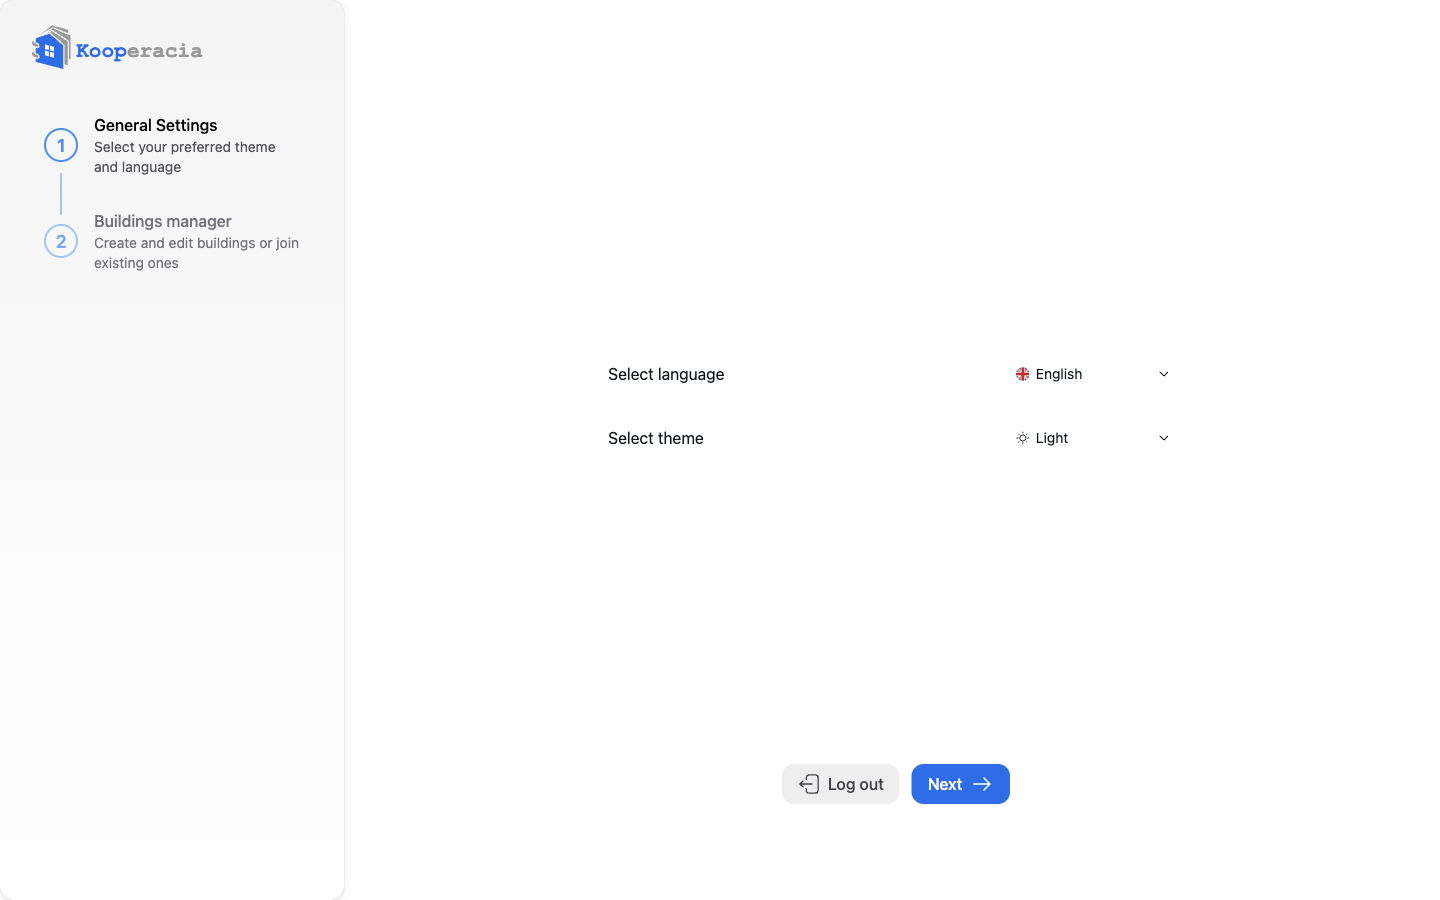
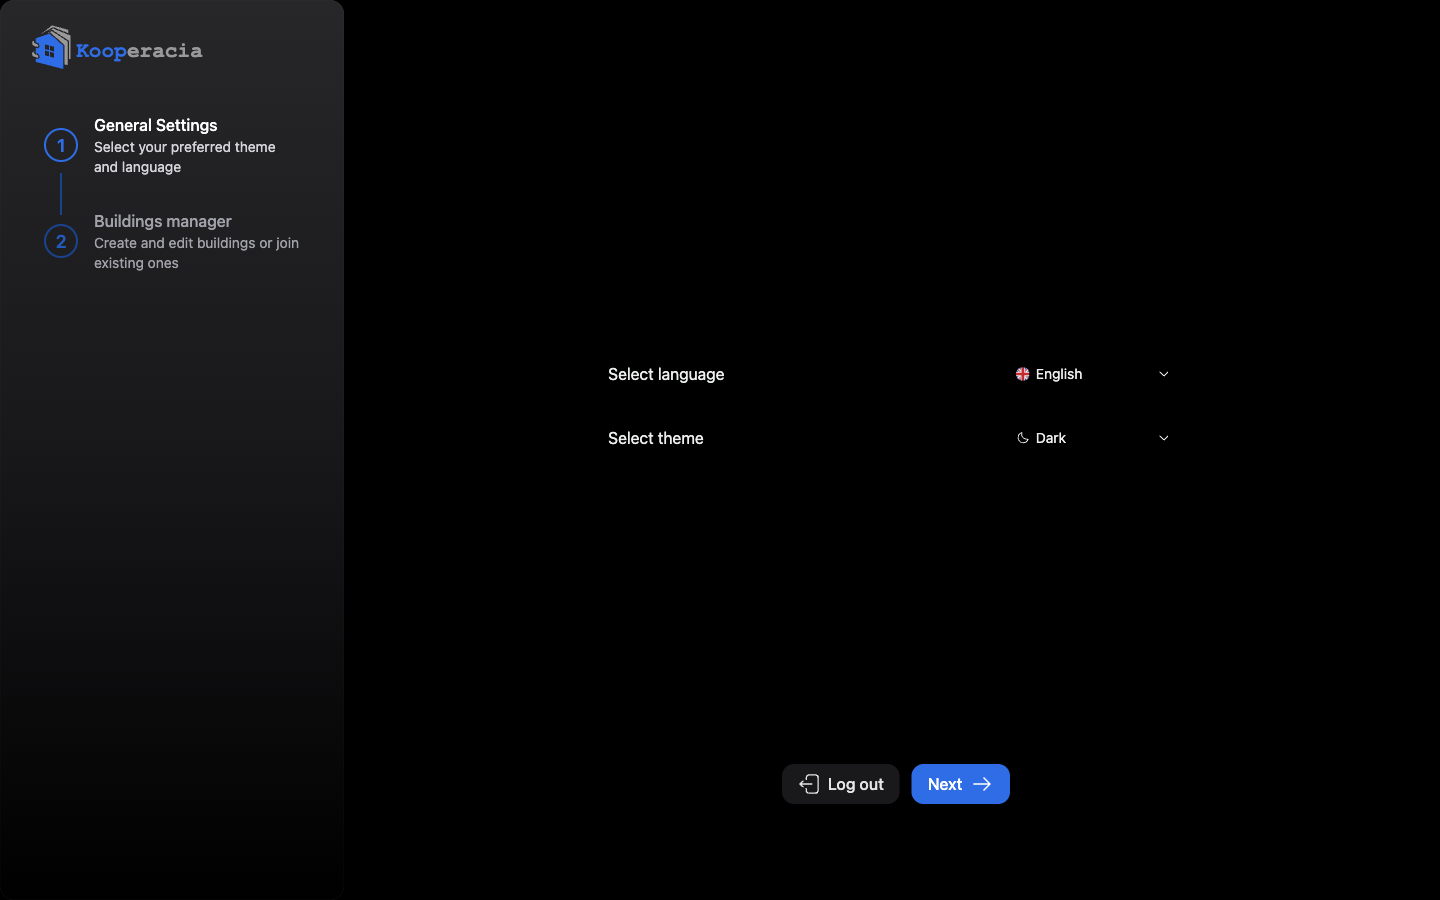 The setup wizard showing Step 1 (general settings) and Step 2 (buildings manager).
Creating a building
Click Add and fill in the form:
| Field | What to enter |
|---|---|
| Name | The building or complex name, e.g. "Sunrise Residential - Entrance A". |
| Building type | Choose the closest match: Standalone Entrance (Section), Residential Building, Residential Complex, House Complex, Hotel Complex, Apart-Hotel Complex, Business Building, Business Complex, Industrial Complex, or Other. |
| Address, City, Postal code, Municipality, Country | Optional, but recommended for documents and notifications. |
| Organization details (optional) | If a company manages the building, add its name, legal type, registration number and representative. |
| Notes (optional) | Any extra information about the building. |
After the building is created you're taken to the Dashboard.
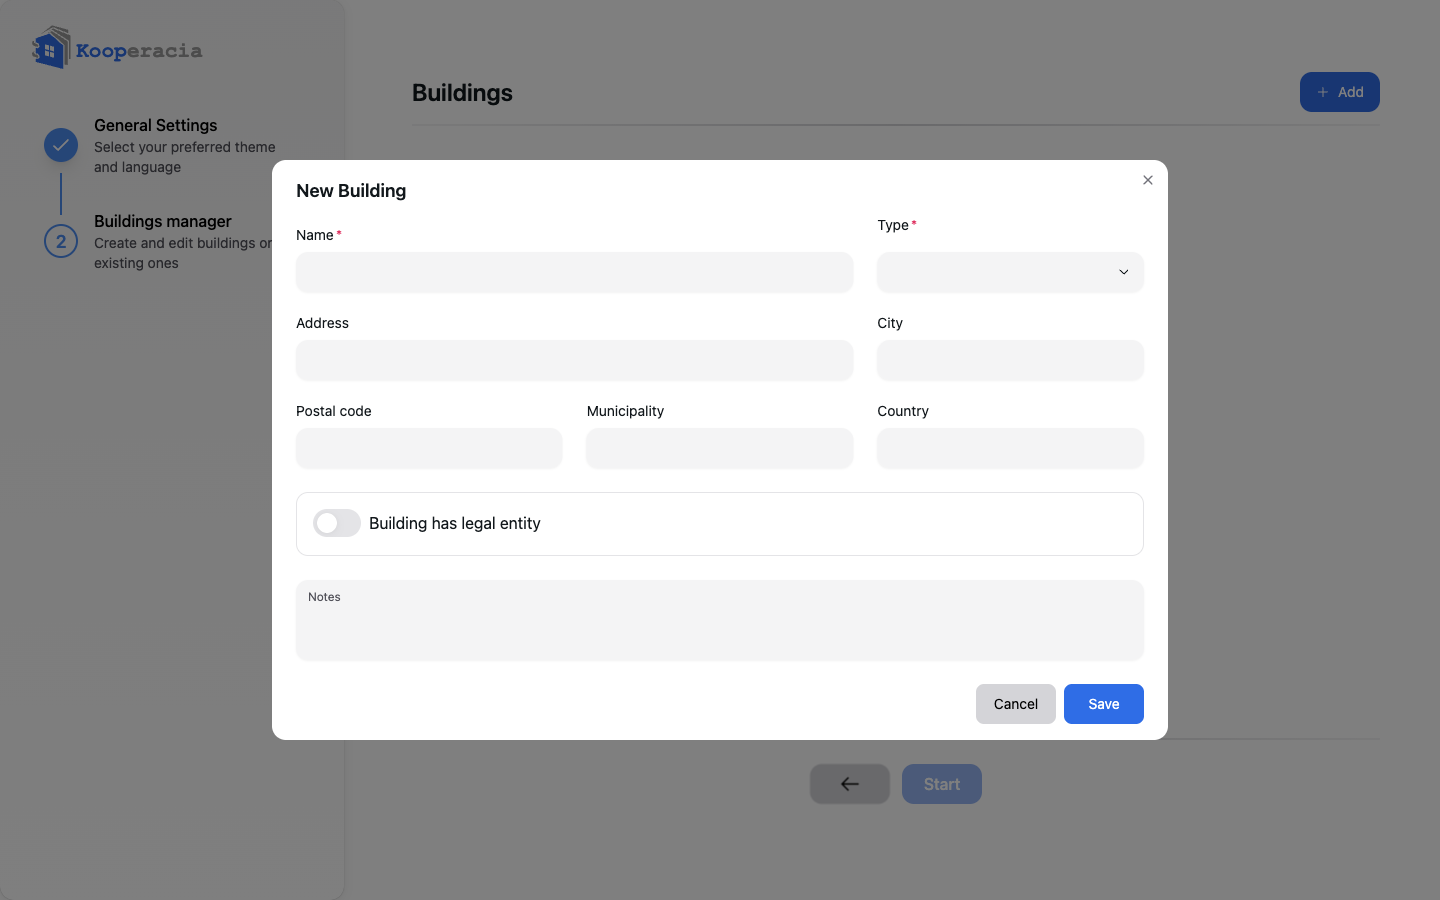
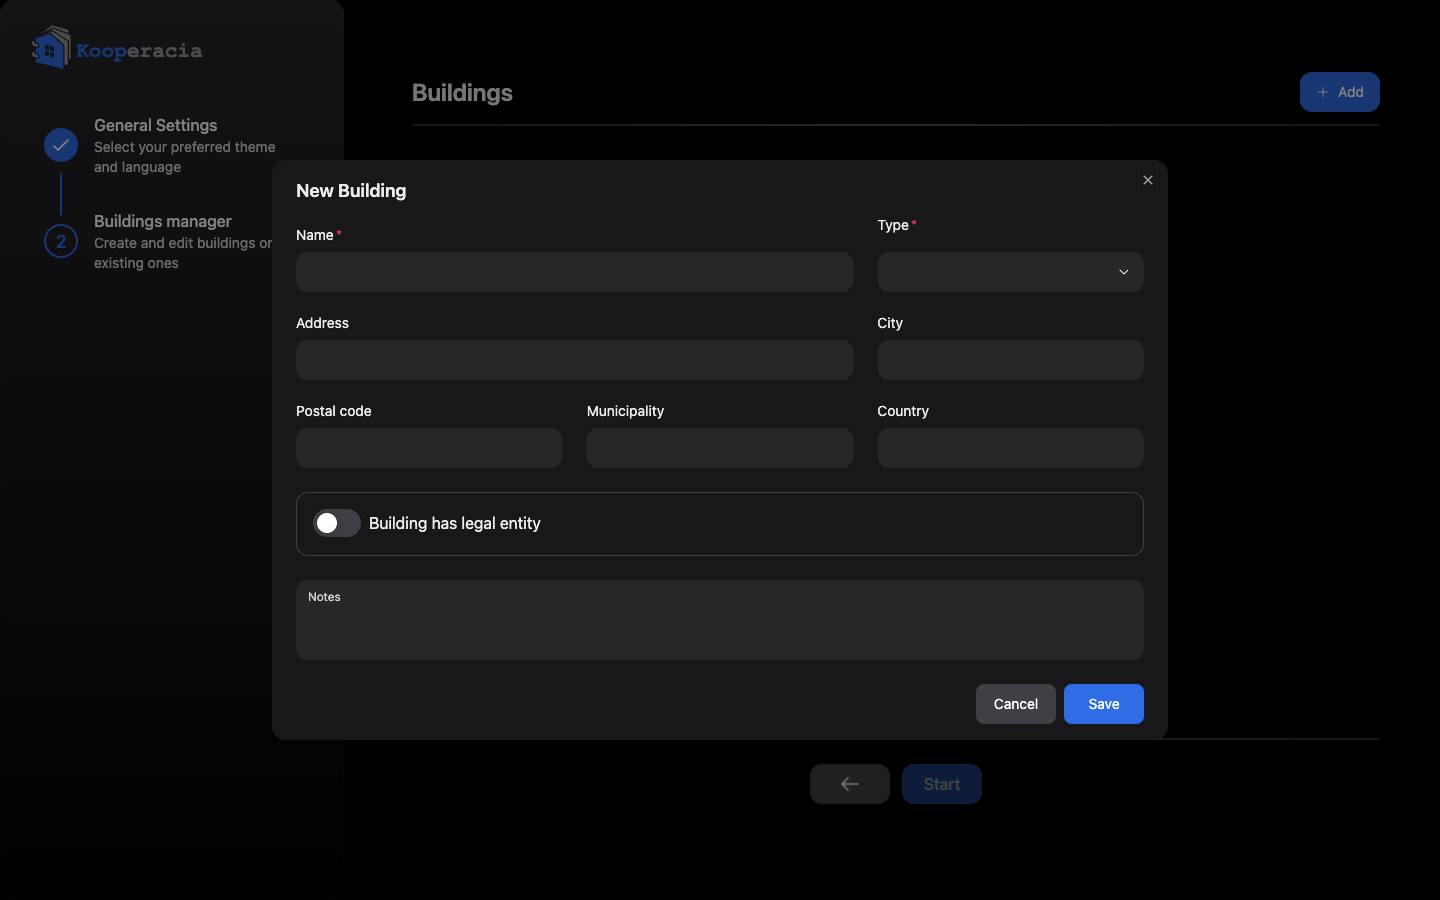 The "Add building" form with the Name and Building type fields.
Understanding access roles
Access roles control what a person can see and change in the building.
| Role | What they can do |
|---|---|
| Owner | The person who created the building (ownership can be transferred to someone else). The building's top authority - can transfer ownership and cannot be removed from the building. |
| Administrator | Full access to all features - users, roles, payments and building settings. Can manage other people's access; the last remaining administrator cannot be removed. |
| Finance Editor | Access to financial data - manage fees and payments. |
| Resident | View-only access - no editing or deleting. Residents can still pay the fees on their own unit(s). |
Note: These access roles are different from the descriptive Roles / Services you can attach to a contact (e.g. Building Manager, Cleaning Service, Elevator Maintenance). Those describe a person's function and do not grant access to the app - see Contacts.
Each role receives email and push notifications tailored to its responsibilities.
Inviting residents and managers
Once the building exists, bring people in:
- Go to Building → Users and click the + (or use the invite shortcut on the Dashboard).
- Enter the person's email address.
- (Optional) Link to an existing contact if you've already added them under Contacts.
- Choose their role (Administrator, Finance Editor or Resident) and send. They receive an email with a link to join.
Prefer a link? In Building → Users (or the building card on the Dashboard) click Join link to share a QR code or link - Copy it, or download it as a PNG or PDF. Anyone with it can use it to join.
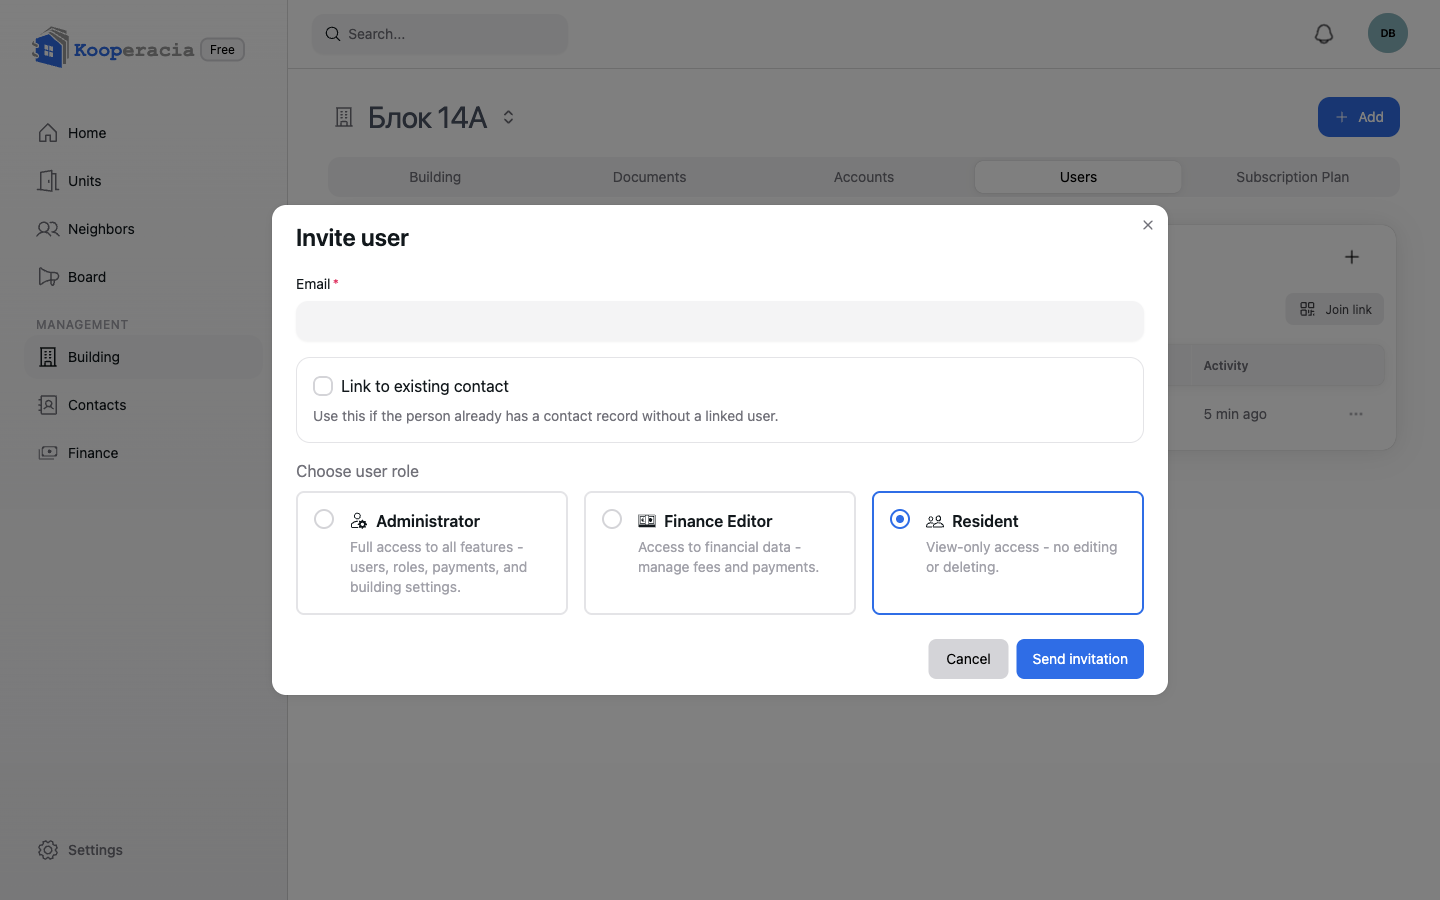
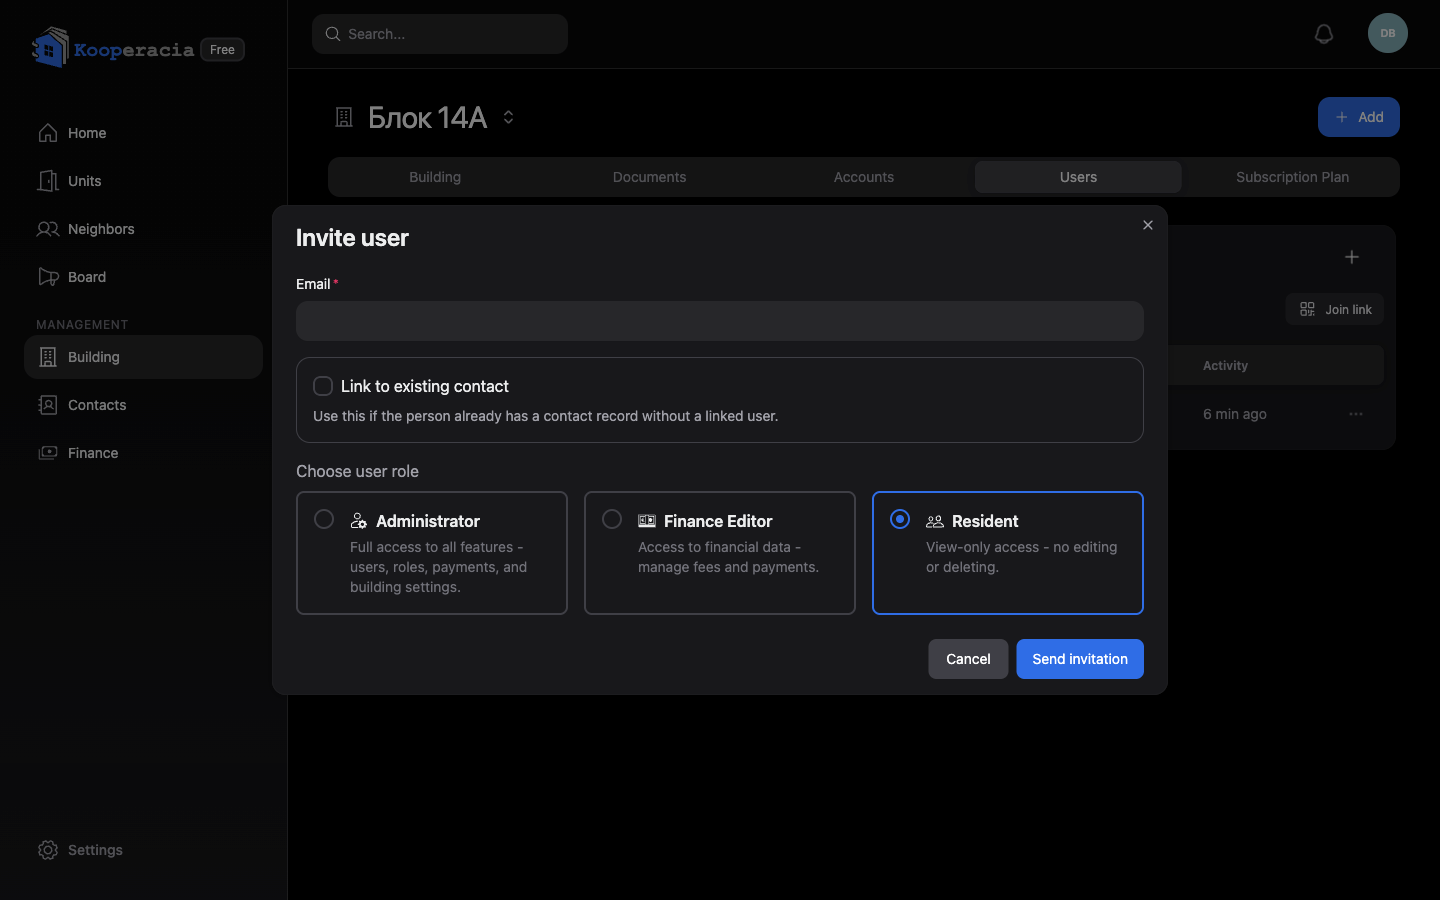 The "Invite user" dialog with the email field and role selector.
Joining a building
If you're a resident who received an invitation:
- Open the email invitation and click the link, or open the Join link your manager shared.
- Sign in (or create your account - see above).
- Accept the invitation. The building appears and is selected automatically.
- You'll land on the Dashboard, where you can see building information and your own unit.
Next steps
- Set up the building's structure in Building Management.
- Add apartments and assign owners in Units & Owners.
- Configure fees and payments in Finance.
- See your building at a glance in the Dashboard and dig into the numbers in Statistics.