Full User Guide
13 modules · Use your browser's print dialog to save as PDF
Kooperacia — User Guide
koop.elka.dev
4 July 2026
Getting Started
Getting Started
Welcome to Kooperacia - the all-in-one platform for running a condominium, residential complex or HOA: units and owners, finances, the bulletin board, events, neighbour chat, notifications and more.
This guide takes a building manager from an empty account to the point where the Dashboard and Statistics start filling with real numbers. If you were invited to a building as a resident, jump to Joining a building.
Your first-time setup at a glance
Follow these steps in order. Each links to the section with the full details.
- Create your account and sign in - below.
- Complete the setup wizard and create your building - below.
- Fill in building details and structure - see Building Management.
- Add your units and assign owners/tenants - see Units & Owners.
- Build your resident directory - see Contacts.
- Set up finances (accounts, the fee wizard, payments) - see Finance.
- Invite residents and managers - below.
- Watch your numbers appear in the Dashboard and Statistics.
Tip: You can start using Kooperacia after step 2 - the rest can be filled in gradually. But the more you complete, the more useful the statistics become.
Signing in and creating an account
Open the app at koop.elka.dev to reach the Sign in screen. There are three ways in:
- Google or Apple - click the button and sign in with that account. Quickest if you already use one of them.
- Email with a one-time code - type your email and click Continue; we email you a 6-digit code to enter. No password needed, and the easiest option if you don't use Google or Apple.
- Email and password - prefer the classic way? Click Use password instead and sign in with your email and password.
New here? Click Sign up under "Don't have an account?" to create your profile first.
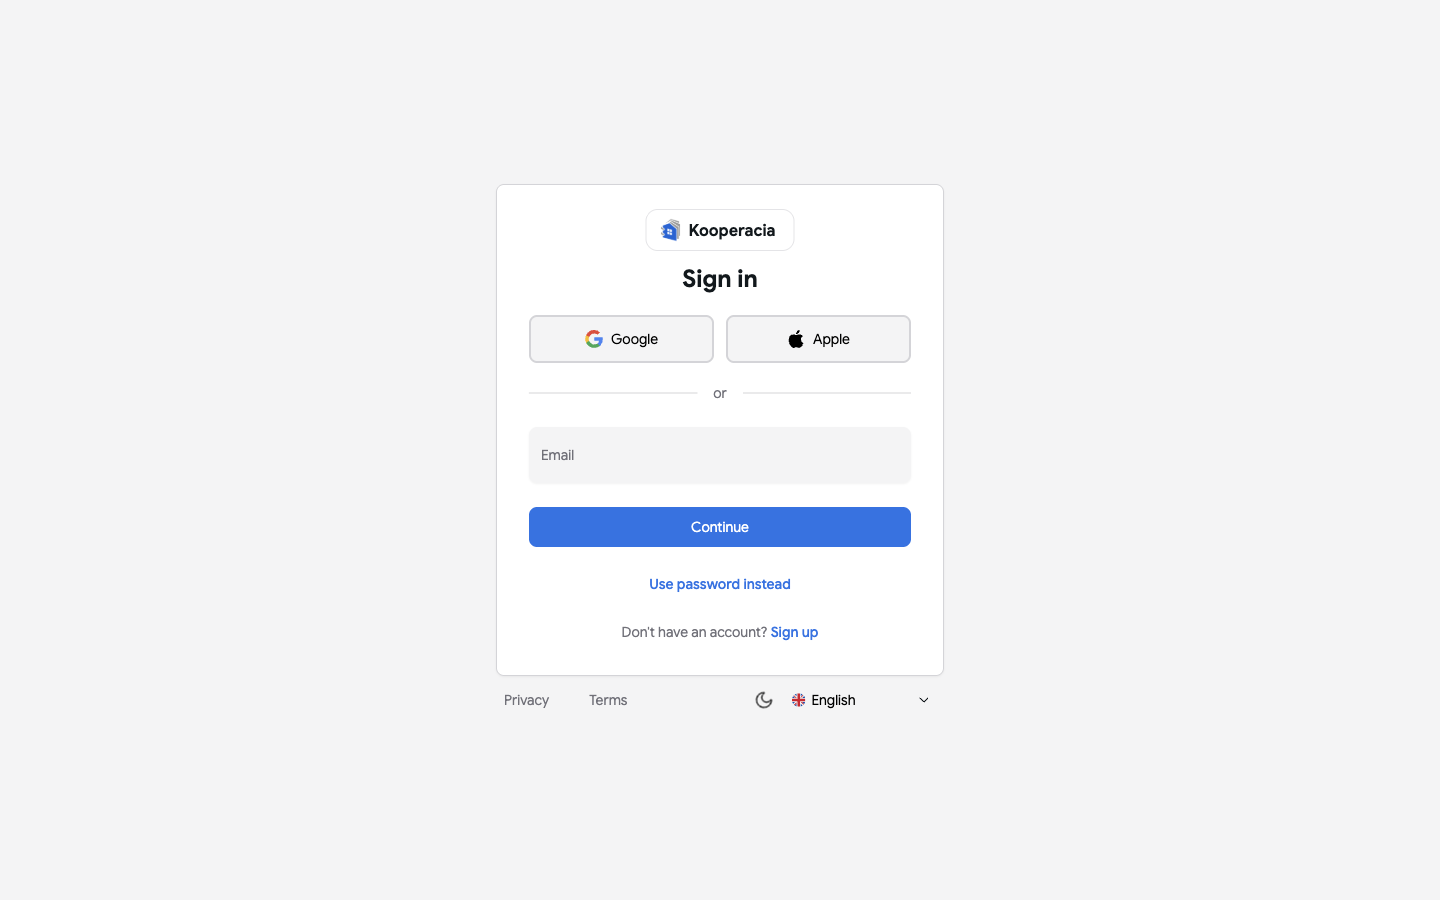
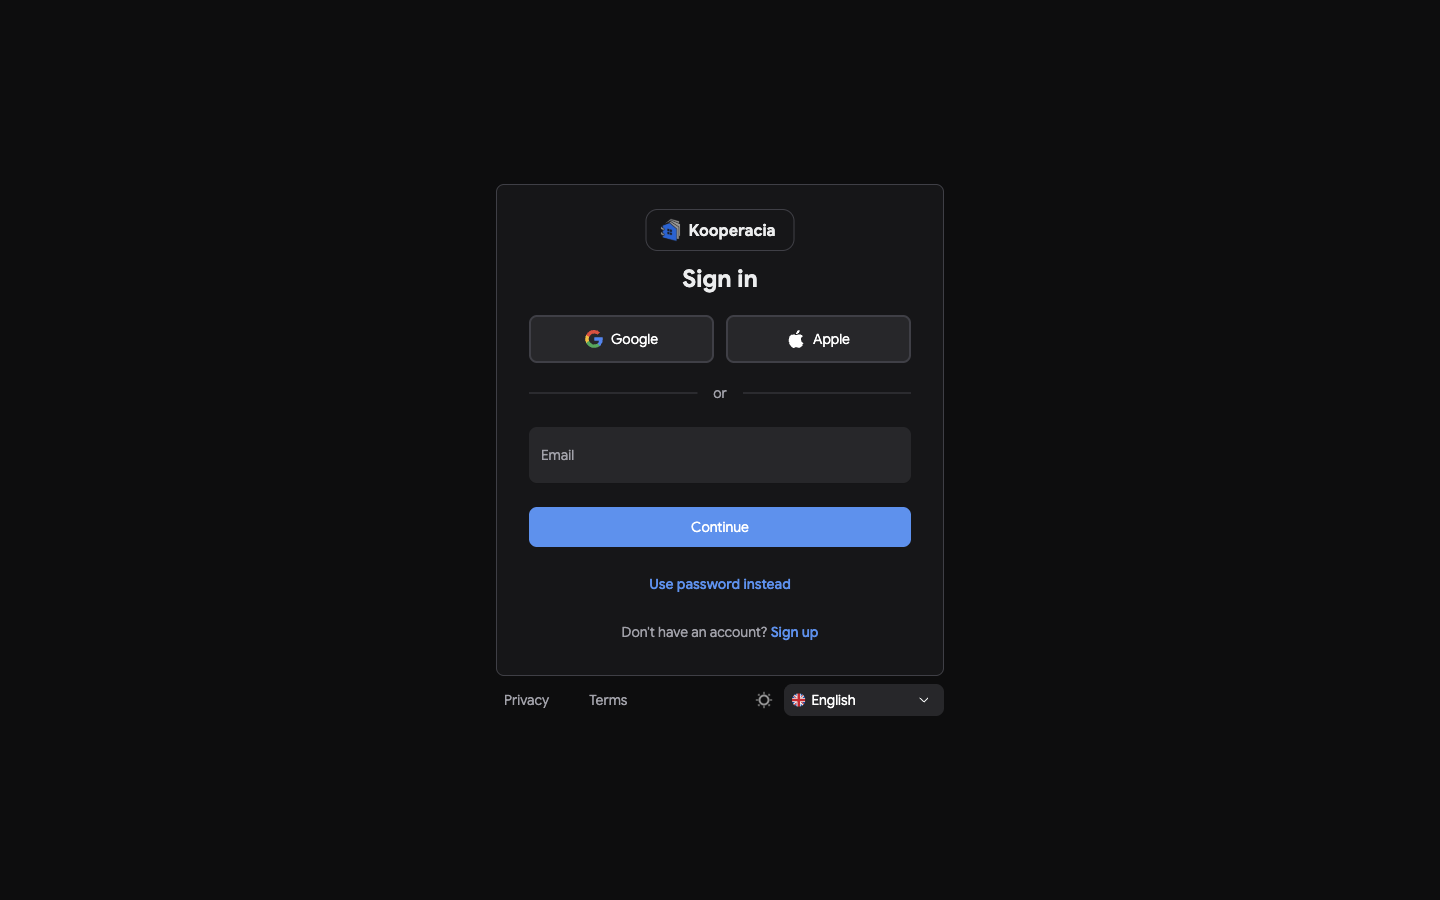 The sign-in screen (Google/Apple, email + Continue, "Use password instead") and the 6-digit code entry.
Initial setup wizard
The first time you open Kooperacia - before you've joined or created a building - a short wizard walks you through the basics and shows any invitations waiting for you.
Step 1 - General settings
Select your preferred language and theme. You can change both later in Settings.
Step 2 - Buildings manager
Create and edit buildings, or join an existing one:
- If you've been invited to a building, it appears here - accept the invitation and it's selected automatically (see Joining a building).
- Otherwise, create your own building (next).
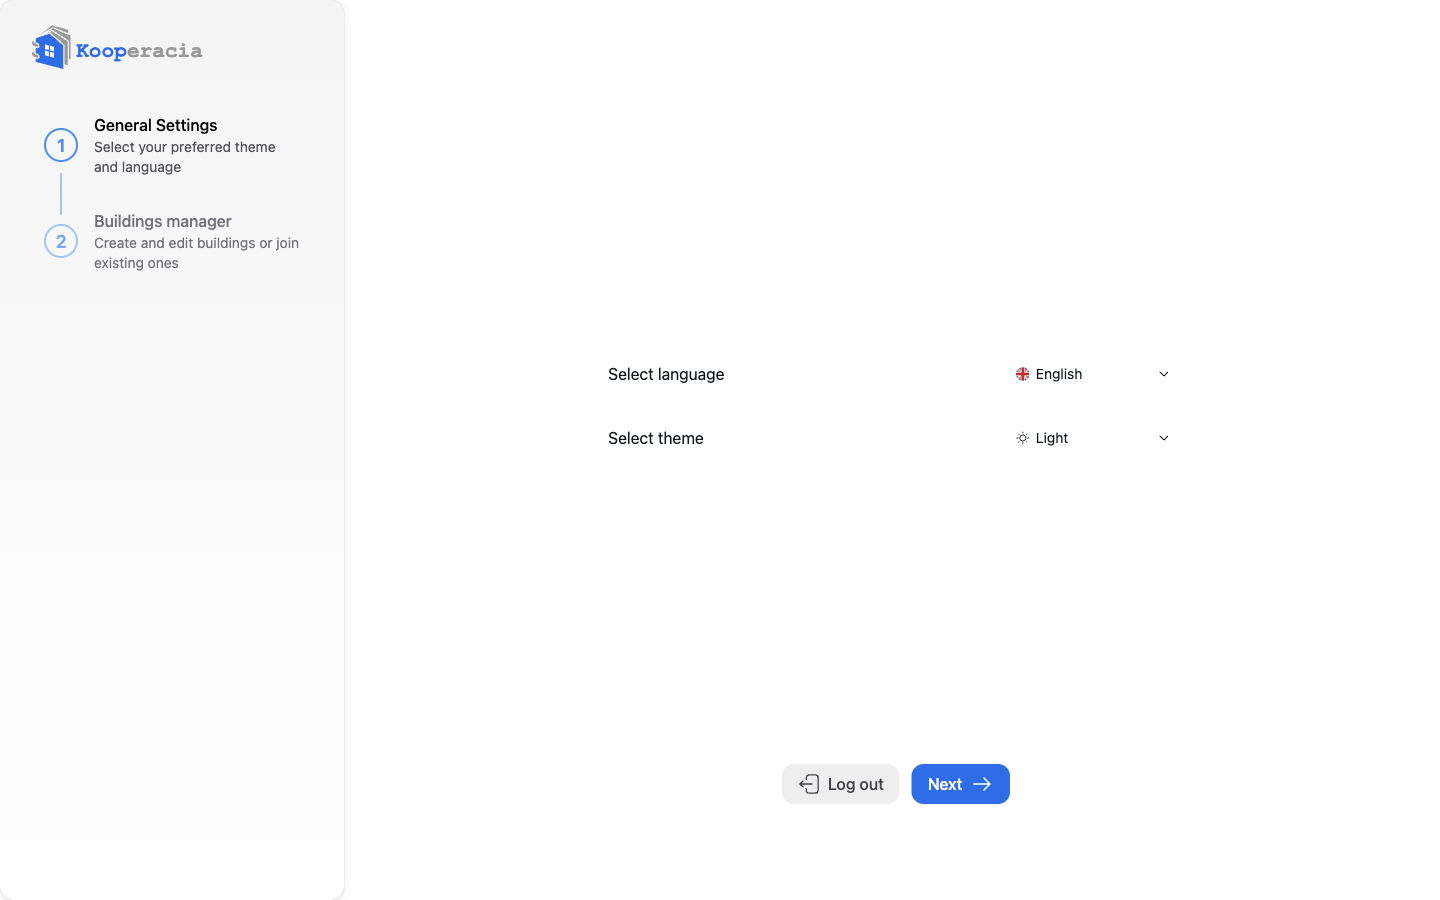
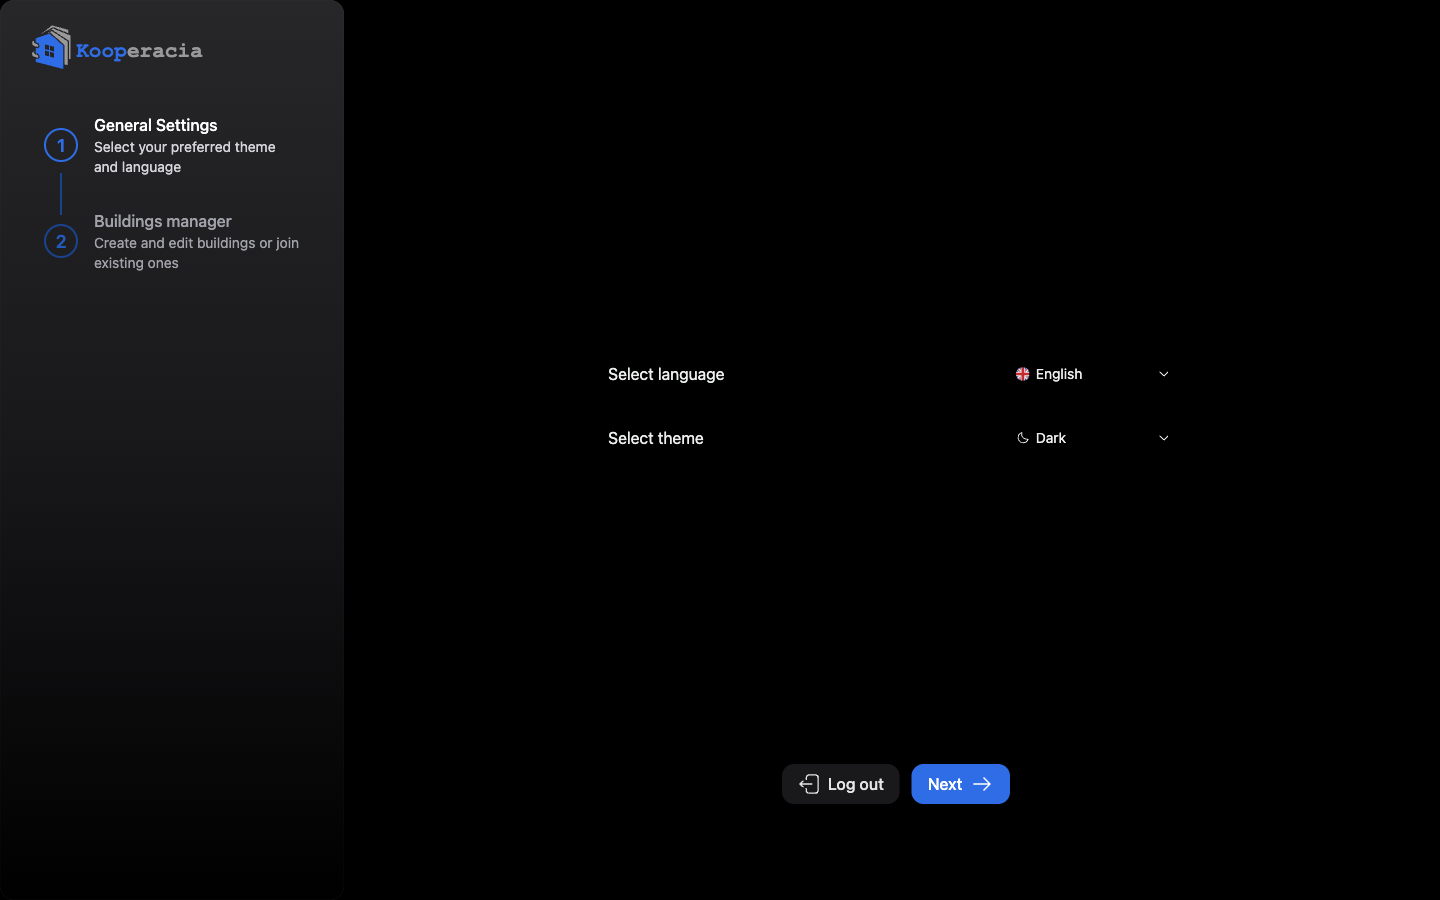 The setup wizard showing Step 1 (general settings) and Step 2 (buildings manager).
Creating a building
Click Add and fill in the form:
| Field | What to enter |
|---|---|
| Name | The building or complex name, e.g. "Sunrise Residential - Entrance A". |
| Building type | Choose the closest match: Standalone Entrance (Section), Residential Building, Residential Complex, House Complex, Hotel Complex, Apart-Hotel Complex, Business Building, Business Complex, Industrial Complex, or Other. |
| Address, City, Postal code, Municipality, Country | Optional, but recommended for documents and notifications. |
| Organization details (optional) | If a company manages the building, add its name, legal type, registration number and representative. |
| Notes (optional) | Any extra information about the building. |
After the building is created you're taken to the Dashboard.
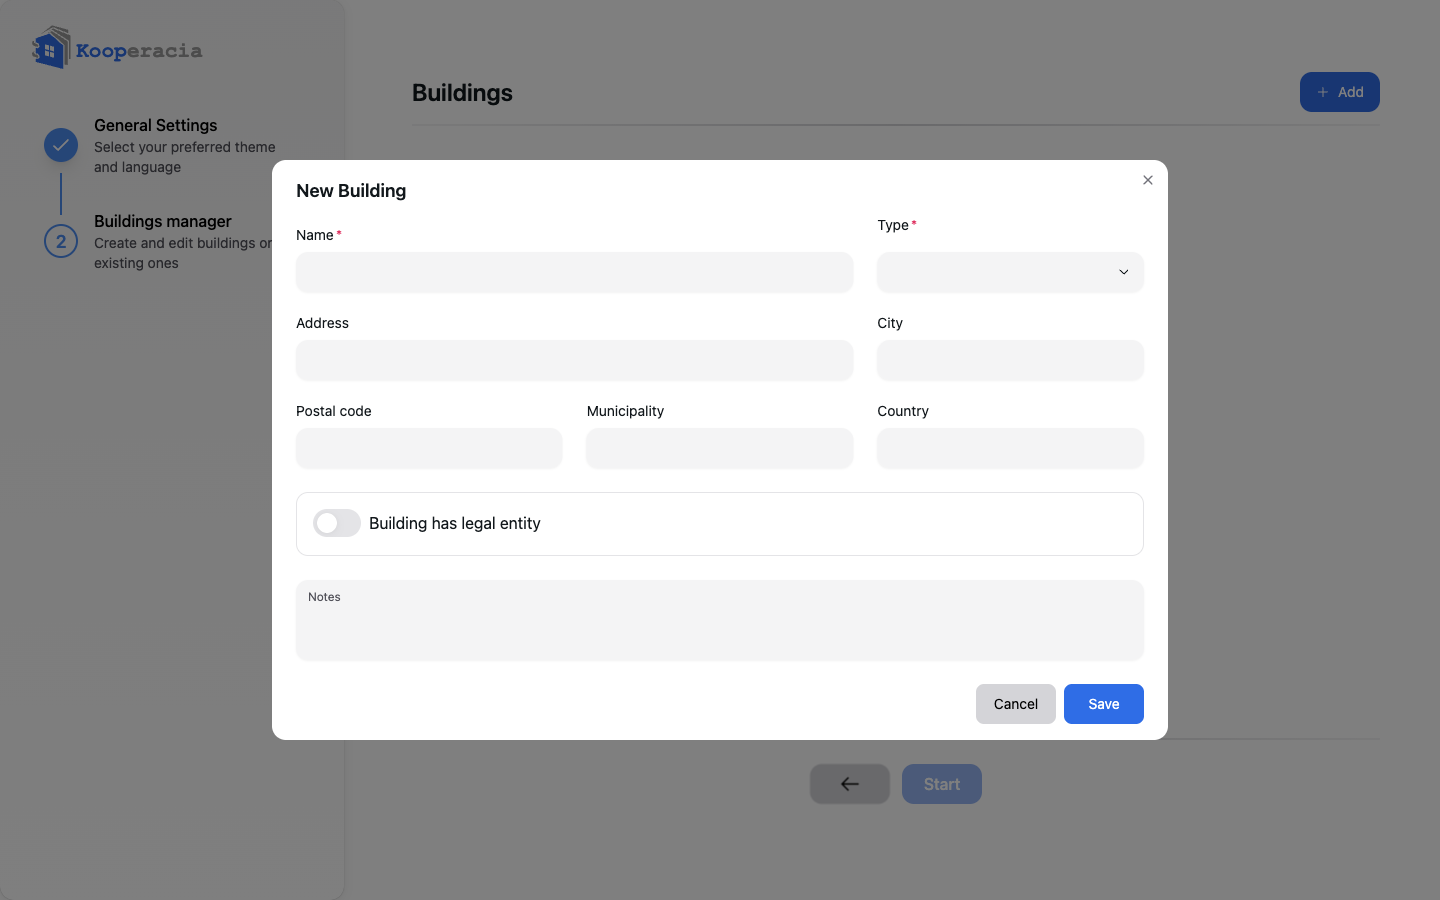
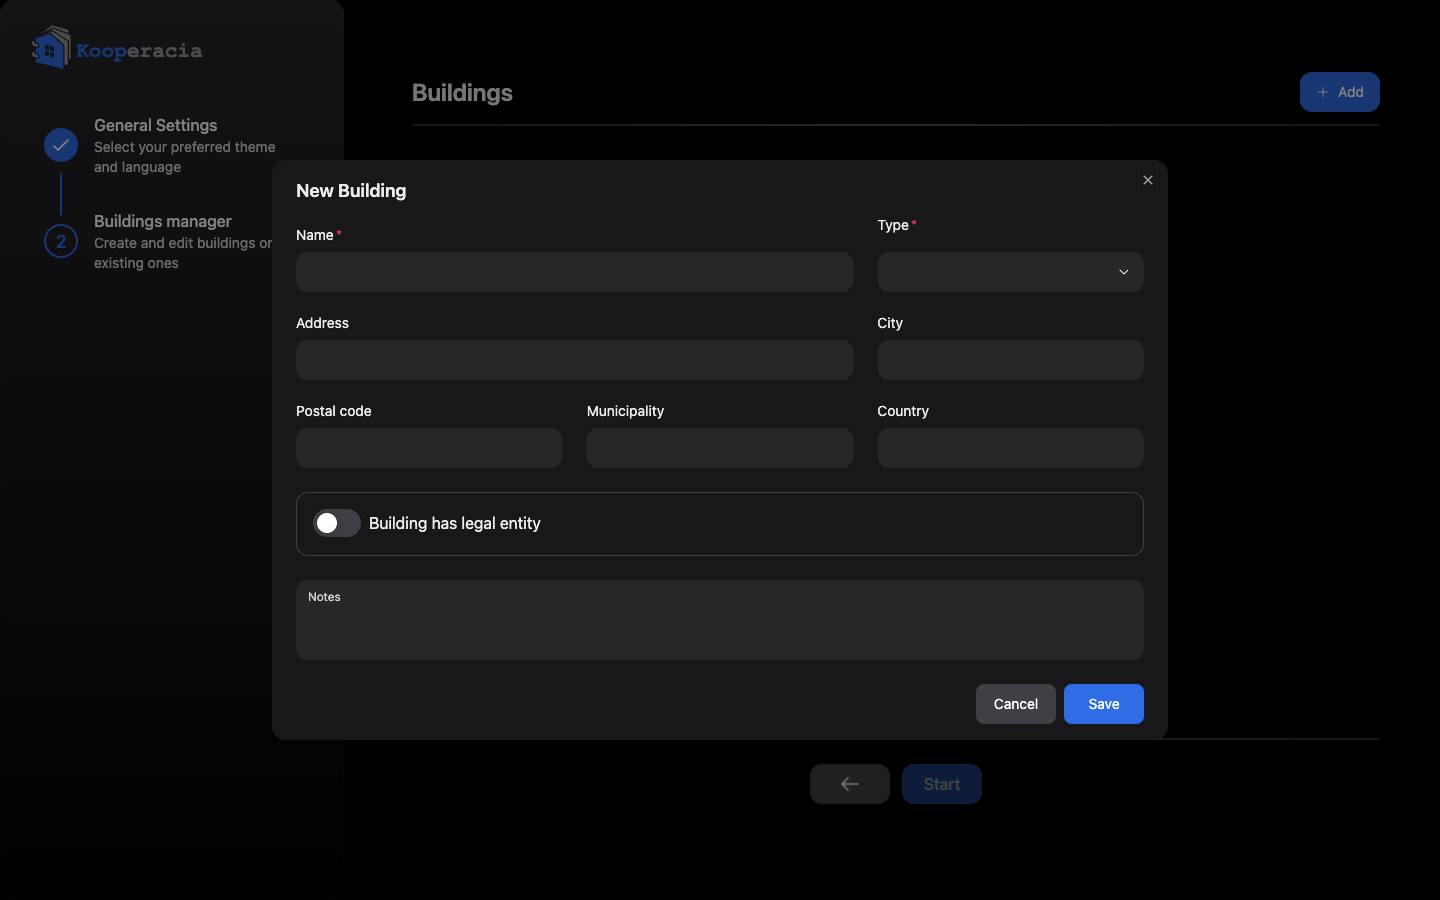 The "Add building" form with the Name and Building type fields.
Understanding access roles
Access roles control what a person can see and change in the building.
| Role | What they can do |
|---|---|
| Owner | The person who created the building (ownership can be transferred to someone else). The building's top authority - can transfer ownership and cannot be removed from the building. |
| Administrator | Full access to all features - users, roles, payments and building settings. Can manage other people's access; the last remaining administrator cannot be removed. |
| Finance Editor | Access to financial data - manage fees and payments. |
| Resident | View-only access - no editing or deleting. Residents can still pay the fees on their own unit(s). |
Note: These access roles are different from the descriptive Roles / Services you can attach to a contact (e.g. Building Manager, Cleaning Service, Elevator Maintenance). Those describe a person's function and do not grant access to the app - see Contacts.
Each role receives email and push notifications tailored to its responsibilities.
Inviting residents and managers
Once the building exists, bring people in:
- Go to Building → Users and click the + (or use the invite shortcut on the Dashboard).
- Enter the person's email address.
- (Optional) Link to an existing contact if you've already added them under Contacts.
- Choose their role (Administrator, Finance Editor or Resident) and send. They receive an email with a link to join.
Prefer a link? In Building → Users (or the building card on the Dashboard) click Join link to share a QR code or link - Copy it, or download it as a PNG or PDF. Anyone with it can use it to join.
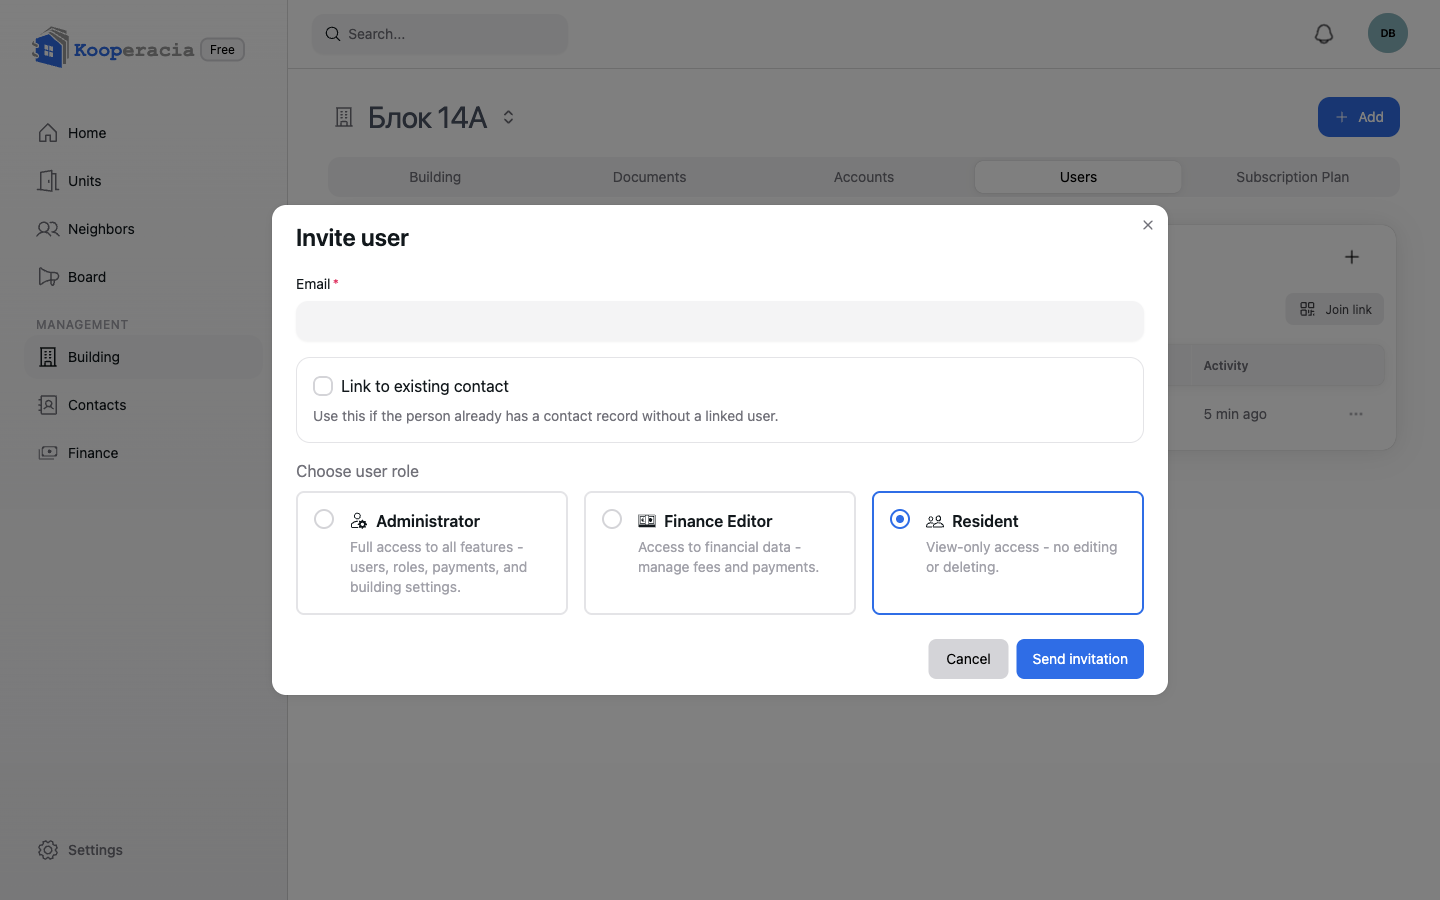
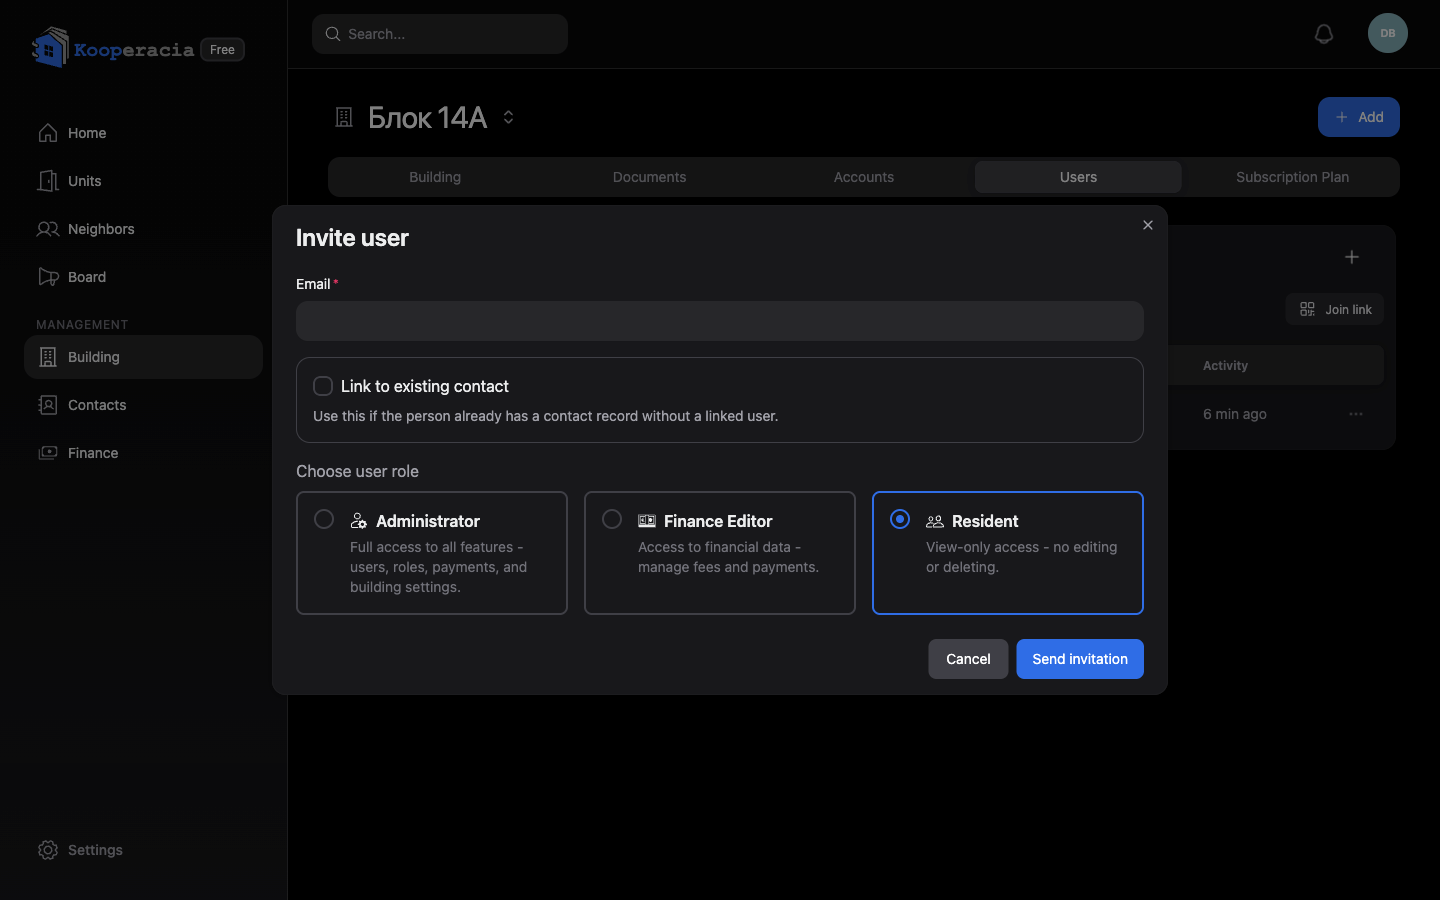 The "Invite user" dialog with the email field and role selector.
Joining a building
If you're a resident who received an invitation:
- Open the email invitation and click the link, or open the Join link your manager shared.
- Sign in (or create your account - see above).
- Accept the invitation. The building appears and is selected automatically.
- You'll land on the Dashboard, where you can see building information and your own unit.
Next steps
- Set up the building's structure in Building Management.
- Add apartments and assign owners in Units & Owners.
- Configure fees and payments in Finance.
- See your building at a glance in the Dashboard and dig into the numbers in Statistics.
Building Management
Building Management
The Building area (in the management menu) is where managers set everything up. It's organised into tabs: Building, Documents, Accounts, Users and Subscription Plan.
This area is for the Owner, Administrator and Finance Editor (who sees the financial parts). Residents don't have the Building menu - they see basic building info from the building card on their Dashboard.
Building (details, floors, gallery)
On the Building tab:
| Field | Notes |
|---|---|
| Name | The building or complex name shown across the app. |
| Building type | e.g. Residential Building, Residential Complex, Business Building (full list in Getting Started). |
| Address, City, Postal code, Municipality, Country | Used on documents and notifications. |
| Organization details (optional) | If a company manages the building: name, legal type, registration number and representative. |
| Notes (optional) | Any extra information. |
The same tab is where you set the building's Floors (the lowest and highest floor) and a Gallery of photos. Sections (entrances) are assigned per unit, in Units & Owners. The Building tab also lists the building's management and board members with their roles, plus a History button that shows who has held each management role over time.
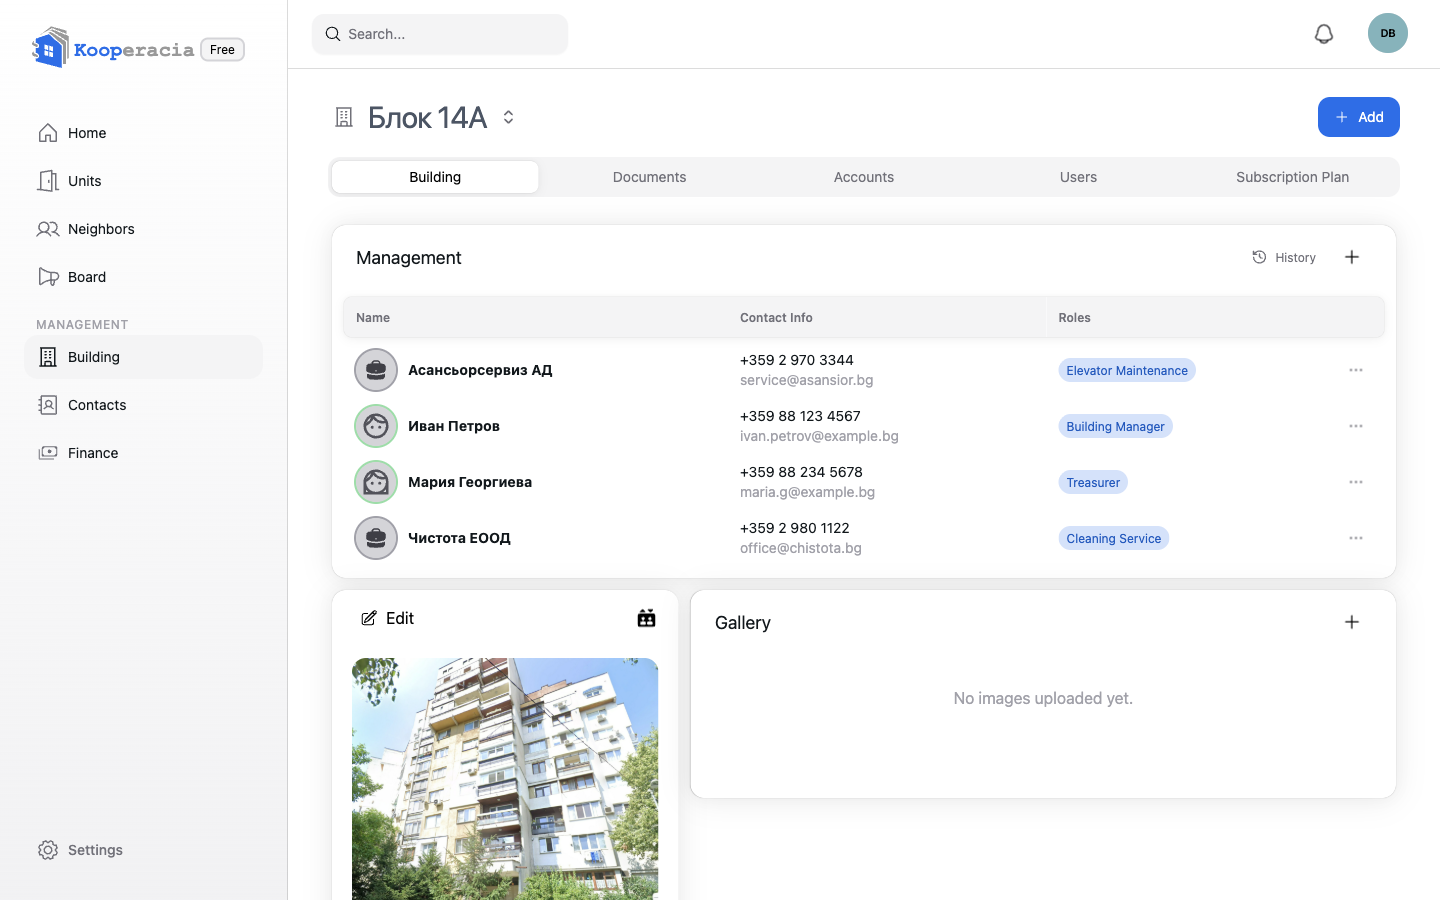
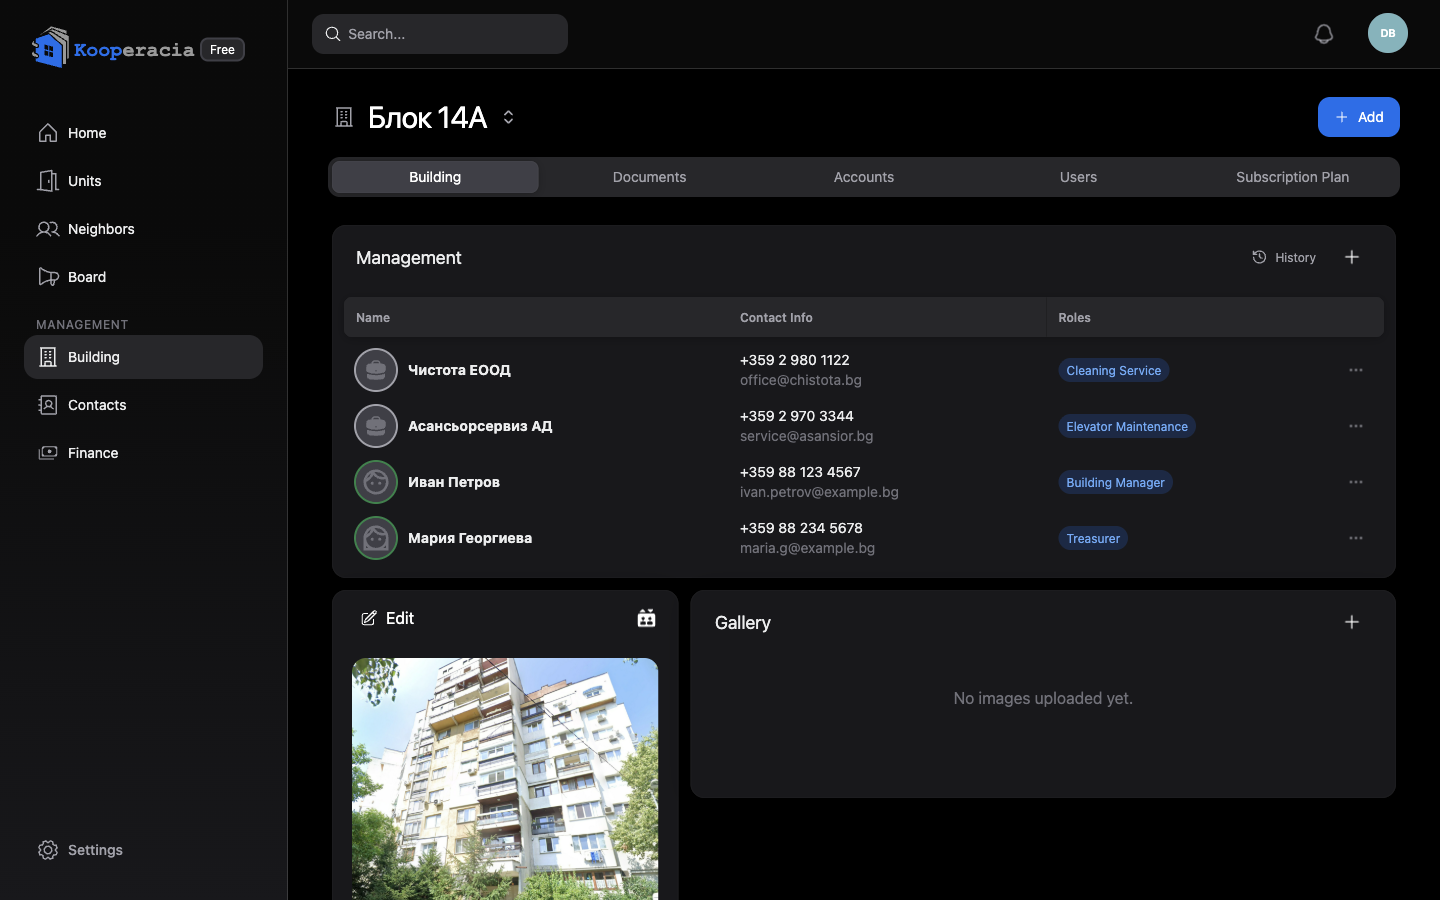 The Building tab with details, floors and the gallery.
Documents
The Documents tab is shared storage for the building's files - contracts, meeting minutes, plans, invoices and similar. Click Add to upload a document so it's kept in one place for the people who need it. (Files count toward your plan's storage - see Settings & Subscription.)
Accounts and online payments
The Accounts tab holds the building's payment accounts - create at least one:
| Account type | Use it for |
|---|---|
| Cash Register | Cash held on hand. |
| Current / Operating Account | Day-to-day bank account. |
| Reserve / Fund Account | Money set aside for repairs and renovation. |
| Deposit / Savings Account | Longer-term holdings. |
For bank accounts add the bank name, IBAN and SWIFT/BIC (the app validates the IBAN). The same tab has Payment Services, where you connect one or more online payment providers - IRIS Pay and ePay / EasyPay - so residents can pay their fees online. With ePay/EasyPay, residents can also pay in cash at any EasyPay desk using their unit's subscriber number. See Finance for how money is recorded.
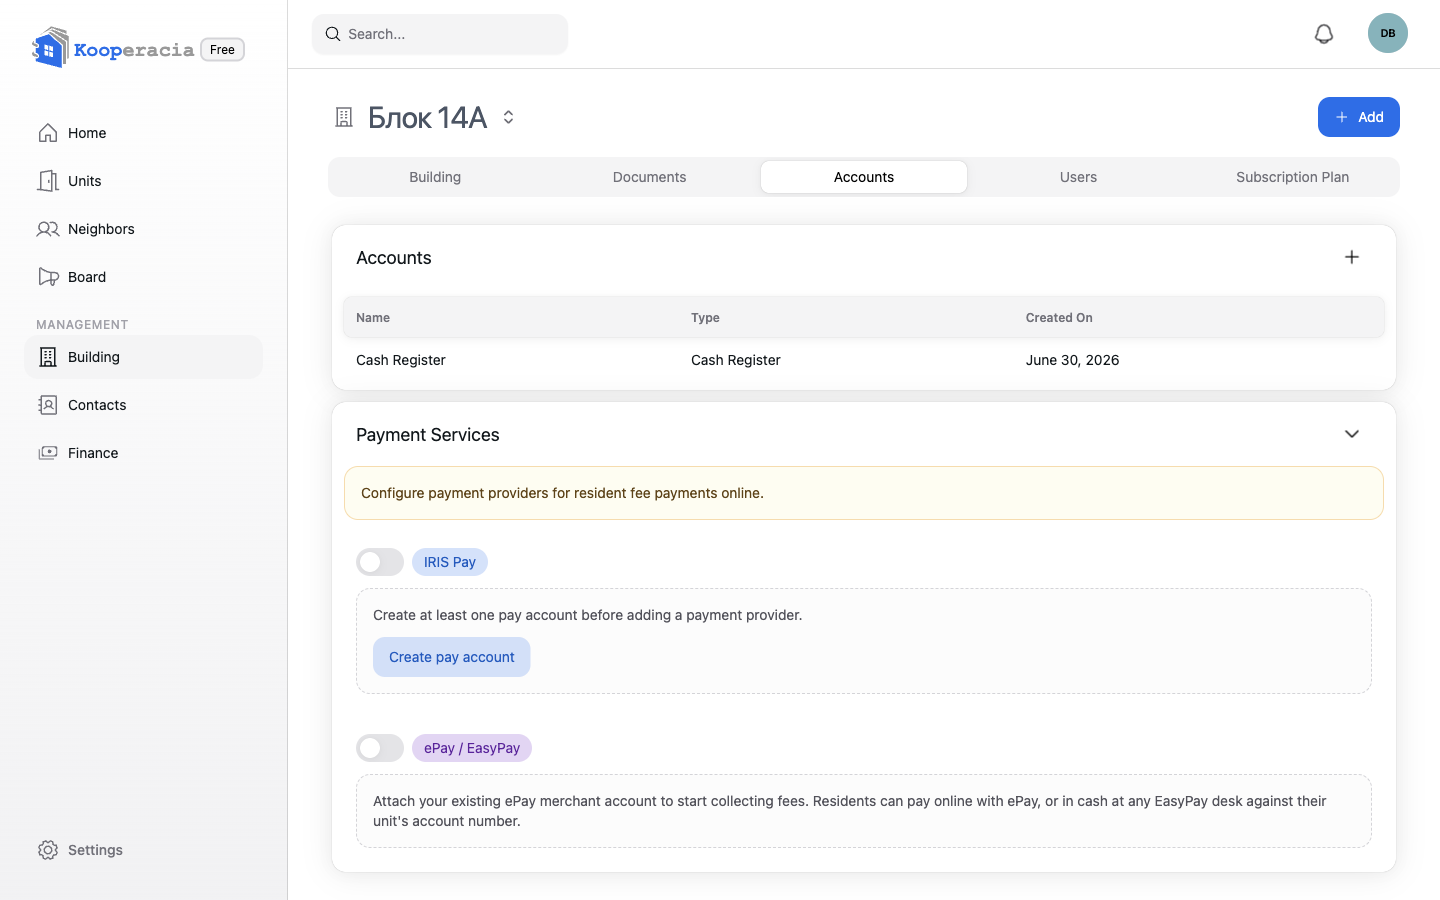
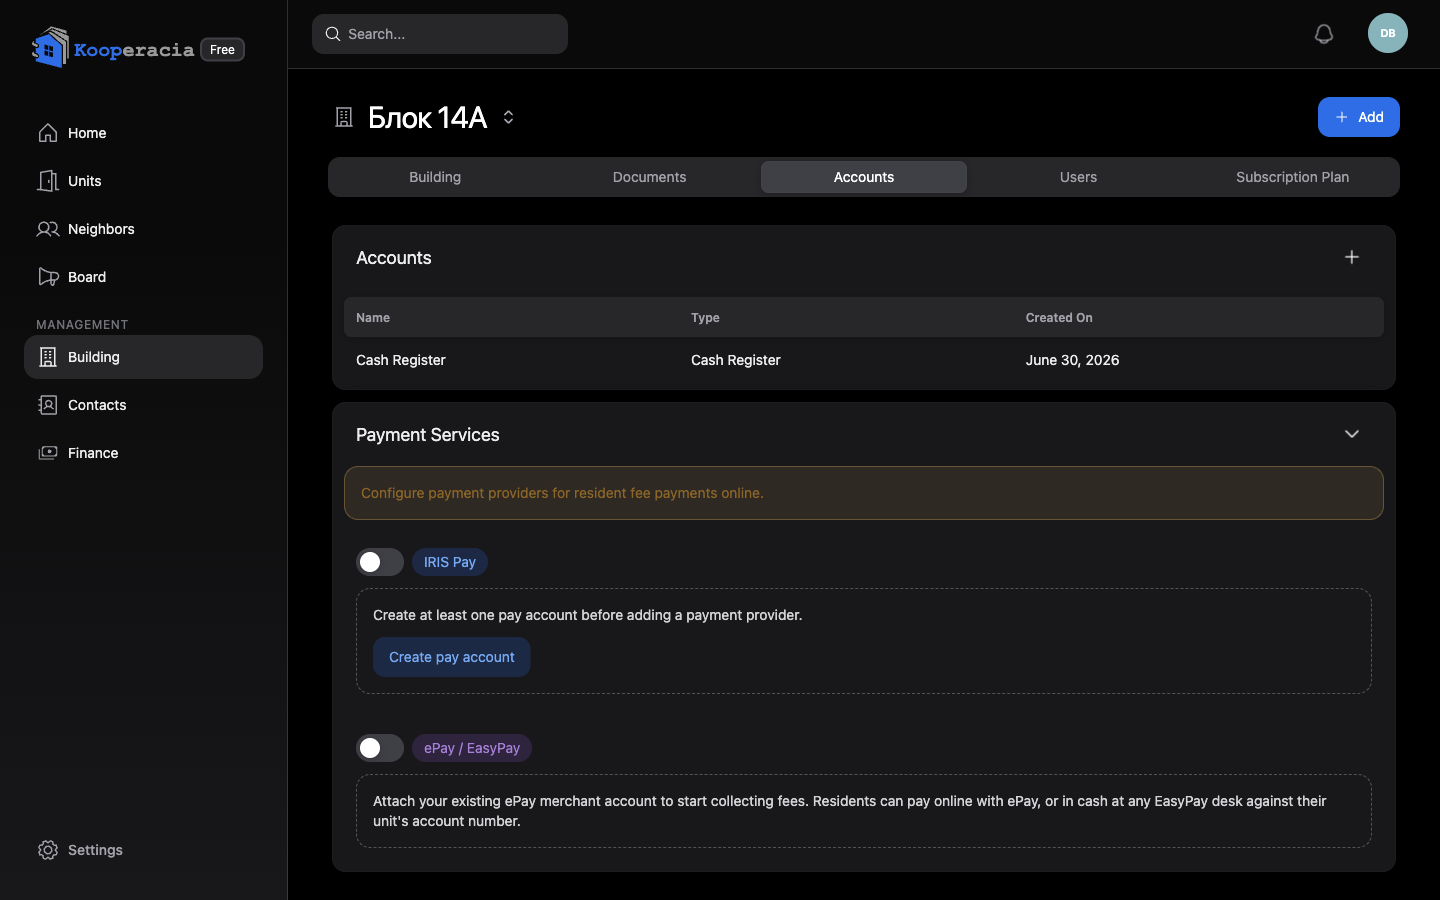 The Accounts tab with a bank account (IBAN) and the Payment Services section.
Users and the join link
The Users tab is where you manage who can access the building:
- Invite by email - click the + to open the invite dialog: enter the person's email, optionally link them to an existing contact, choose their access role (Administrator, Finance Editor or Resident - see Getting Started), and send. They receive an email with a link to join.
- Share a join link - click Join link to open a QR code and shareable link for the building. Copy the link, or download it as a PNG or PDF poster. Anyone you give it to can use it to join.
- Manage existing members from the list - edit their access or remove them.
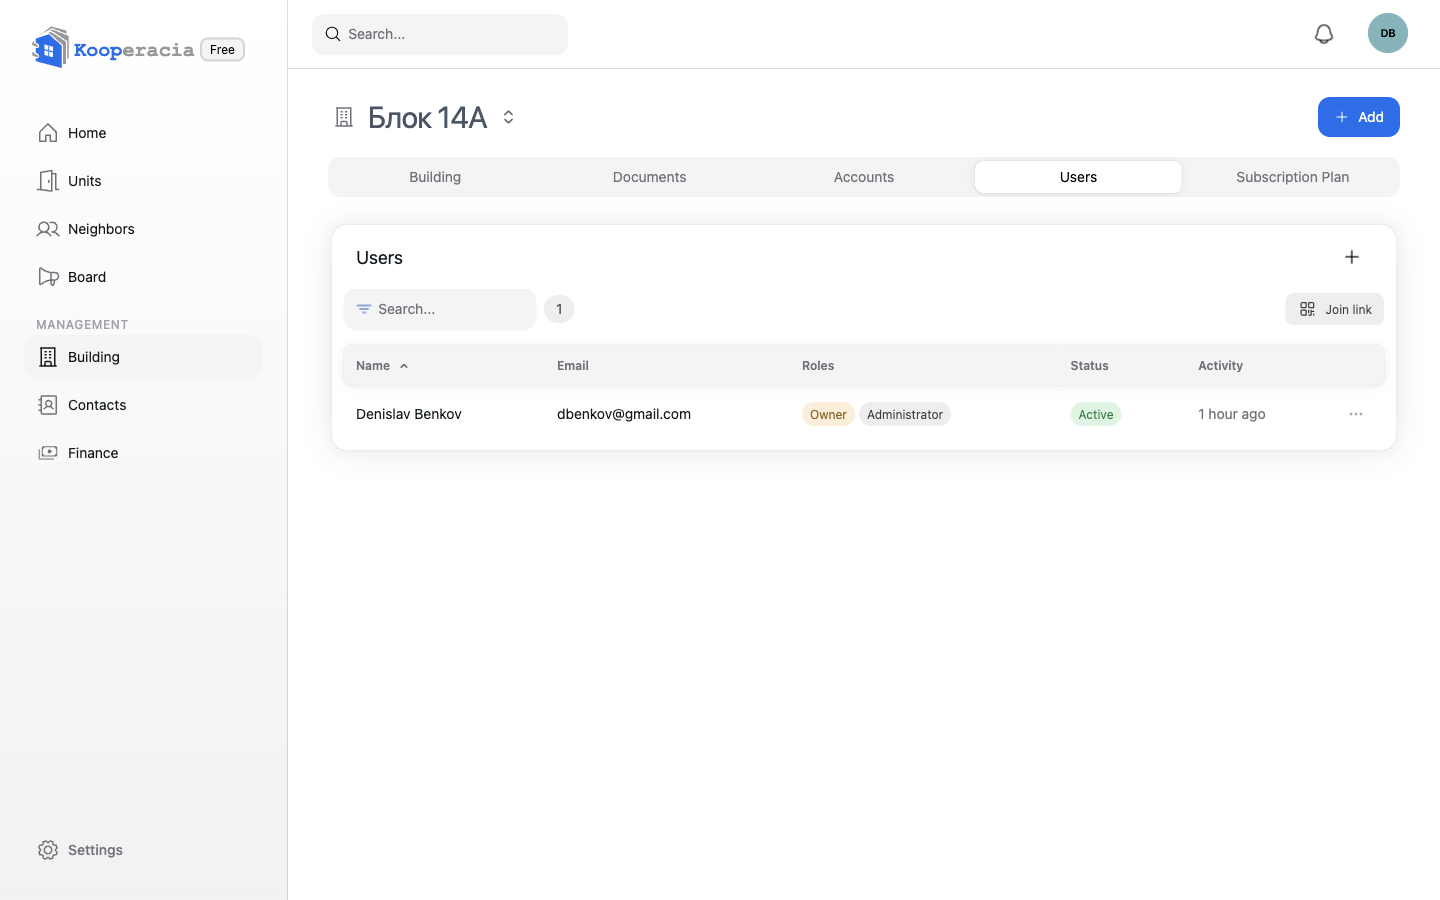
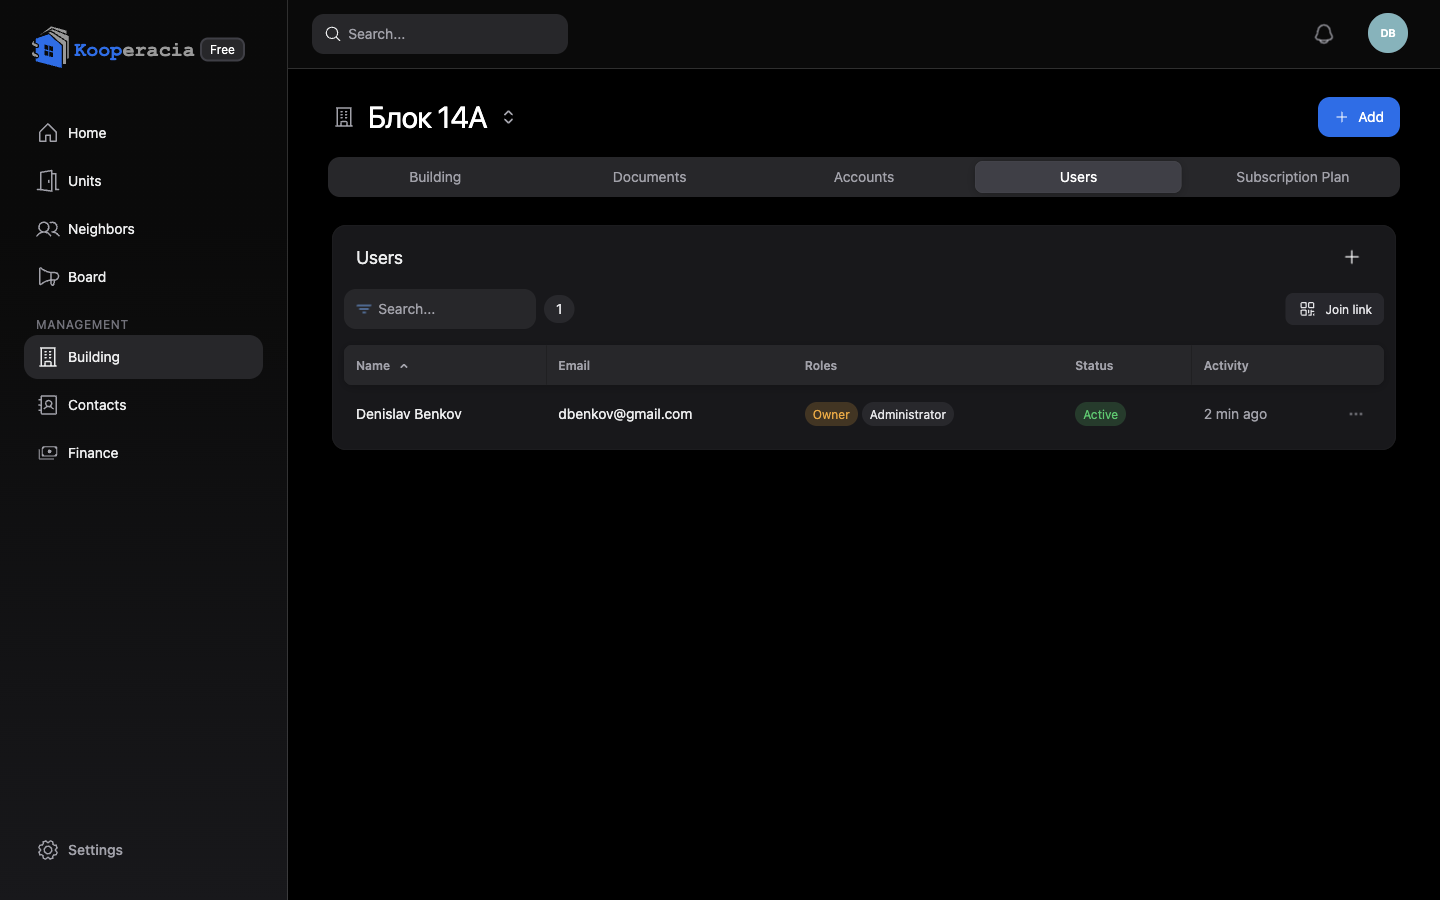 The Users tab with members and roles, the Invite (+) button, and the Join link / QR.
Subscription Plan
The Subscription Plan tab shows and manages the building's plan - current plan, usage (units), files & storage, billing rules and invoices. Full details are in Settings & Subscription.
Resident registry (House Register)
The official record of units and the people in them is the House Register, generated automatically and downloadable as a PDF. See Statistics & Reports.
Next steps
- Add your apartments and people in Units & Owners.
- Set up fees and payments in Finance.
Units & Owners
Units & Owners
A unit is any individual property in your building - an apartment, office, garage, storage room and so on. Units are the foundation of the system: fees, deposits, owners, residents and most statistics are all tied to them.
Open Units (the Properties menu) to see every unit grouped by type, with each unit's fees, deposits and payment status at a glance. Use Filter by type to narrow the list.
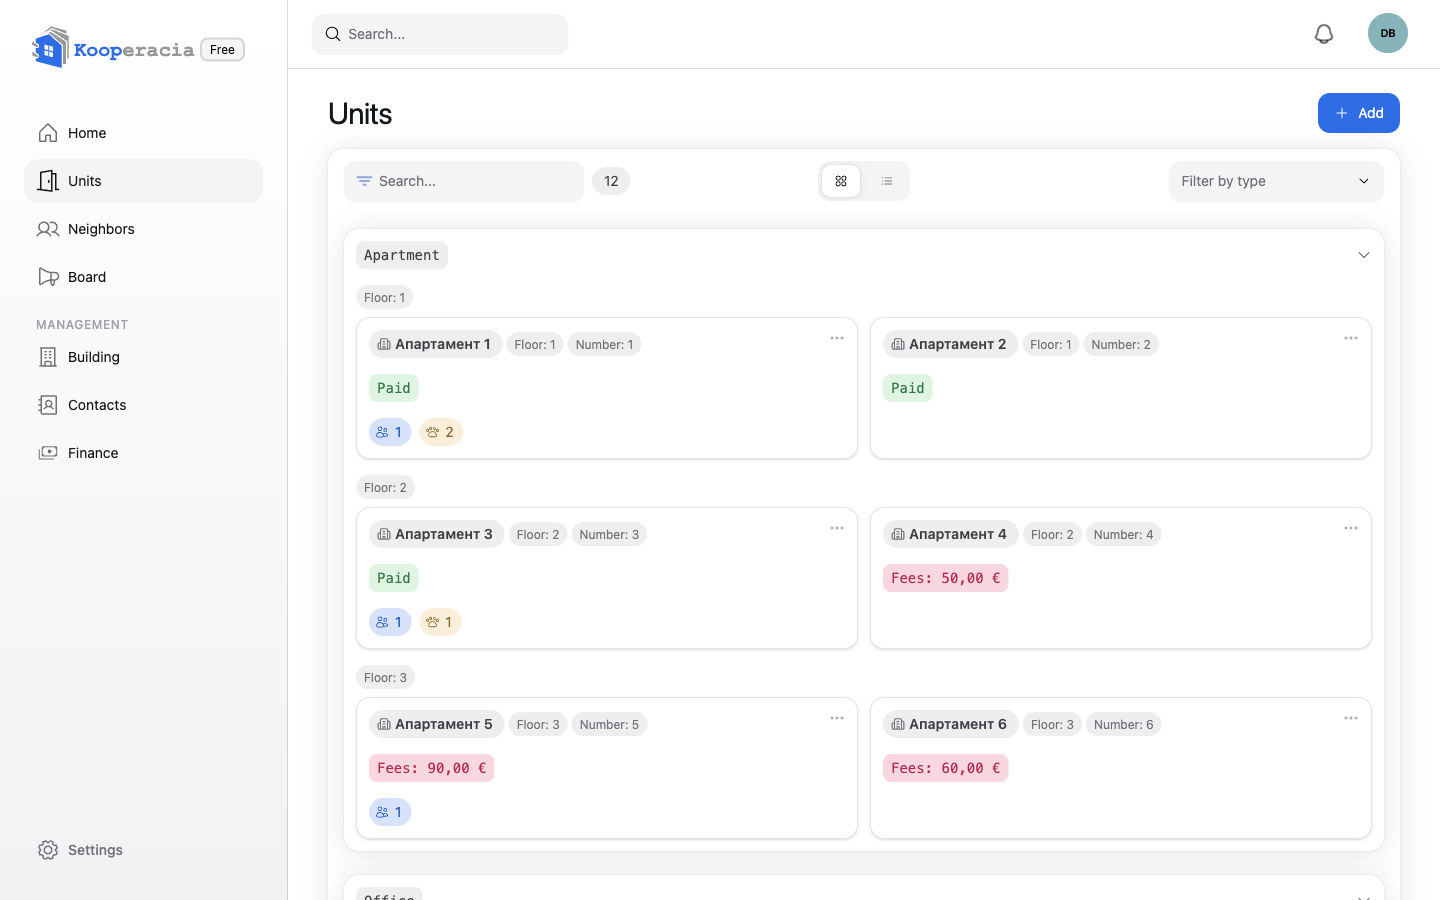
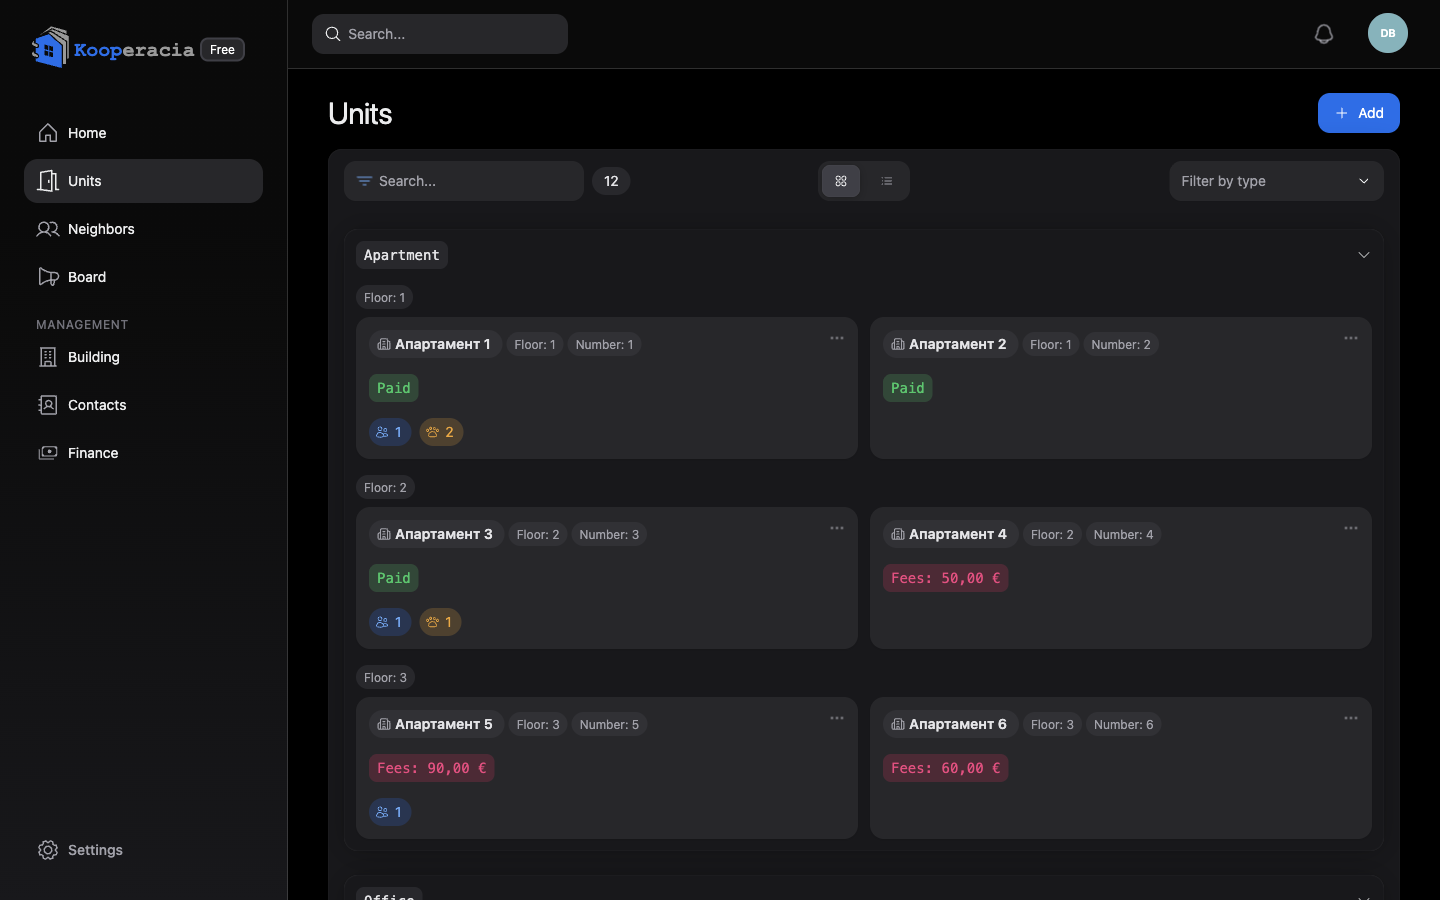 The Units page showing units grouped by type with the Add button and type filter.
Resident view: residents can browse all units and see each one's fees, deposits and paid status, but there's no Add button - adding and editing units, owners and fees is for managers. Residents manage and pay only for the unit(s) linked to them.
Adding a unit
Click Add. You can add a single unit, or switch to Multiple to create several at once. Then fill in the form:
| Field | Notes |
|---|---|
| Type | Apartment, Office, Atelier, House, Commercial, Garage, Warehouse, Service room, or Other. |
| Configuration | The layout / subtype (e.g. studio, one-bedroom, two-bedroom, maisonette or penthouse for apartments). |
| Name and Number | A label and number for the unit, e.g. "Apartment 11". |
| Section | Which entrance / section the unit belongs to, in multi-entrance buildings. |
| Floor | The floor the unit is on. |
| Built-up / Usable / Common area | Areas in square metres, used for fee calculations. |
| Ideal share | The unit's share of the common parts (used when fees are split by ideal share). |
| Purpose | What the unit is used for. |
| Orientation | The direction the unit faces (North, South, etc.). |
| Notes | Any extra details. |
Tip: Set the ideal share accurately - the fee wizard can split costs proportionally by it. See Finance.
Owners, tenants and residents
Each unit can have one or more people linked to it, each with a role:
| Role | Meaning |
|---|---|
| Owner | Owns the unit. |
| Tenant | Rents and lives in the unit. |
| Landlord | Owns but rents it out. |
| Resident / Guest | Lives in or occupies the unit without ownership. |
A person linked to a unit can see that unit and pay its fees. Add people directly on the unit, or link them from Contacts.
Each link can also record a relation to the owner (for example spouse, child or tenant) and the dates the role started and ended. Use History on a unit's people to review every owner and resident the unit has had over time, with their roles, relations and dates.
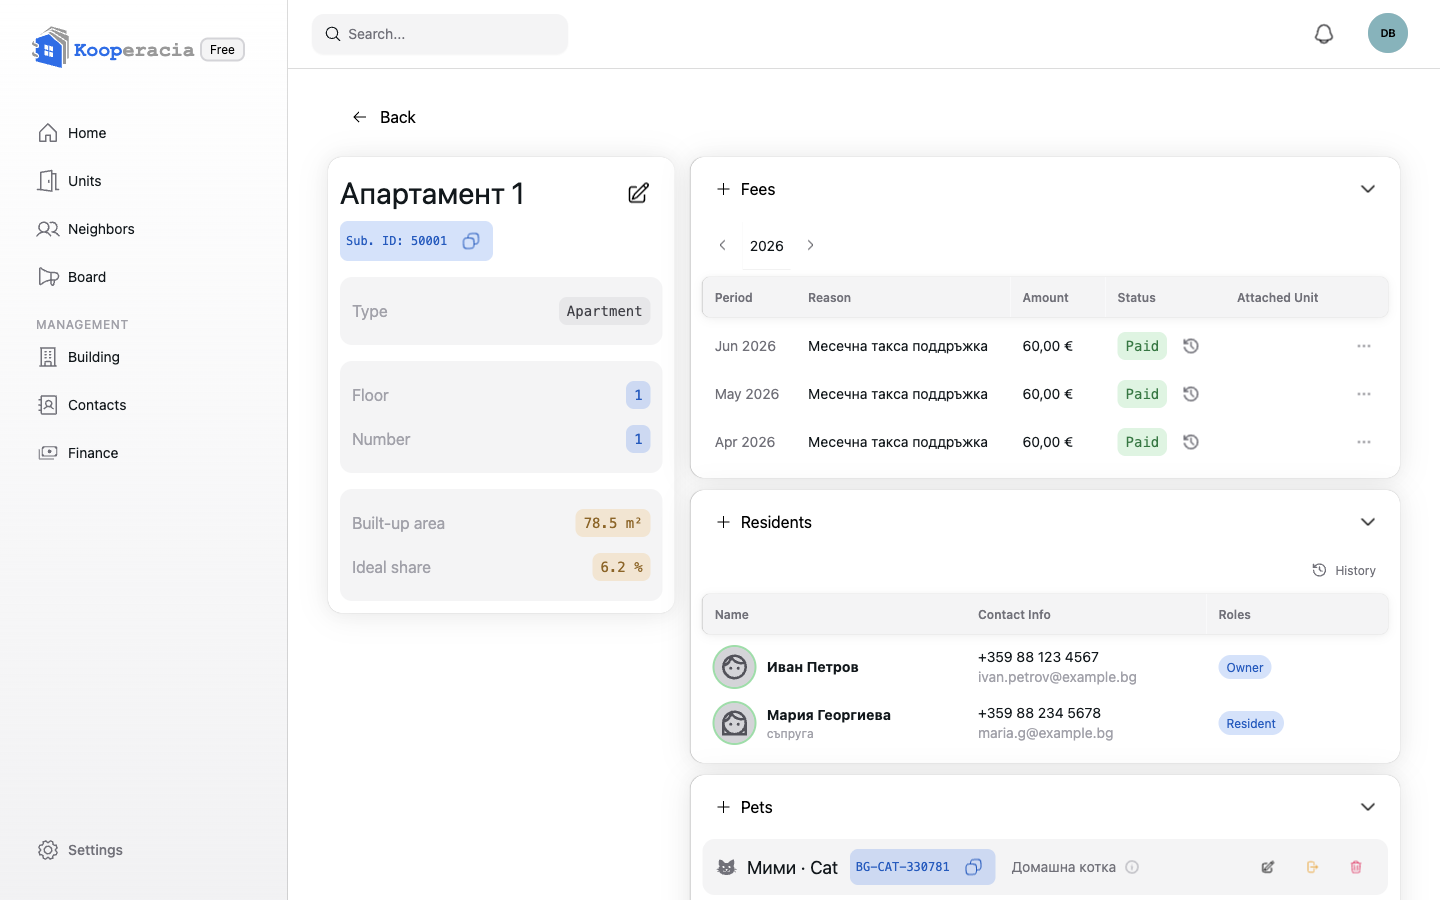
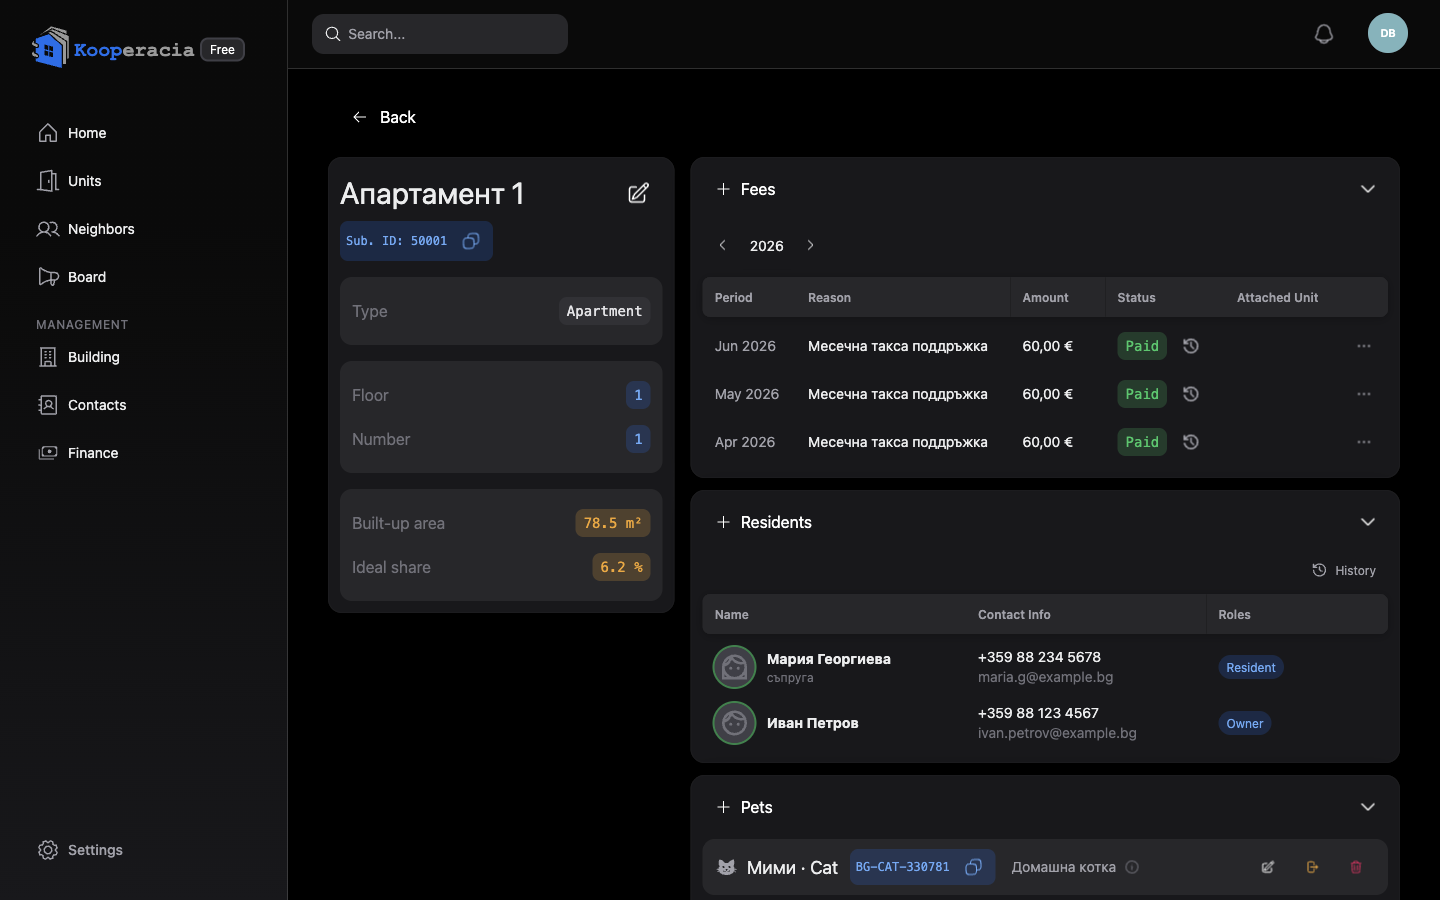 A unit's detail view showing its owners/residents, fees and deposit.
Fees and deposits
From a unit you can:
- Add a fee or generate fees in bulk with the fee wizard (see Finance).
- Pay outstanding fees with the Pay button - this is how a resident settles the fees on their own unit.
- Track the deposit on the unit - a prepaid balance held on the unit that covers its future fees. You build one up by overpaying a fee, then apply it when recording a payment; see Finance.
- See overdue fees flagged clearly (e.g. Due 60.00 €).
Pets
Keep a record of pets per unit. Click Add pet and choose a type (Dog, Cat, Bird, Fish, Reptile, Rodent or Other), a name, an optional passport number, and an optional description (with rich-text formatting). When a pet moves out, deactivate it with an end date instead of deleting it - it stays in the House Register with its dates. Pet totals appear in Statistics, and passport numbers are listed per unit in the House Register.
Documents
Each unit has its own Documents area for files specific to that property (contracts, agreements, and so on). Building-wide files live separately under Building → Documents.
Attaching units
Link related properties together - for example a garage or storage room that belongs to an apartment - with Attach unit. This is used when you create a payment document: the app then automatically pulls in and fills the fees for the attached units, so they are paid together.
Next steps
Contacts
Contacts
Contacts is your building's address book - residents, owners and the service providers you work with (cleaning, elevator maintenance, utilities, and so on). A contact is just a record of a person or company; it does not by itself grant access to the app.
Open Contacts to browse the directory. You can search, filter by role, and bulk-import contacts from a spreadsheet.
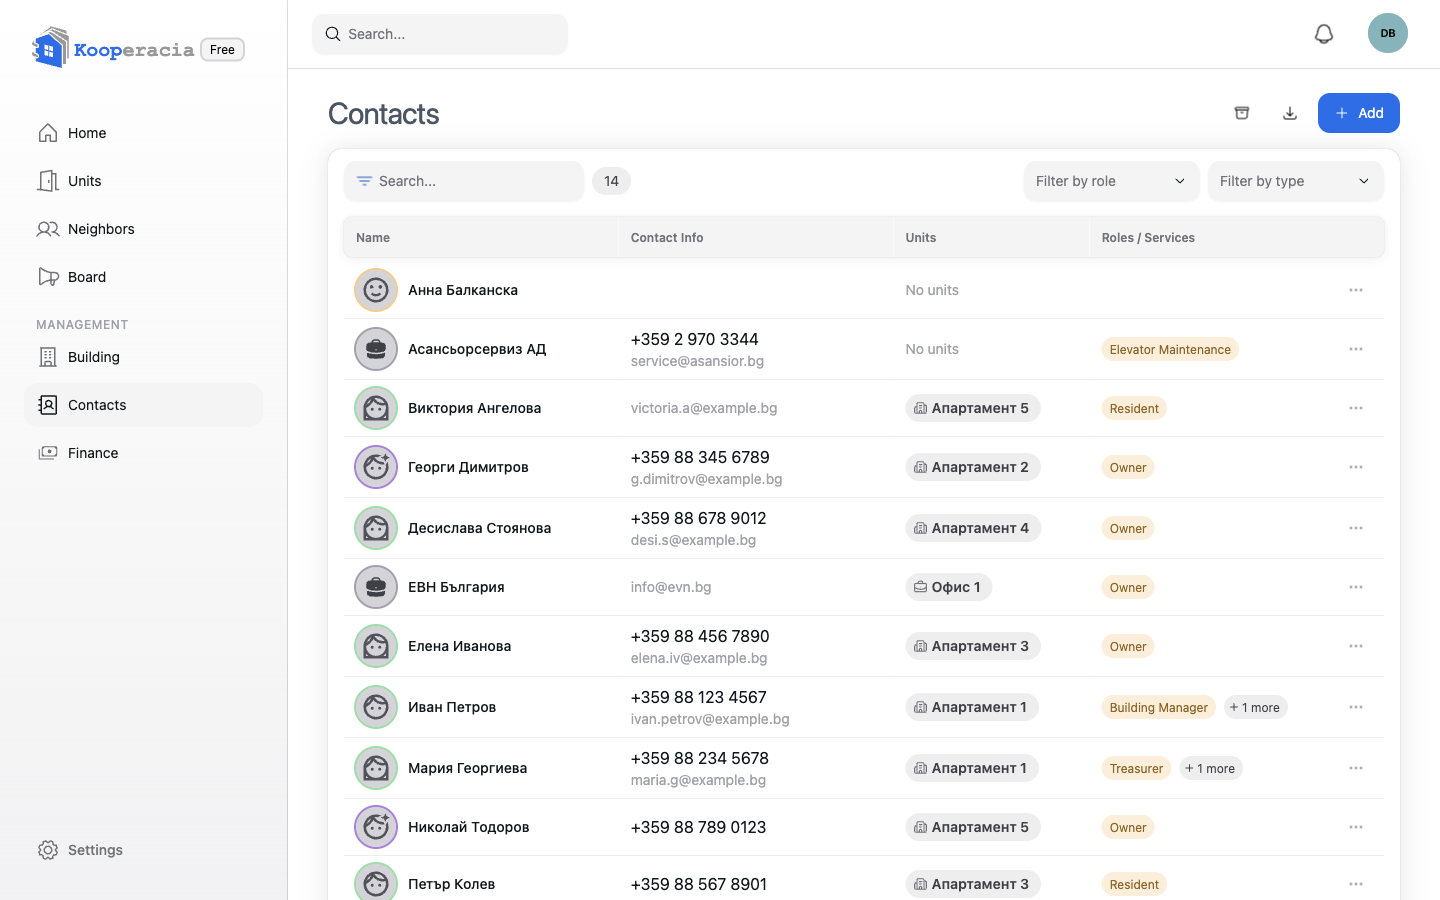
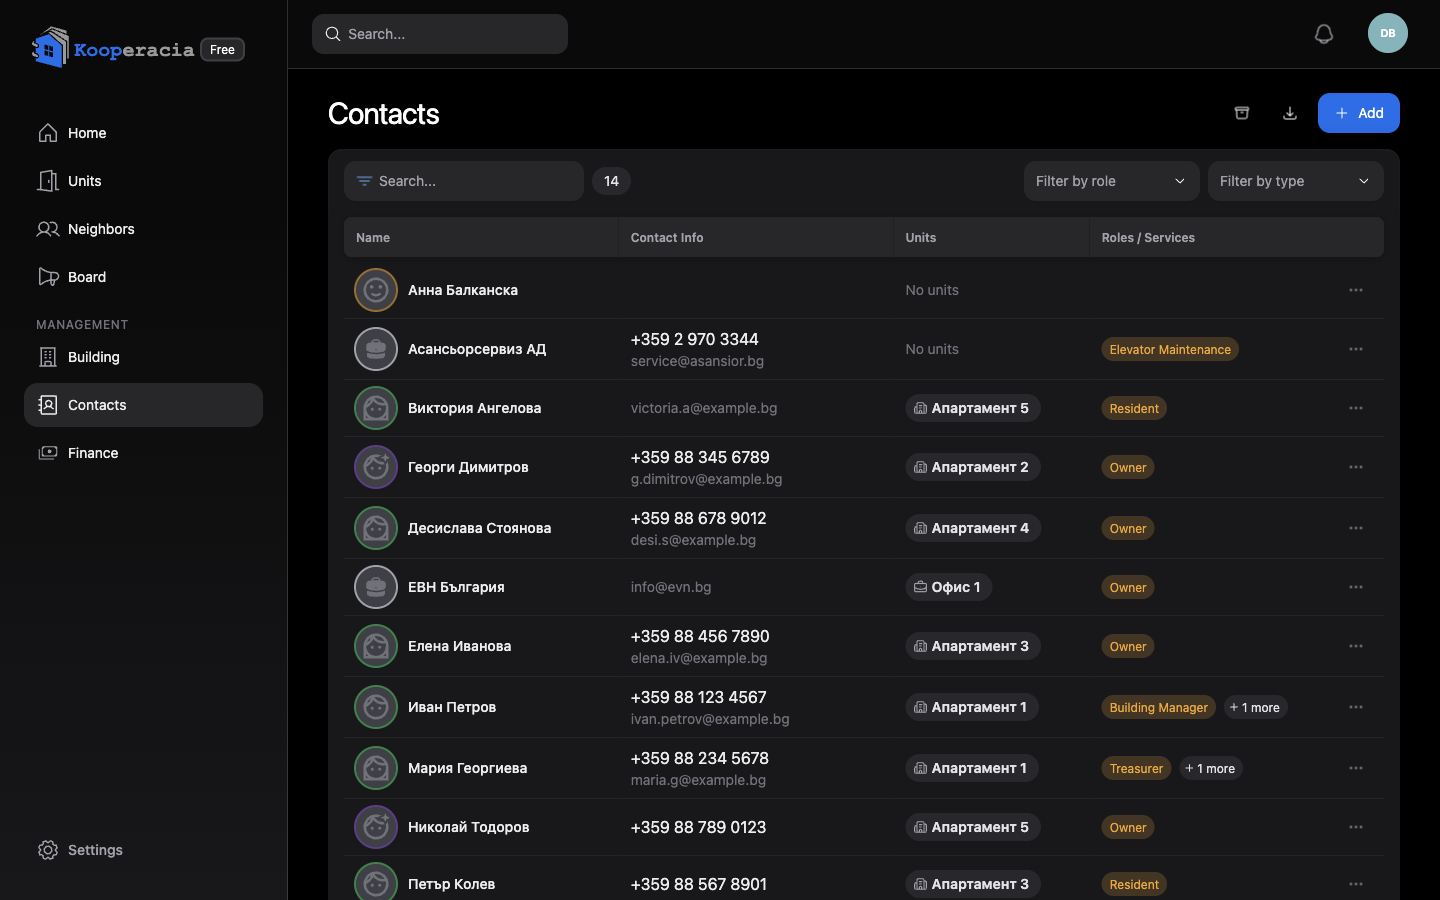 The Contacts list with the search box and role filter.
Resident view: the Contacts management page is for managers. Residents find their neighbours in the House Register, opened from the Neighbours area. It opens in a summary view; to see who lives where, turn on the Details toggle, which lists each unit together with the people in it. Residents only see contacts marked visible to all residents.
Adding a contact
Click Add and fill in the details. At the top of the form you set whether the contact's info is visible to all residents (or kept to administrators), and whether they're an Individual or a Legal entity (a company - which adds company fields like VAT number and representative).
The fields are Name, Age group, Phone, Email, Gender, Address, City, Postal code, Country, Website and Notes. Only the Name is required.
Descriptive Roles / Services (see below) and linking a contact to a unit are done separately - a contact is linked to a unit from that unit's residents list (see Units & Owners).
Roles / Services
A contact can carry one or more descriptive Roles / Services that explain their function in the building. Examples:
| Building roles | Service providers |
|---|---|
| Building Manager, Deputy Manager, Treasurer, Chairman of the Board, Board Member, Auditor, Secretary | Cleaning Service, Elevator Maintenance, Intercom Provider, CCTV Provider, Water Utility, Electricity Provider, Landscaping, Snow Removal, Construction Company |
Important: These are labels, not permissions. To let someone sign in and use the app, send them an invitation and give them an access role (Administrator, Finance Editor or Resident) - see Getting Started. When you invite someone, you can link to an existing contact so their records stay connected.
Contact visibility
For each contact you control who can see their details:
- Visible to administrators only - kept private to managers.
- Visible to all residents - shown in the shared directory so neighbours can reach them.
Choose the stricter option for personal data and the open option for shared services like the building manager or cleaning company.
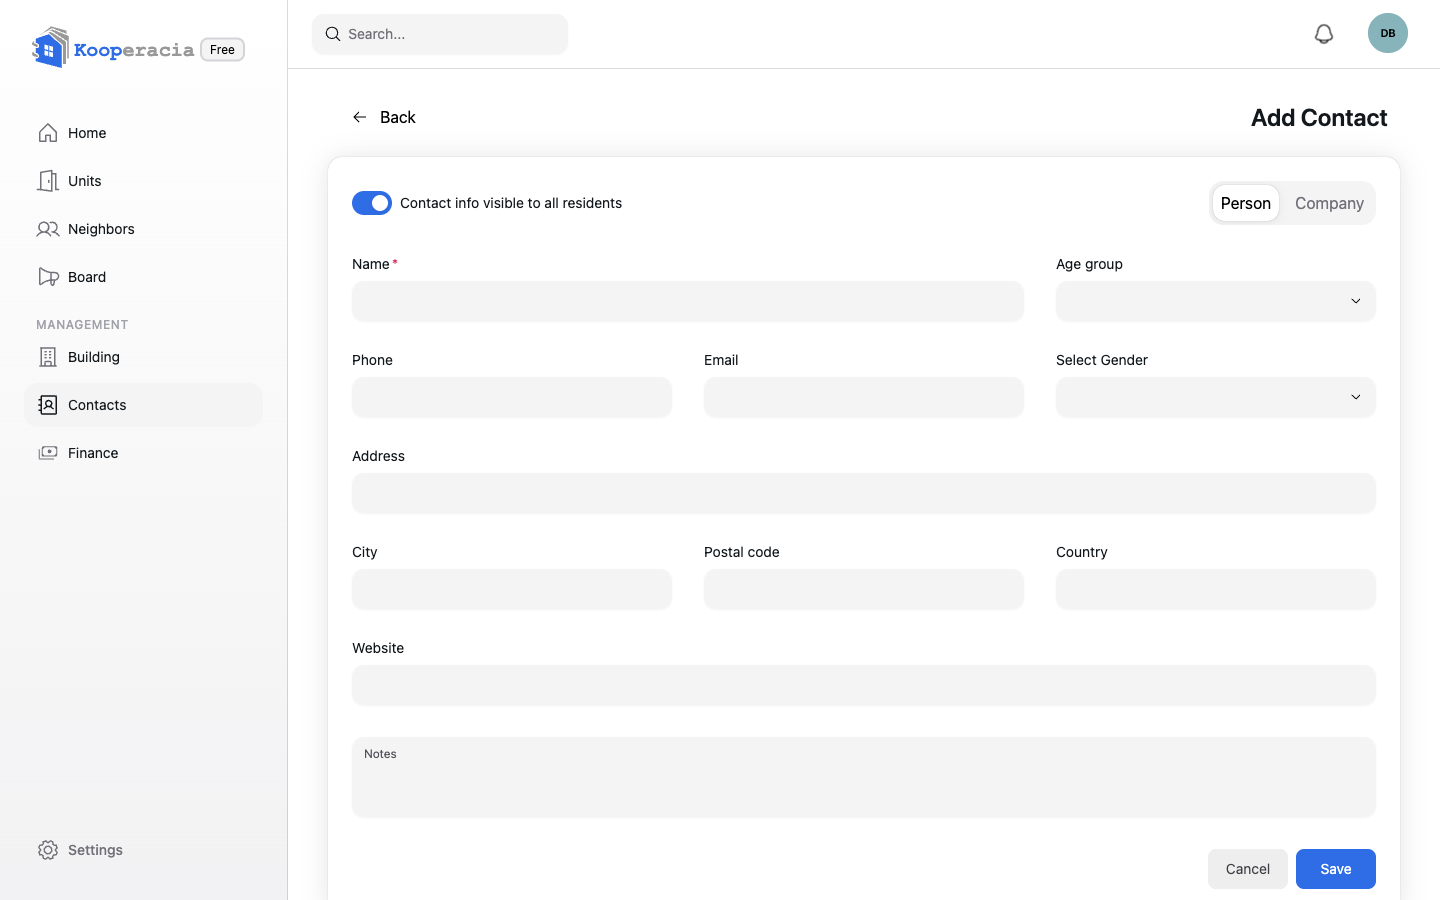
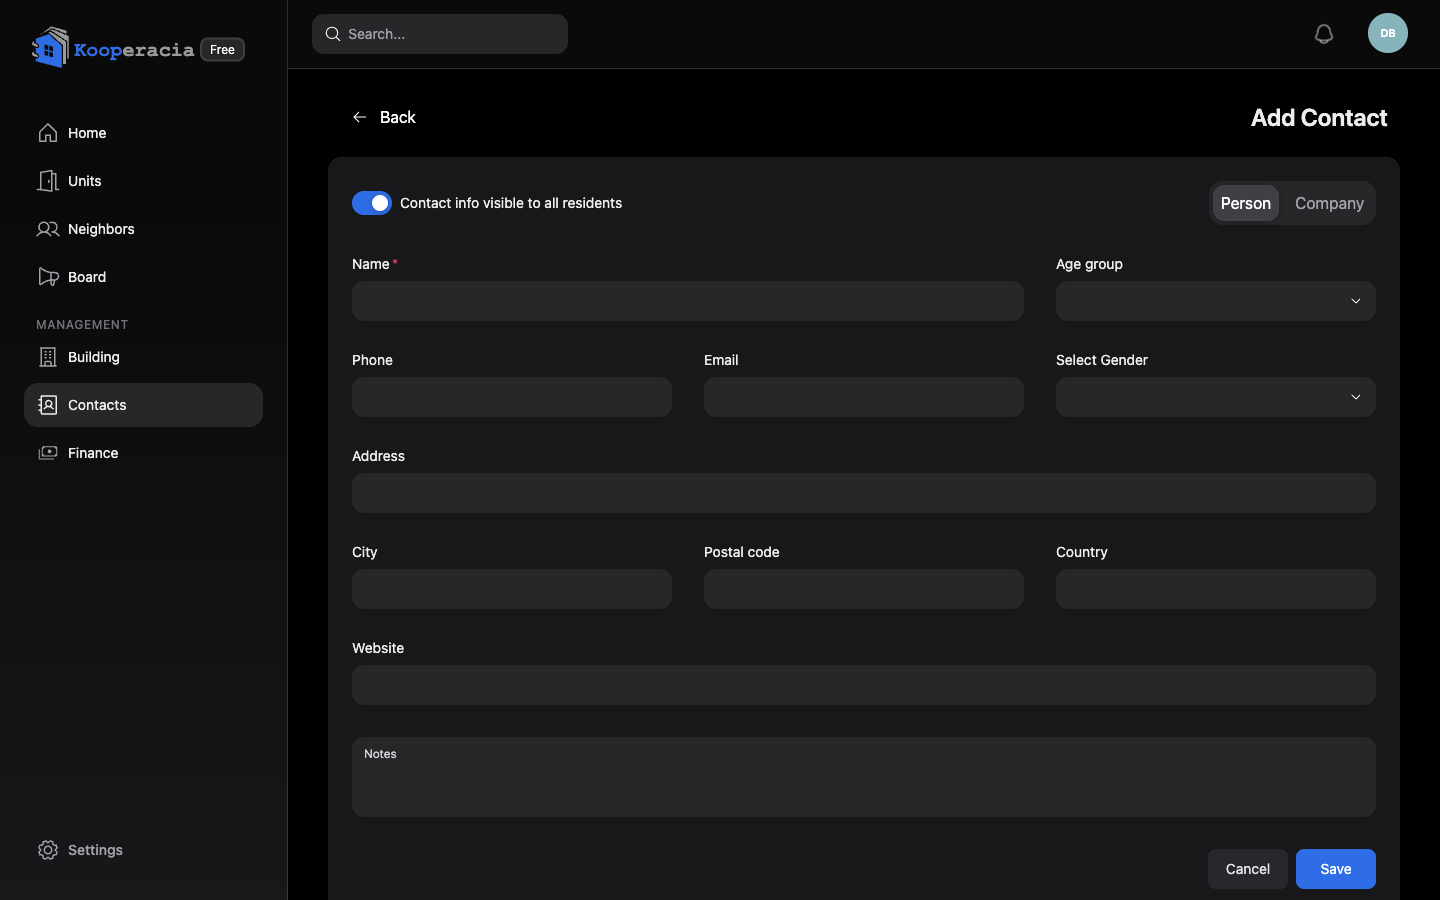 A contact's edit form showing the Roles/Services and the visibility toggle.
Archiving contacts
When someone moves out or you stop working with a provider, archive the contact instead of deleting it. Archiving removes them from the active directory while keeping their history - past roles and records - intact. Archived contacts are hidden by default; turn on Show archived to see them, then restore one at any time. Keep delete for records added by mistake.
A contact with active roles can't be archived - end those roles first.
Importing contacts from a spreadsheet (CSV)
Already keep your residents in a spreadsheet? You can bring them all in at once. Click Import contacts, then drag in (or choose) a .csv file. Importing is available to admins.
Your file needs a header row with the column names below. The order doesn't matter and the names aren't case-sensitive, but they must match exactly. Only name is required - leave any other cell blank if you don't have the information.
| Column | Required | What it should contain |
|---|---|---|
name | Yes | The person's or company's name. Rows without a name are skipped. |
is_company | No | true for a company, false (or blank) for a person. |
company_representative | No | For a company, the name of the contact person. |
phone | No | Phone number, in any format. |
email | No | Email address. If it matches a registered user, the contact is linked to that user automatically. |
country | No | Country. |
address | No | Street address. |
city | No | City or town. |
postal_code | No | Postal code. |
reg_number | No | Company registration or tax number. |
website | No | Website address. |
age_group | No | One of: child, teen, adult, senior. |
gender | No | One of: male, female, other, prefer_not_to_say. |
notes | No | Any free-text note. |
After uploading, you'll see how many contacts were imported, plus a list of any skipped rows with the reason - for example a missing name, an invalid age_group or gender value, or a duplicate that already exists.
Have an old Excel or Google Sheets file? You don't have to reformat it by hand. Open the file in an AI assistant (or paste its contents in) and ask it to "convert this into a CSV with these exact columns for Kooperacia", pasting the column list above. Save the result as a .csv file and import it.
Next steps
- Set up fees and payments in Finance.
- Invite contacts to use the app from Getting Started.
Finance
Finance
The Finance module is the heart of Kooperacia: it tracks every euro that comes in and goes out, generates monthly fees, records payments and keeps each unit's balance up to date. Once it's set up, the Dashboard and Statistics come to life.
This guide follows the natural order: accounts → fees → payments → transfers → online payments.
Resident view: the Finance module - accounts, the fee wizard, expenses and transfers - is for managers (Owner, Administrator, Finance Editor); residents have no Finance menu. Residents see what they owe on the Dashboard and on their unit, and pay there (online, if enabled - see Online payments below).
1. Accounts
Every transaction belongs to an account - a Cash Register, a bank account, a reserve fund, and so on. Accounts are created under Building → Accounts, not on the Finance page - see Building Management. Set up at least one before you record anything; you'll see each account's balance in the Balance report.
The Finance page itself is for entries. The dropdown at the top switches between four views - Fees, Expenses, One-Time Income and Account Transfers - and the Add button creates an entry in the current view.
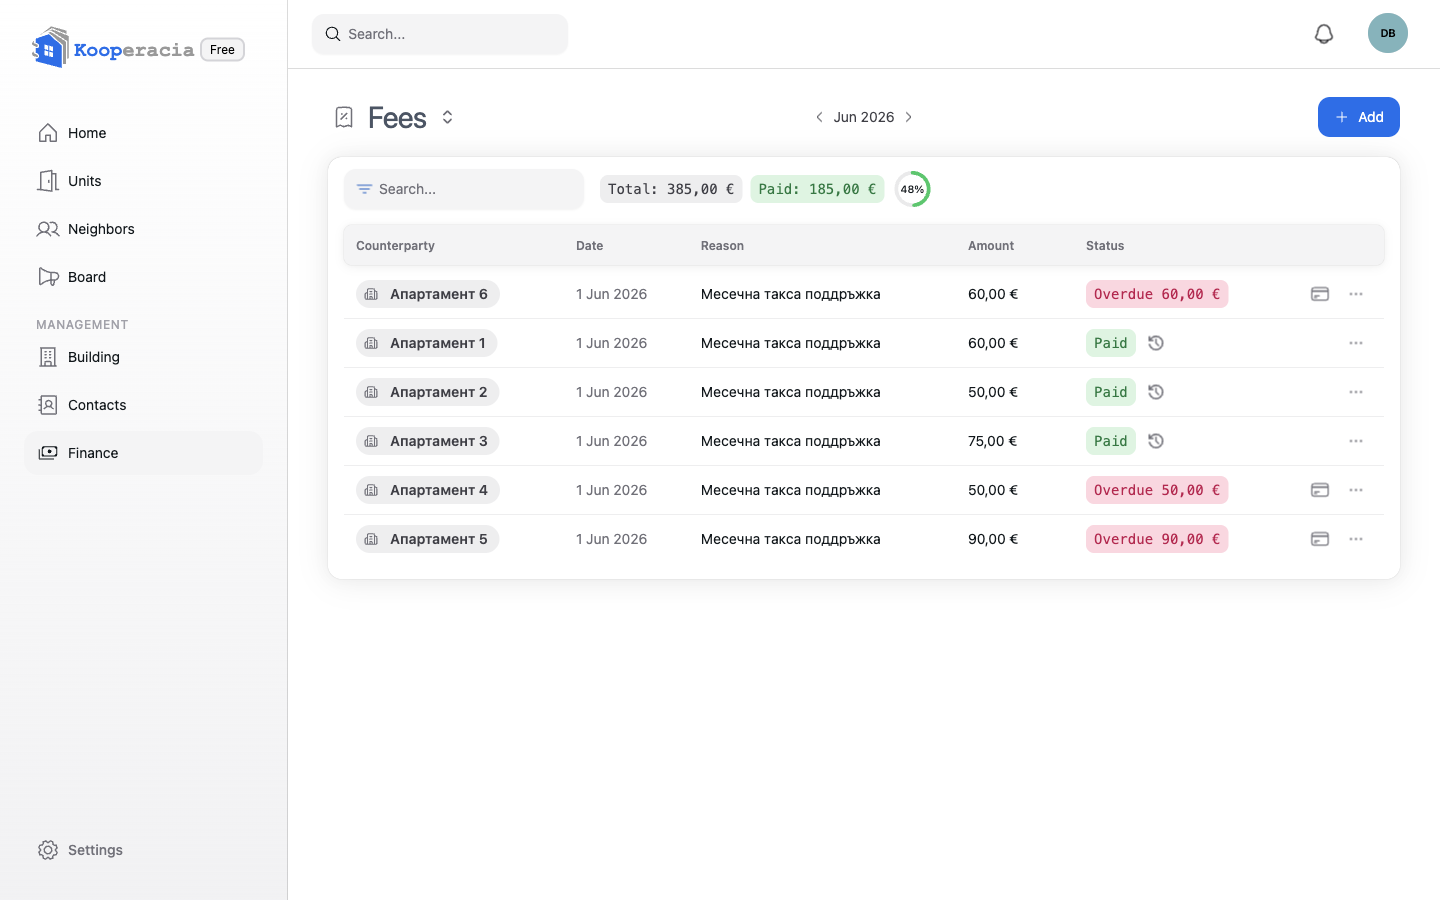
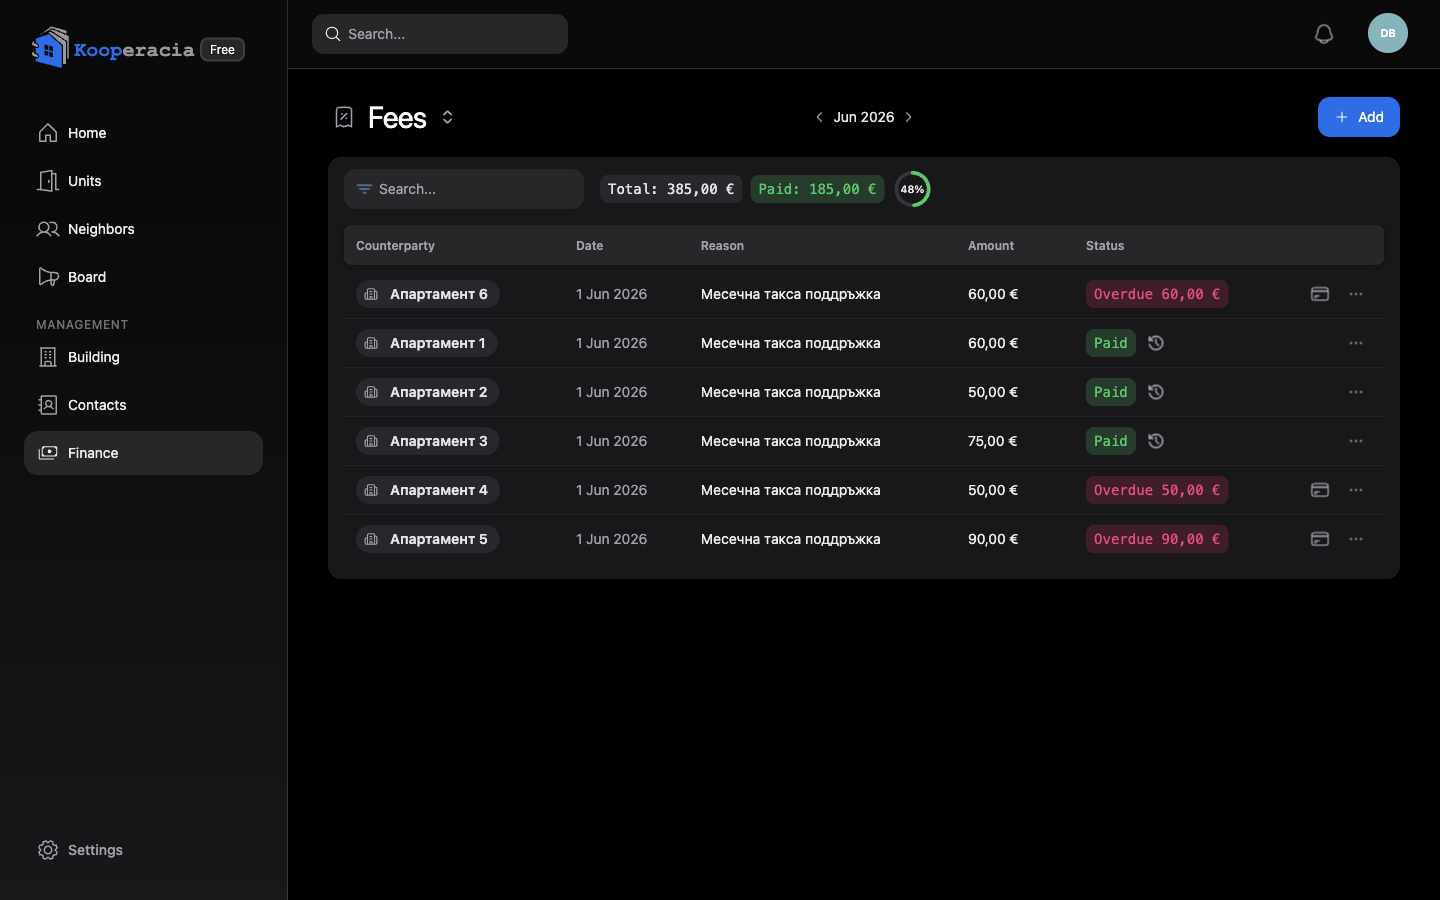 The Finance page showing the Fees view and the switcher (Fees / Expenses / One-Time Income / Account Transfers).
2. Generating fees (the fee wizard)
Rather than adding fees one unit at a time, use Generate Fees to create a batch - for example the monthly maintenance fee for every unit:
- Enter the reason (the basis for the charge, e.g. "Monthly maintenance fee - June"), the amount and the period.
- Choose the Distribution Method - how the cost is split across units:
- Per Unit - the same amount for every unit,
- Per Resident - by the number of residents,
- Per Ideal Parts Share - proportional to each unit's ideal share, or
- Shared Equally Between Units - the total divided equally.
- Set the due date.
- Review the per-unit breakdown and submit - the fees are posted to every unit at once.
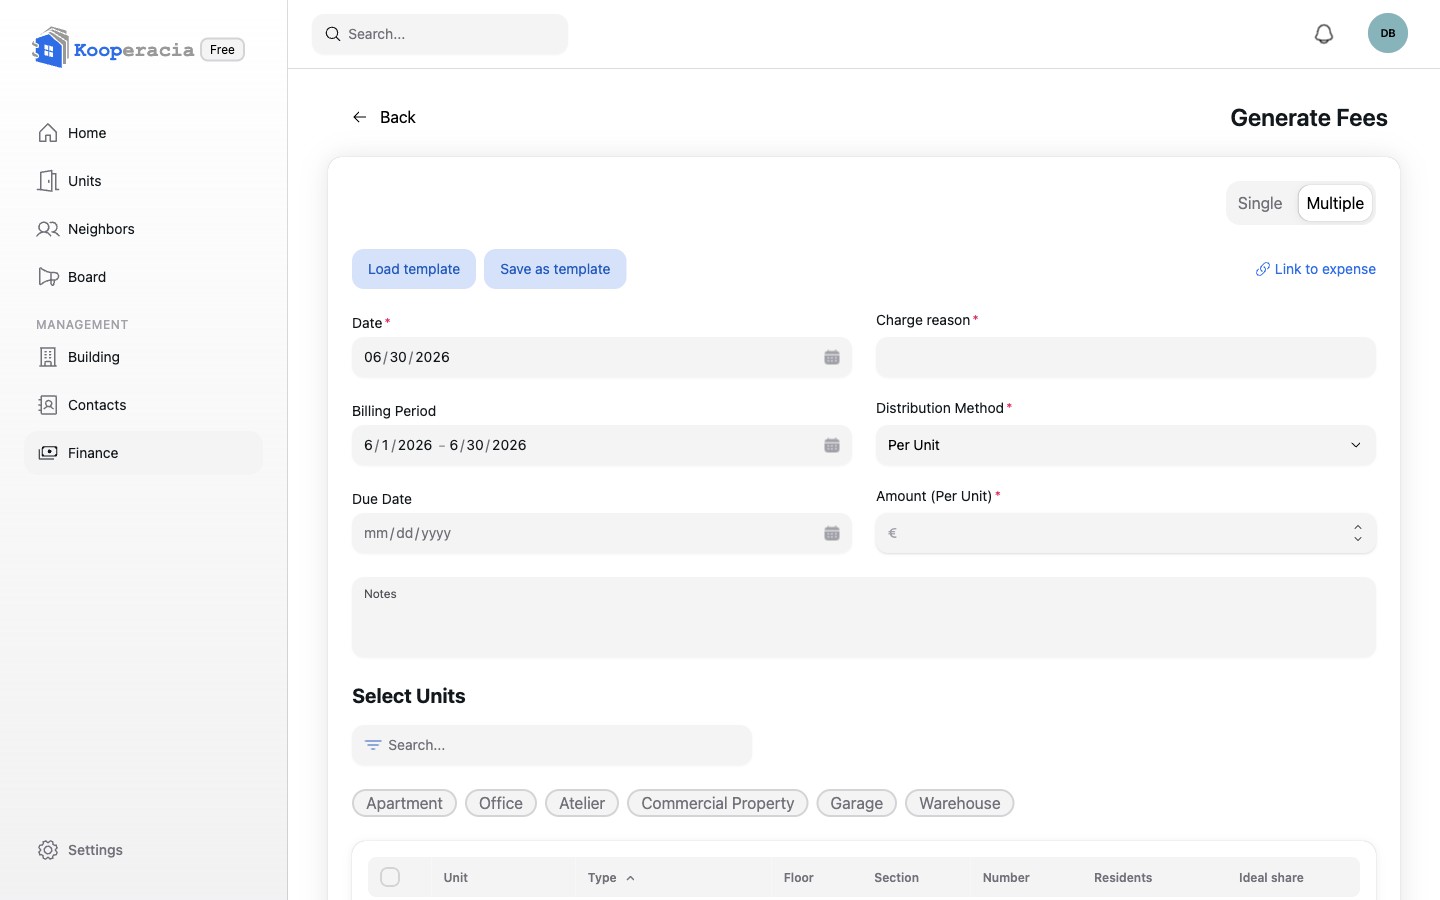
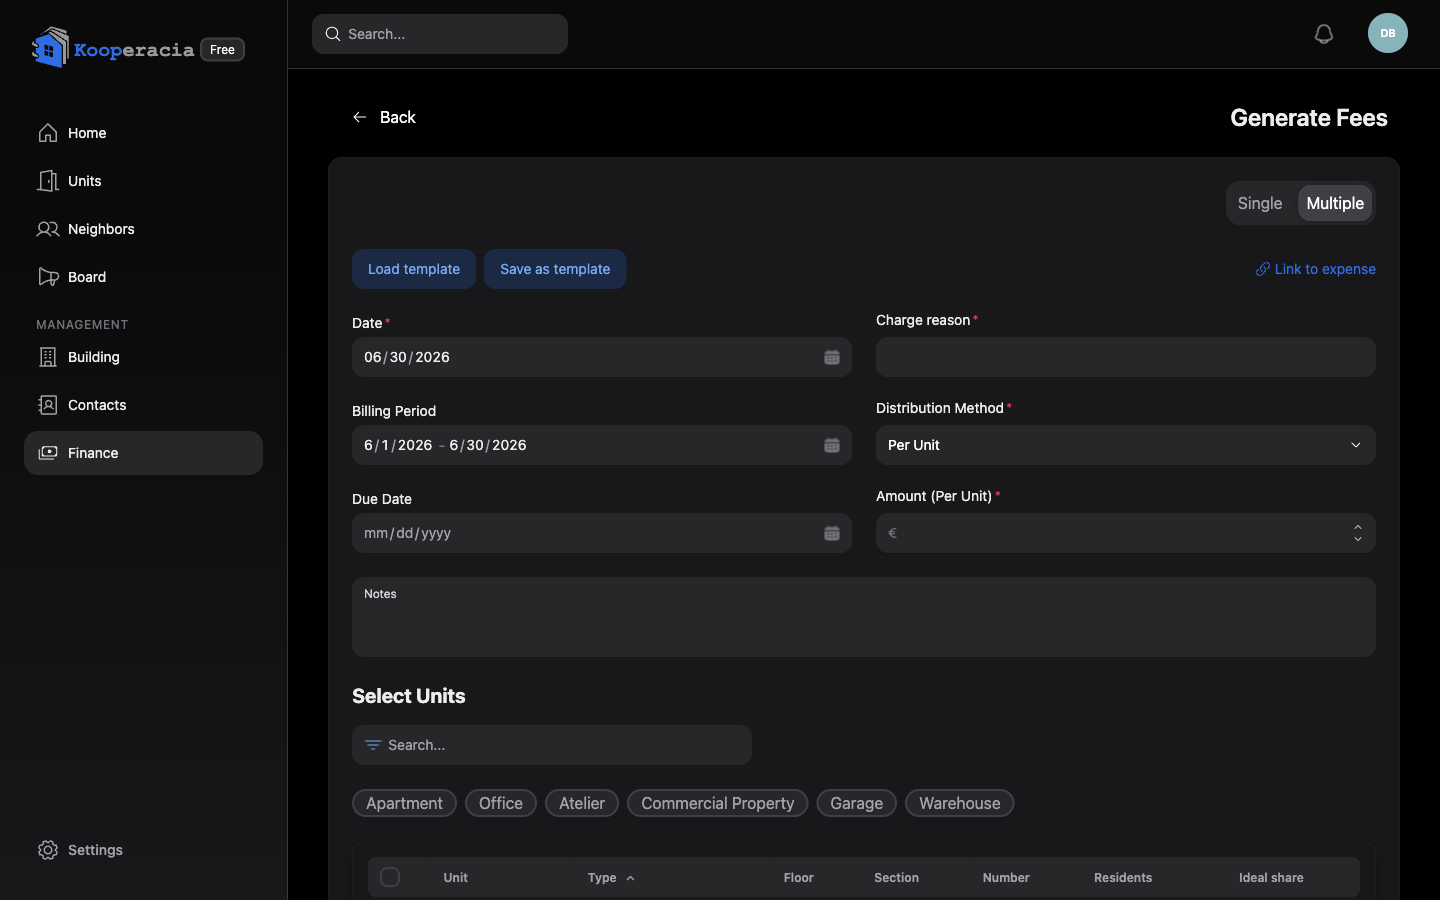 The Generate Fees wizard with the split method and the per-unit preview.
You can also add a single fee or a one-time income when you need a one-off entry. Overdue fees are flagged as Overdue, and the due date can never be earlier than the entry date.
3. Recording payments and deposits
Recording a payment
When a resident pays a fee:
- Open the unit (or the fee) and click Pay.
- Tick the fees the payment covers and set the amount for each.
- Choose how it was paid - Cash or Bank transfer.
- Save. The unit's balance updates immediately and the fee is marked paid.
Deposits - a prepaid balance on the unit
A deposit is money a unit pays in advance. It's kept as a credit on that unit (not in any one bank account) and is ready to cover that unit's future fees - useful when an owner pays a few months ahead or rounds a payment up.
To add money to a deposit, overpay a fee:
- Record a payment as usual (Cash or Bank transfer).
- Enter a payment amount larger than the fees you're settling.
- The extra shows up as a green Deposit assigned to that unit and is saved as its deposit balance.
To pay a fee from the deposit:
- Open Pay for the unit's fee.
- Switch the method to Deposit - you'll see the unit's Available deposit.
- Tick the fees to cover and save. The amount is taken from the deposit and recorded as a Payment with deposit. If you ask for more than is available, you'll see Insufficient deposit.
The amount left appears as a Deposit €… chip on the unit in the Units list and on the unit's page, so owners and managers can always see what's left.
4. Expenses and transfers
- Add Expense records money leaving an account (e.g. paying the cleaning company).
- Add Transfer / Account Transfers move money between your own accounts - for example from the current account into the reserve fund. The app prevents transfers that exceed the available balance.
5. Online payments
If you connect an online payment provider - IRIS Pay or ePay / EasyPay, set up under Building → Accounts - residents can pay their fees online from inside the app:
- Residents see their unpaid fees and the total to pay.
- Card/online payments are confirmed quickly; bank transfers take a few business days.
- With ePay / EasyPay, residents can pay online or in cash at any EasyPay desk using their unit's subscriber number.
- Each attempt shows a clear status - successful, pending, failed or cancelled.
If a resident has no unpaid fees, the app simply shows "No unpaid fees found."
Next steps
- Watch the numbers appear in the Dashboard.
- Analyse balances and trends in Statistics & Reports.
- Turn on online payments in Settings & Subscription.
Dashboard
Dashboard
The Dashboard is your home screen - the first thing you see after signing in and selecting a building. It gives you the state of the building at a glance and quick links into everything else.
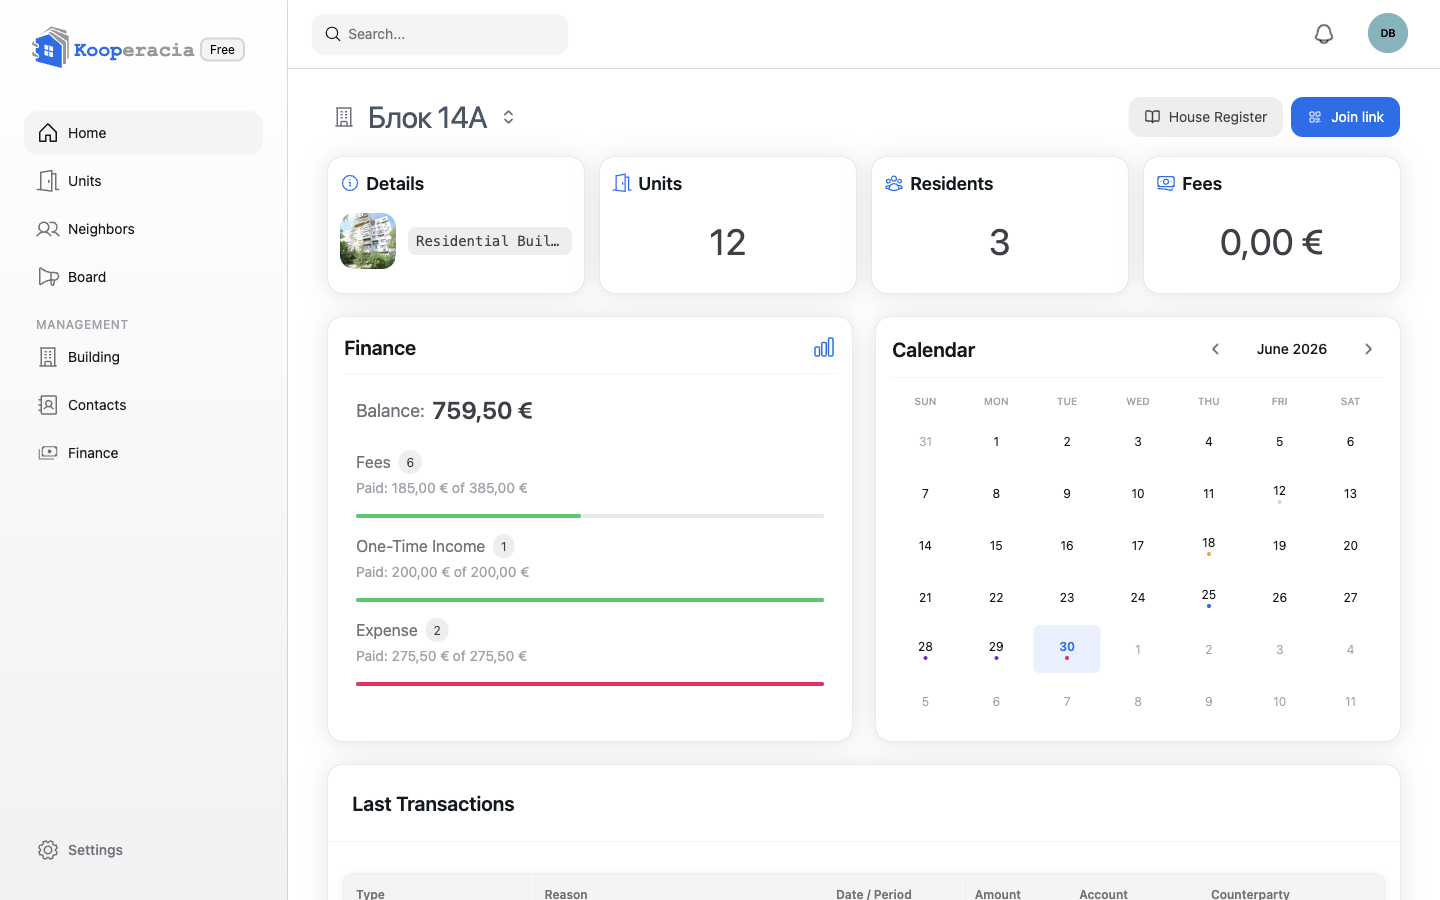
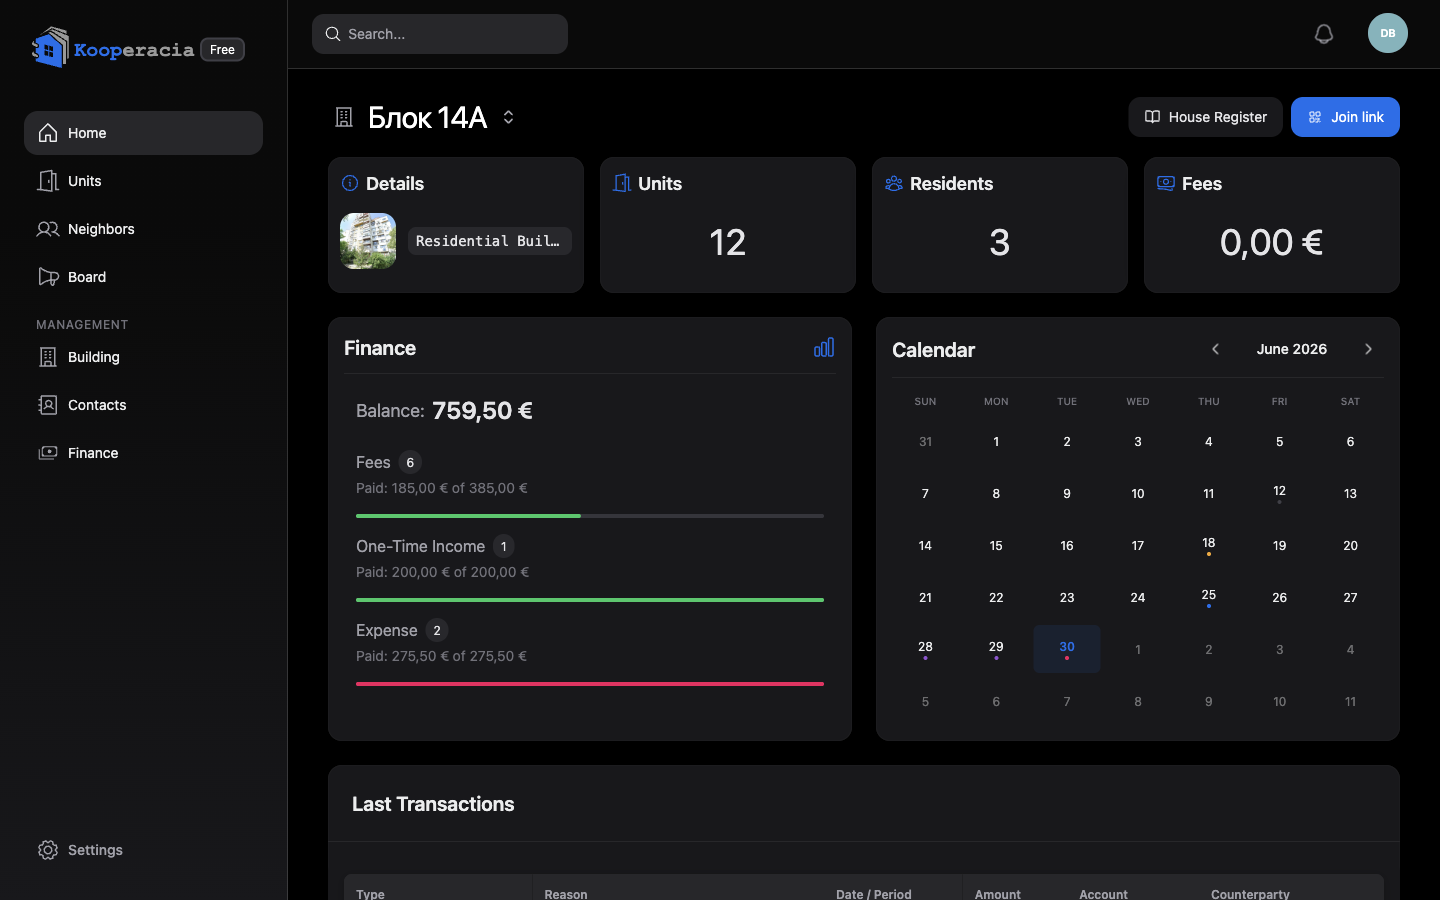 The full dashboard with the summary cards, calendar and recent movements.
Summary cards
Across the top you'll find the key numbers for your building. Each card is also a shortcut - tap it to open its detailed report (see Statistics & Reports):
| Card | What it shows |
|---|---|
| Units | Total number of units in the building. |
| Residents | How many people are registered. |
| Fees | Outstanding fees still to be collected. |
| Balance | The combined balance across your accounts; open it for the month's income, expenses, fees and deposits. |
The building card
A card for the current building shows its name and type, a shortcut to Details, and the Join link you can share to bring new members in (see Building Management).
Calendar
The monthly Calendar highlights what's coming up - scheduled events, meetings and fee due dates. Click a day to see what's on it. Add and manage entries from Events & Calendar.
Last Transactions
The Last Transactions list shows the latest financial activity, each row with its type (fee, payment, deposit, expense, transfer), reason, date / period, amount, account and counterparty (the unit or person). It's the fastest way to confirm a payment landed. The full history lives in Finance.
What residents see
Residents get the same building overview - the summary cards, balance, calendar and recent movements - for full transparency. Their menu is streamlined to Home, Properties, Neighbours, Board and Settings: there's no management section, and the building card shows Details but no join link. Adding or editing data is reserved for the Owner, Administrator and Finance Editor roles.
Next steps
- Dig into the numbers in Statistics & Reports.
- Manage day-to-day money in Finance.
Statistics & Reports
Statistics & Reports
Kooperacia turns the data you enter into clear reports. There isn't a separate "Statistics" menu - instead you reach each report from the Dashboard: tap a summary card to drill into the detail. The more complete your Units, Contacts and Finance data, the richer these become.
Residents see the headline numbers and can look up neighbours in the House Register; the deeper analytics are a management tool.
Financial report (Balance)
Open the Finance / Balance card on the Dashboard (Building → Balance) to see:
- Balance - money on hand right now.
- Month Income and Month Expense, plus Deposits, for the selected period.
- Accounts Balance - the balance of each individual account (Cash Register, bank accounts, funds).
- Payment Methods - a breakdown of how payments came in.
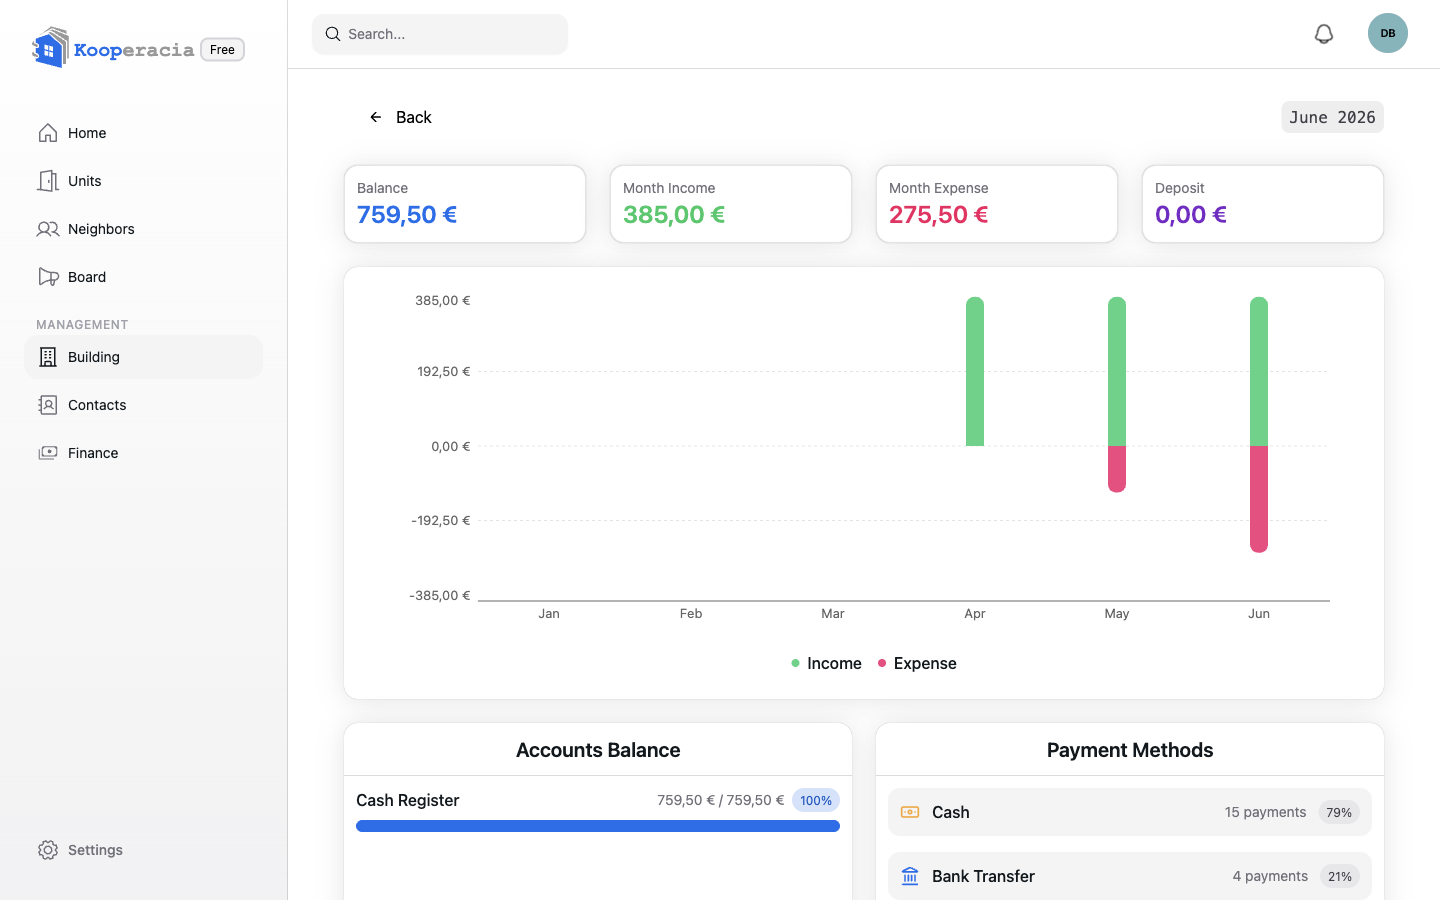
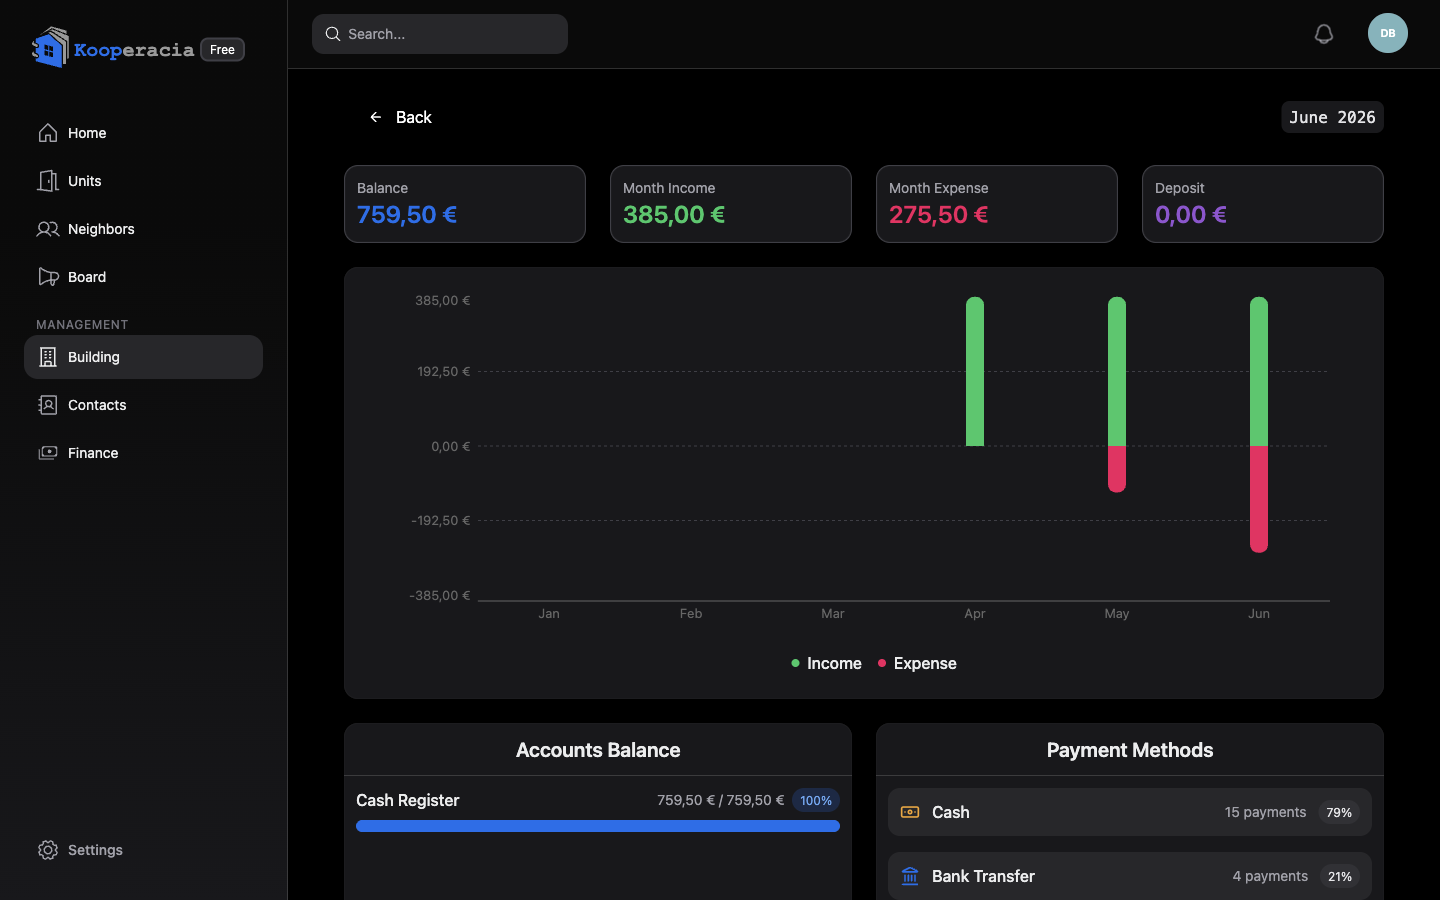 The Balance report - balance, income vs expense, accounts and payment methods.
Unit report (Units)
Open the Units card on the Dashboard (Building → Units) for:
- Unit Distribution - how many units of each type (By unit type).
- Occupancy by Floor - how full each floor is.
- Total Units.
Resident report (House Register)
Open the Residents card on the Dashboard (Building → Residents) - the page is titled House Register (Домова книга) - for:
- Total Residents and Active Residents (occupancy rate).
- Units with pets and Units with children.
- Senior Residents.
- Age Distribution - residents by age group.
- Pet Statistics - pets in the building, by type.
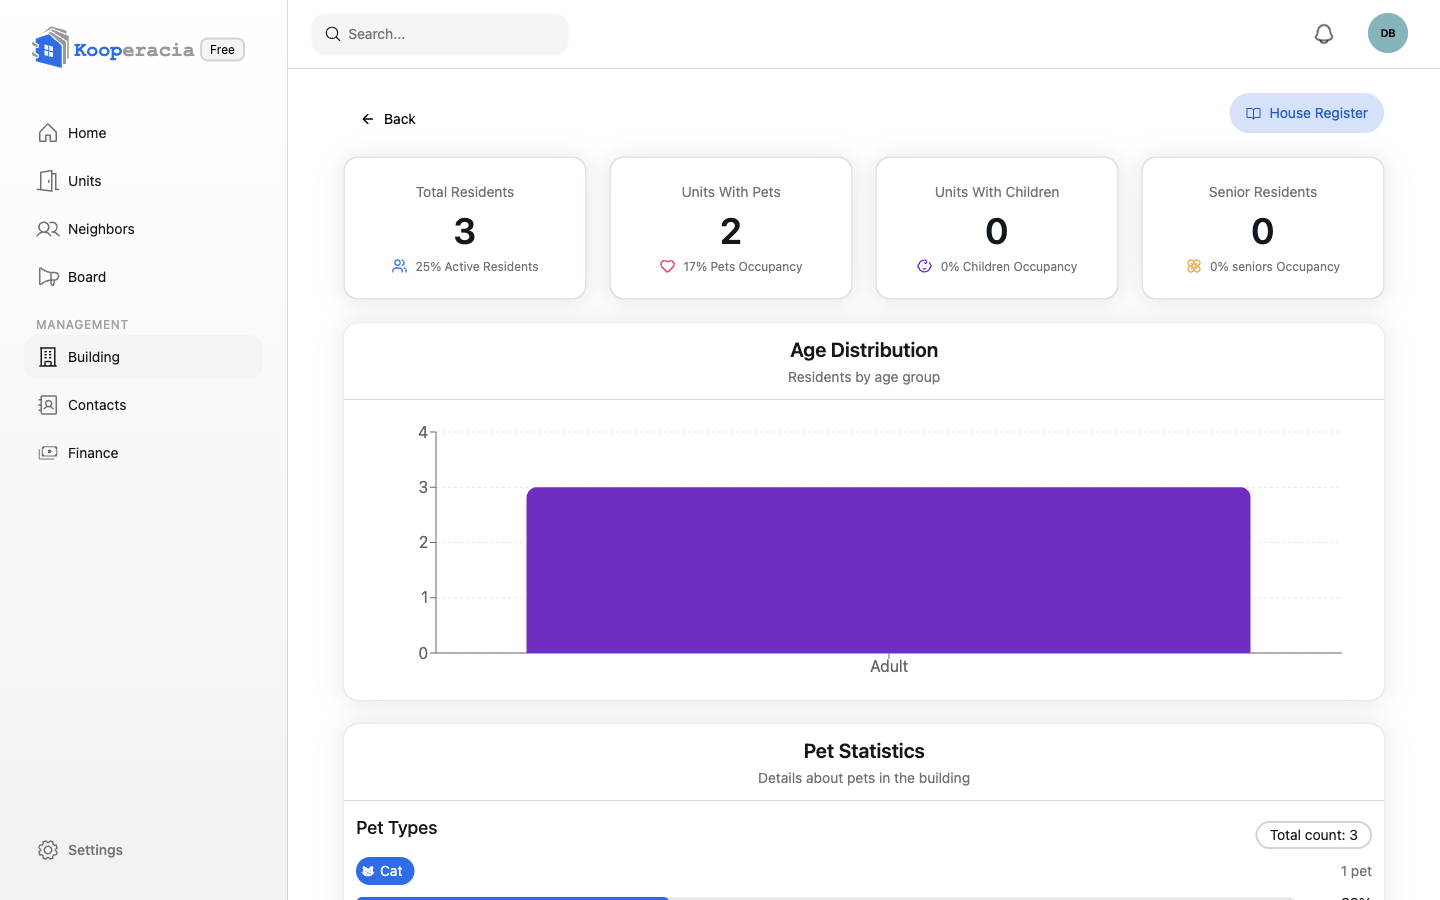
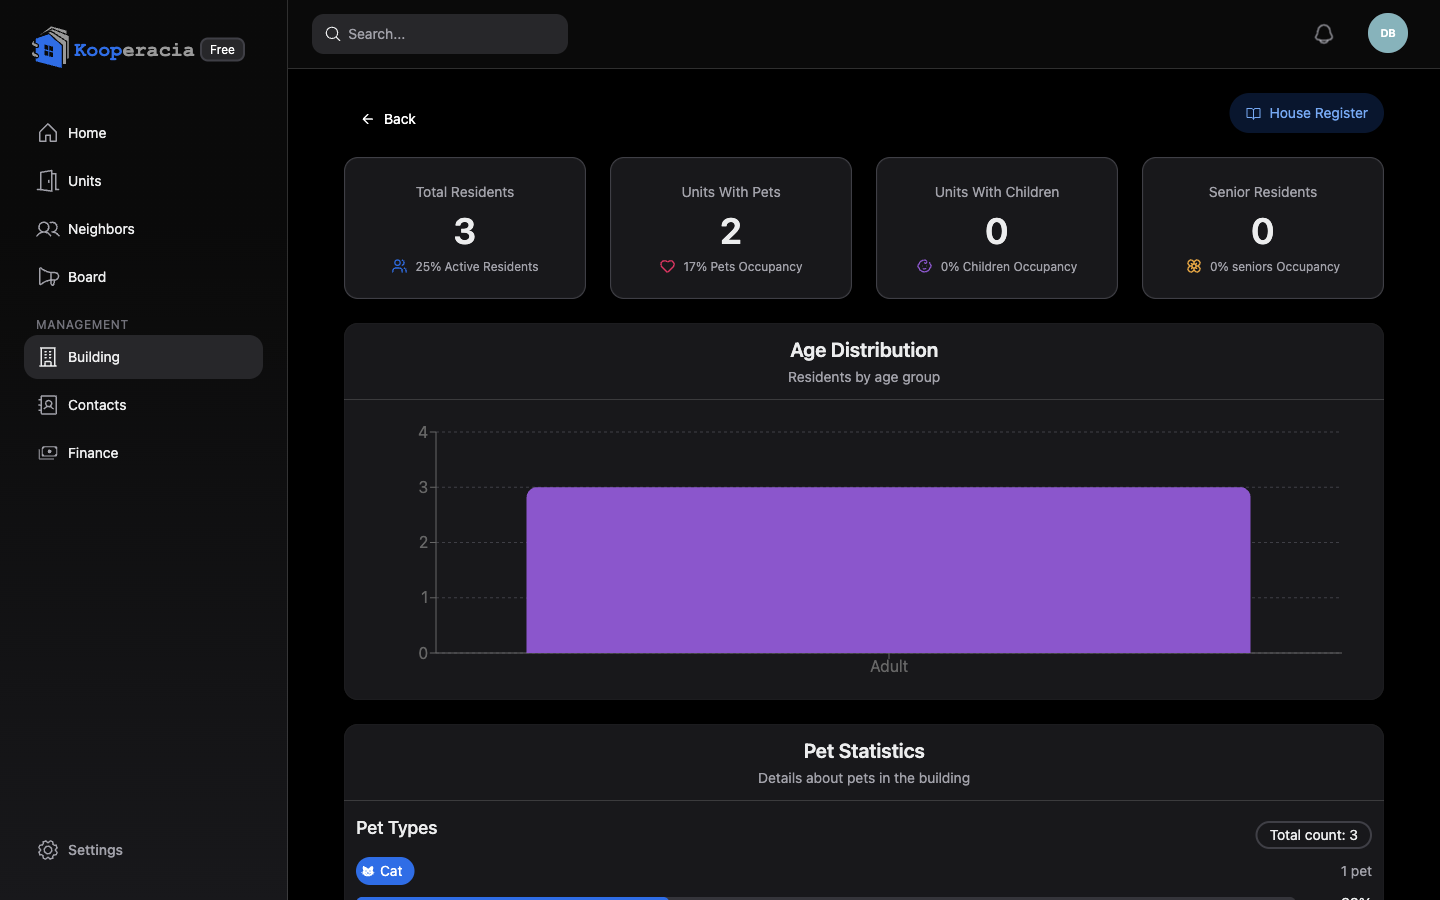 The resident report - totals, age distribution and pet statistics.
House Register
From Building → Residents → House Register (or the House Register button on the Dashboard), the House Register (Домова книга) is the official, structured record of the building's units and the people in them. It opens with summary cards - units, owners, residents and pets - followed by every unit in turn.
For each unit it lists:
- Owners and Residents, each with their age group, gender, relation to the owner (e.g. daughter, spouse) and the date they were recorded.
- Pets, with type, passport number and dates.
- A Role history button showing every owner and resident the unit has had over time, with start and end dates.
It's generated automatically from your data and can be downloaded as a PDF for meetings or authorities. Residents see only the people marked visible to all residents.
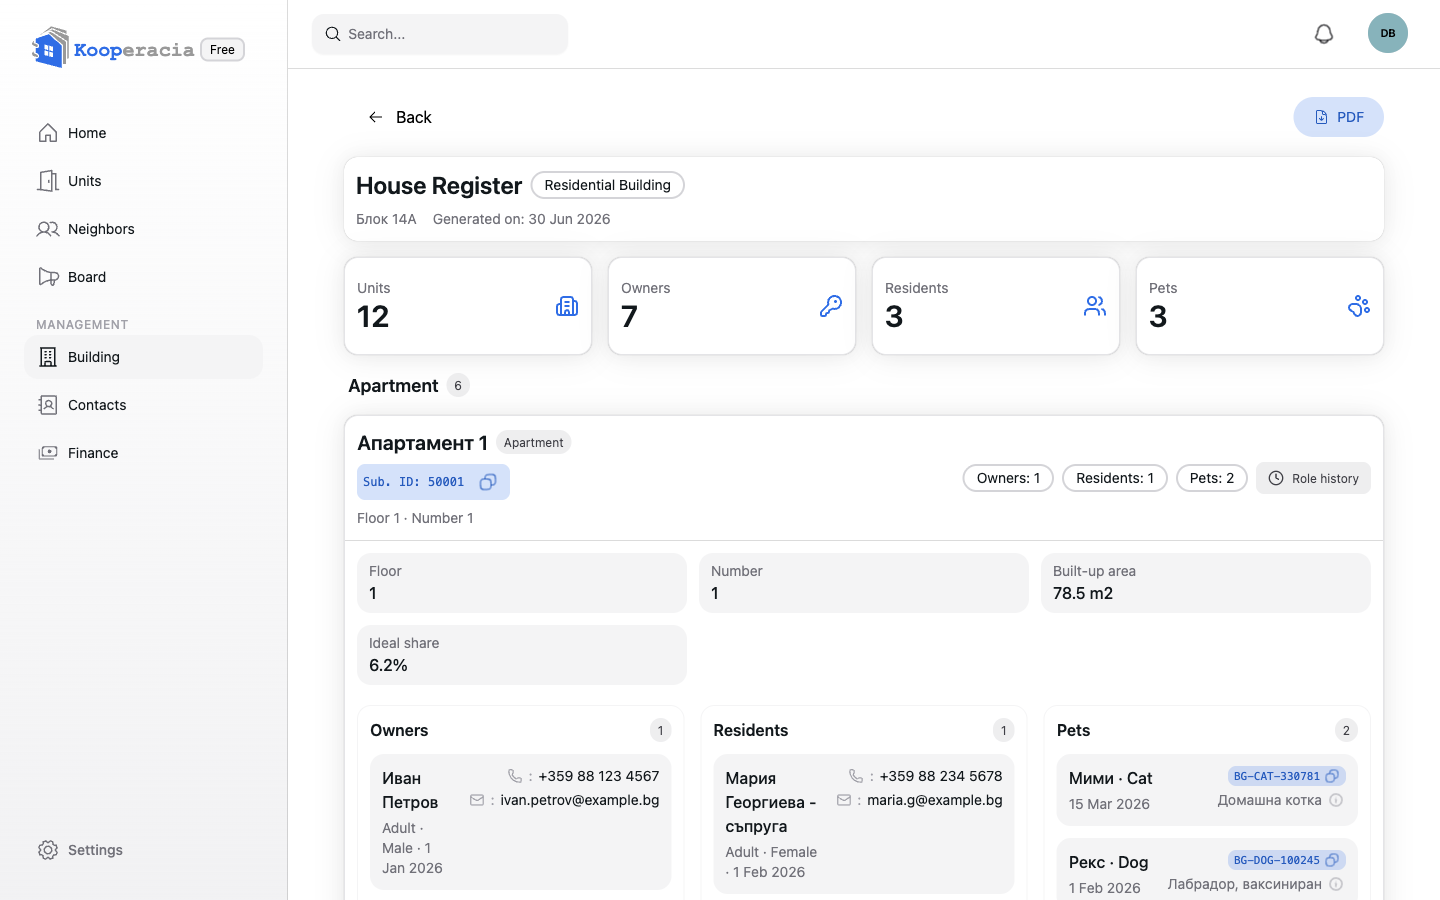
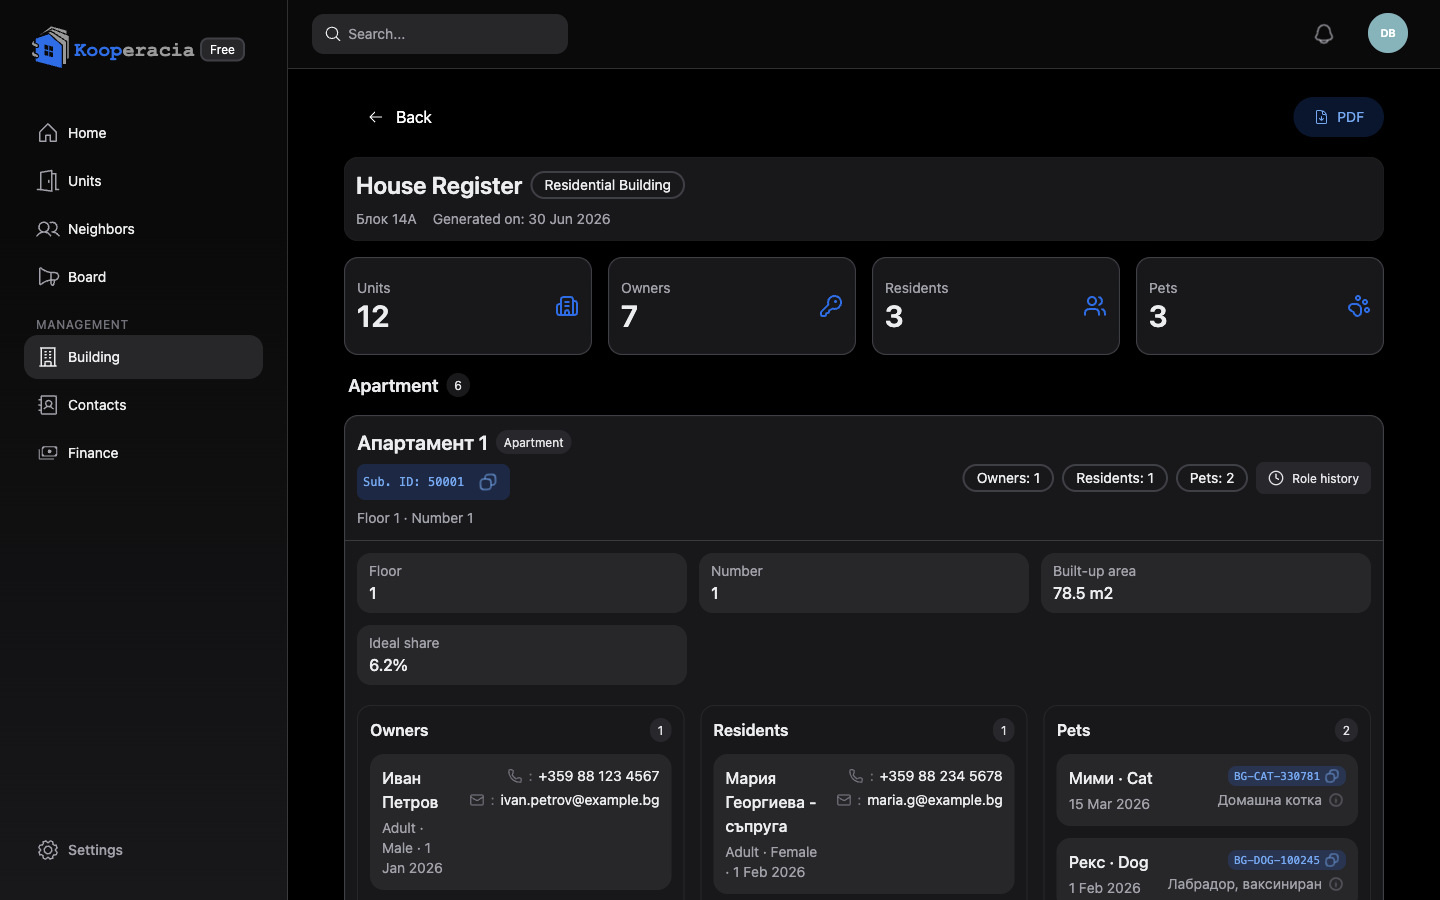 The House Register with summary cards and per-unit owners, residents and pets.
Reports and your plan
All plans - Free, Pro and Max - include the full reporting set: the balance and unit reports, the resident analytics, and the House Register with PDF export. Larger plans don't unlock extra reports; they raise the limits that matter for bigger buildings - more units, more storage, and priority support on the top plan. Manage your plan in Settings & Subscription.
Next steps
- Keep data current in Units and Finance.
- Review your plan in Settings & Subscription.
Messages & Bulletin Board
Messages & Bulletin Board
Kooperacia gives you two ways to keep everyone informed: the Bulletin Board for announcements and notices, and neighbour chat for conversations (covered in Neighbours Chat & Polls).
The Bulletin Board
The Bulletin Board (the Board / Обяви tab) is a wall of notes everyone in the building can read - perfect for announcements like "water shut-off on Tuesday" or "annual meeting on the 15th".
To post, click Add message and write your note in the built-in rich-text editor - headings, bold and italic, lists, links and even tables are all supported. Optionally give the note a colour (Blue, Purple, Green, Yellow, Red or Gray) to categorise it, then publish.
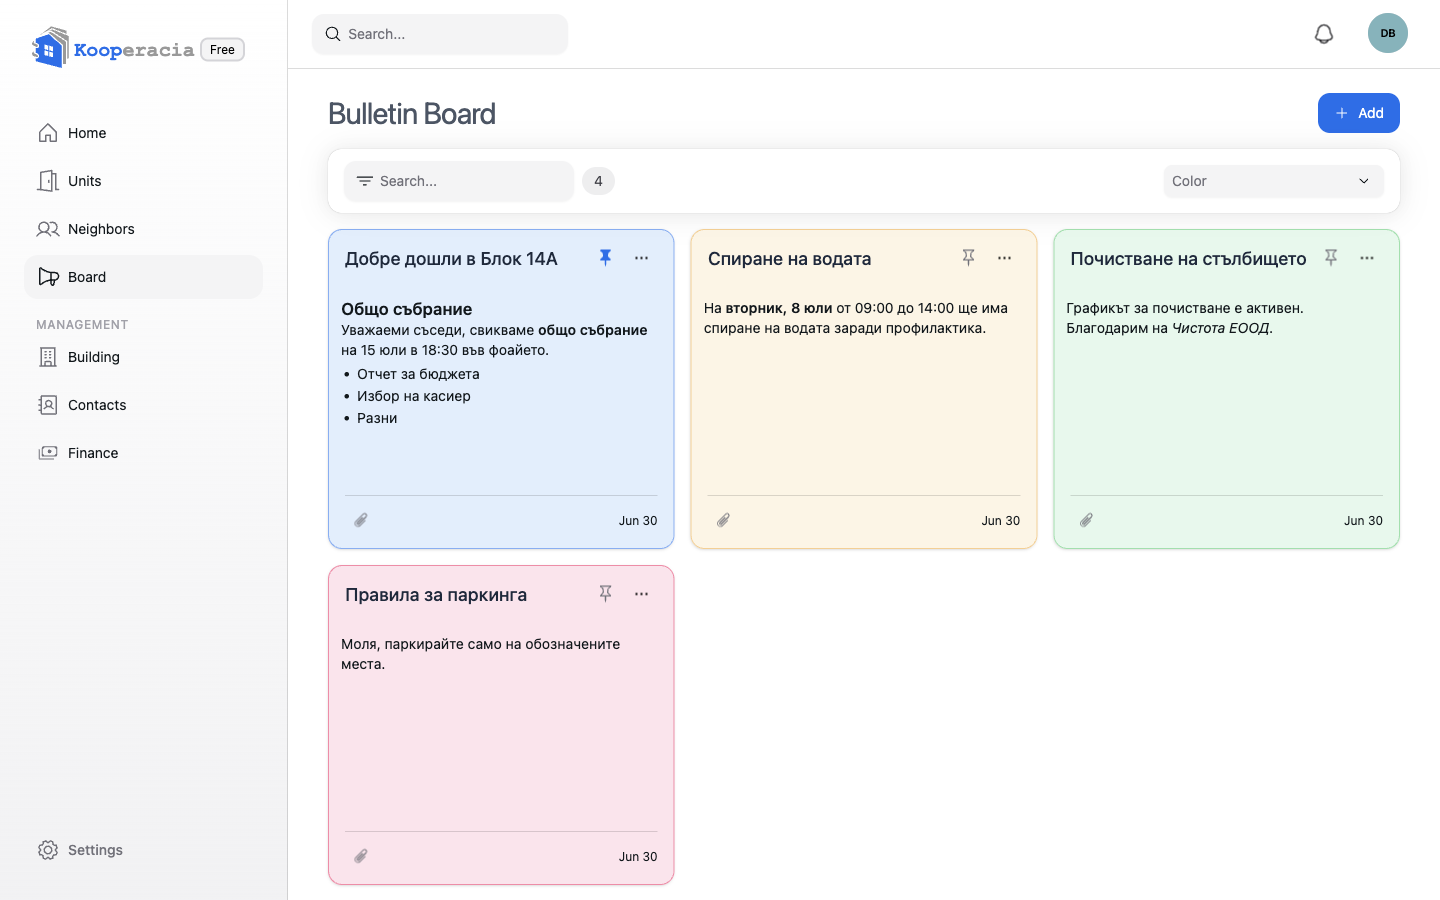
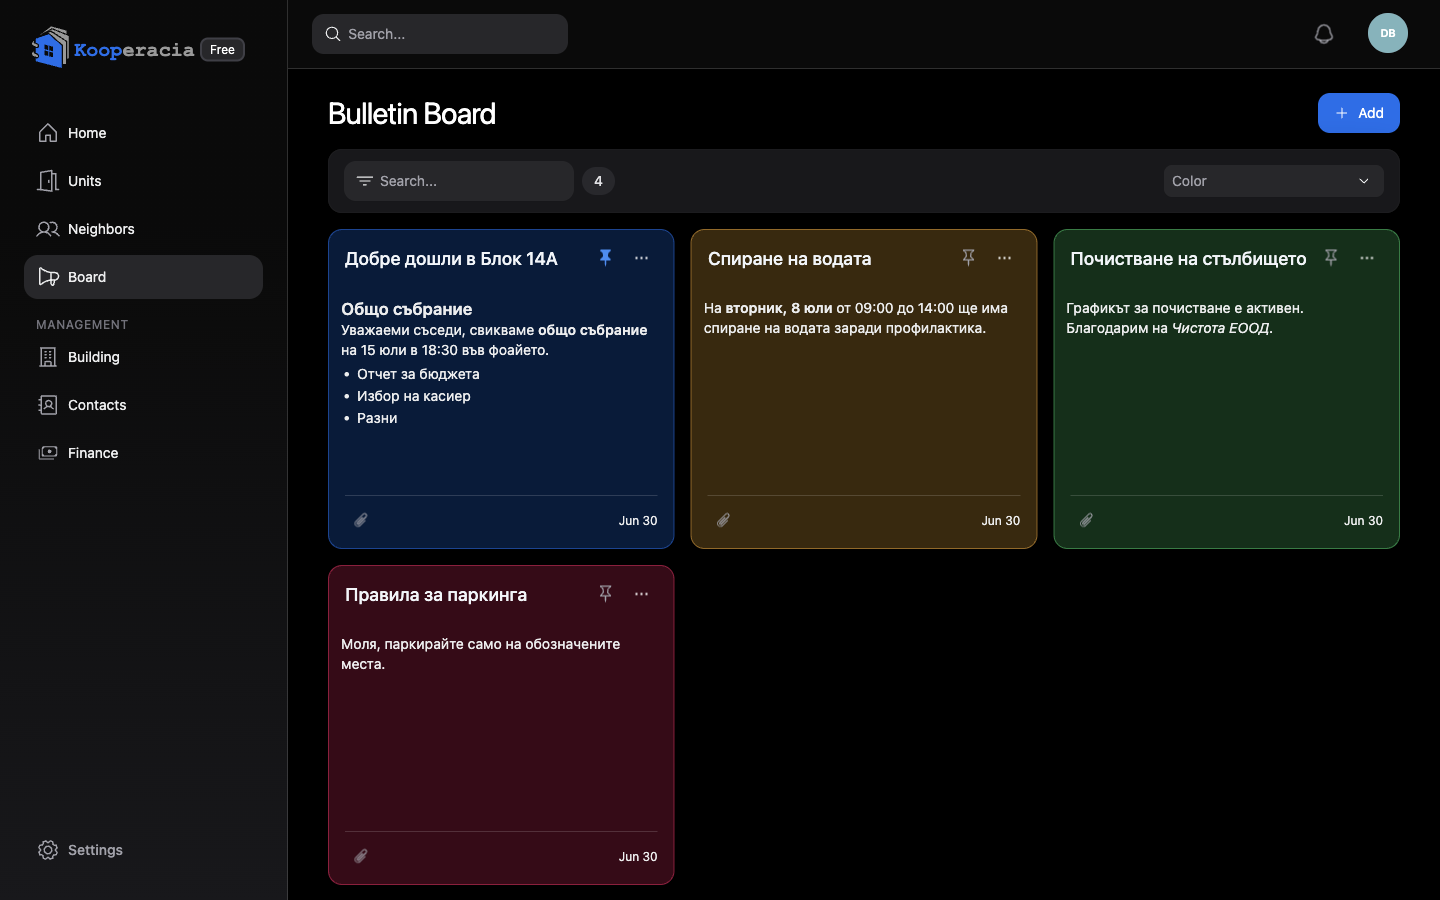 The bulletin board with several coloured notes, one pinned to the top.
Pinning and ordering
- Pin important notes so they stay at the top.
- Drag to reorder notes into the order you want.
- Two helpful rules: reordering by drag is paused while a colour filter is active, and pinned and unpinned notes can't be reordered together.
Filters
Use the Filters to show only Pinned or Unpinned notes, or filter by colour - handy on a busy board.
Attachments and files
Attach files to a note - a PDF of the meeting agenda, photos of a notice, a scanned invoice. You can add several at once, and images show inline in the note. Shared files count toward your building's storage, which you can review in Settings.
Who can post
The bulletin board is shared - both managers and residents can Add notes and attach files. Managers can additionally pin and reorder notes to keep important ones on top. Everyone gets a New Bulletin notification when something is posted (see Notifications). For two-way discussion, point people to the chat.
Next steps
- Schedule meetings in Events & Calendar.
- Chat and run polls in Neighbours Chat & Polls.
Events & Calendar
Events & Calendar
The Calendar keeps the whole building in sync - general assemblies, board meetings, inspections, maintenance windows and fee due dates all in one place. Events also surface on the Dashboard calendar.
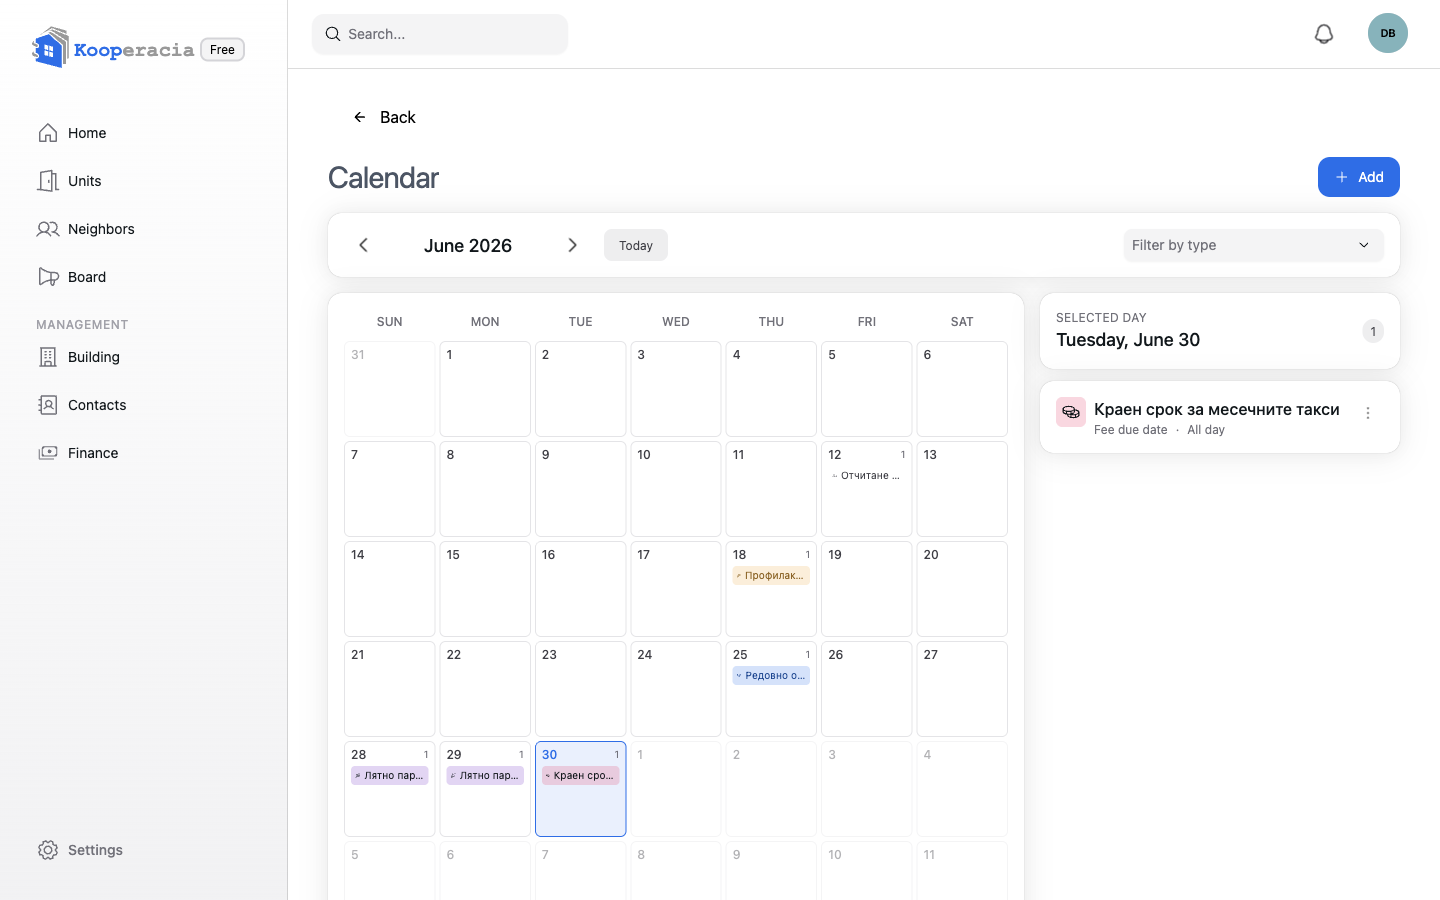
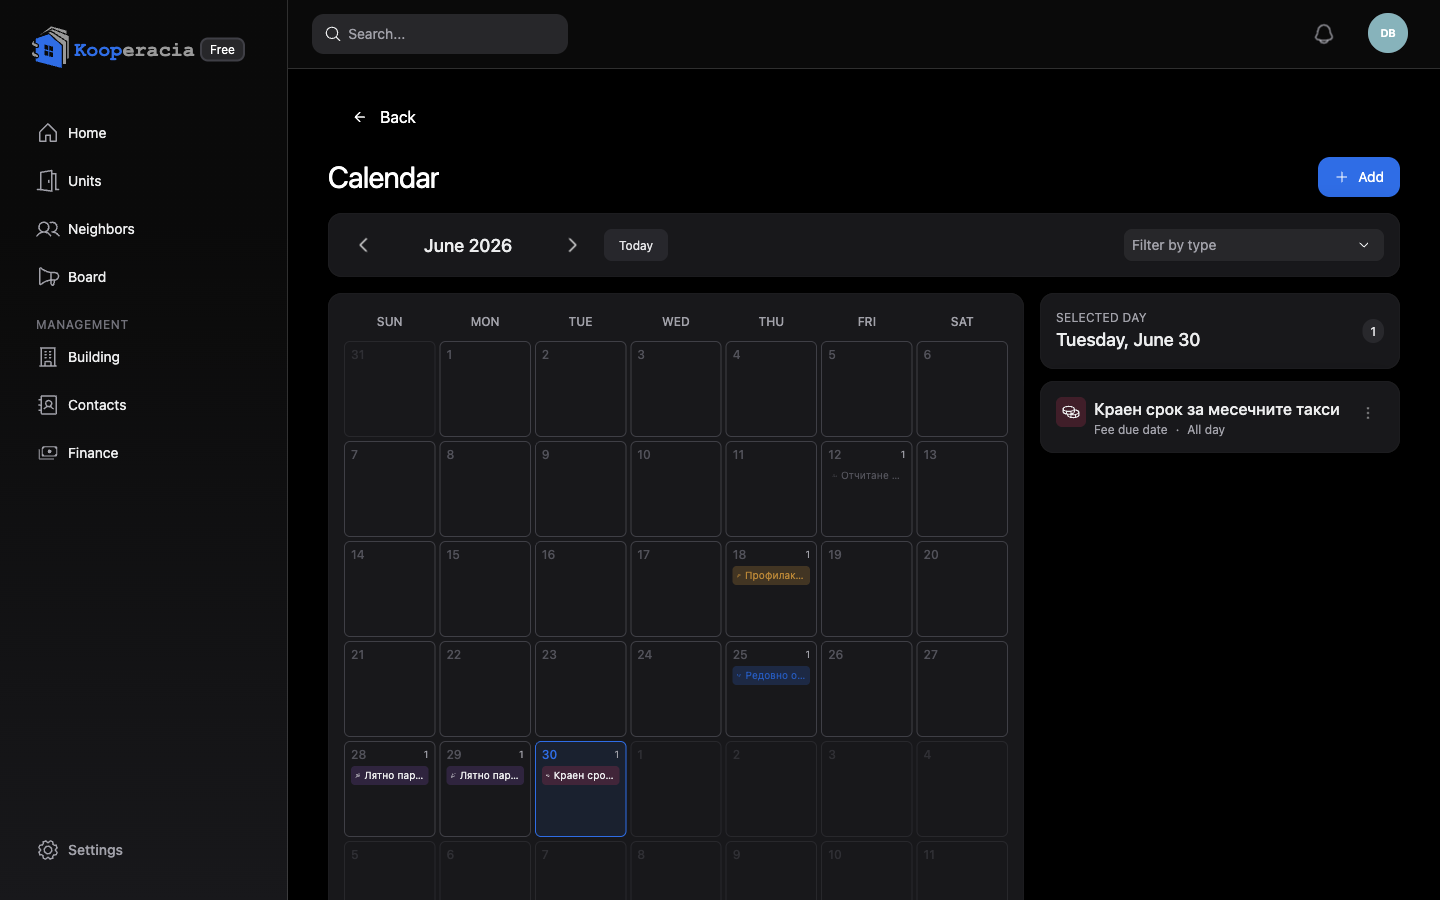 The calendar month view with a few events, and the "Add event" button.
Adding an event
Click Add event and fill in:
| Field | Notes |
|---|---|
| Title | e.g. "Regular general assembly". |
| Type | See the list below. |
| Starts at / Ends at | Or tick All day. |
| Location | e.g. "lobby, entrance A". |
| Description | Agenda or notes. |
| Collect attendance (RSVP) | Turn on to let members reply whether they'll attend. |
| Visibility | Who can see the event (below). |
Event types
| Type | |
|---|---|
| General Assembly | Management Board Meeting |
| Control Board Meeting | Fee Due Date |
| Technical Inspection | Maintenance / Repair |
| Meter Reading | Holiday |
| Other |
Filtering by type makes a busy calendar easy to scan.
Visibility
Control who sees each event:
- All members - everyone in the building.
- Owners only - just unit owners.
- Managers only - kept to the management team.
RSVP (attendance)
When Collect attendance is on, members can indicate whether they'll come - useful for assemblies where you need a quorum, so you can see expected turnout in advance.
Notifications
Members can receive a New event notification when one is added and an Event updated notification when it changes. They tune this in Notifications.
Next steps
- Announce events on the Bulletin Board.
- Discuss them in Neighbours Chat & Polls.
Neighbours Chat & Polls
Neighbours Chat & Polls
The Neighbours area is where the building talks to itself - group channels, private direct messages, and polls for collecting opinions and votes.
You'll find this under Neighbours (Съседи) in the menu. The same area also links to the Resident registry (House Register), so neighbours can look each other up.
Channels
Channels are group conversations everyone (or a chosen group) can join - for example general, maintenance and announcements. Managers can Create channel for any topic.
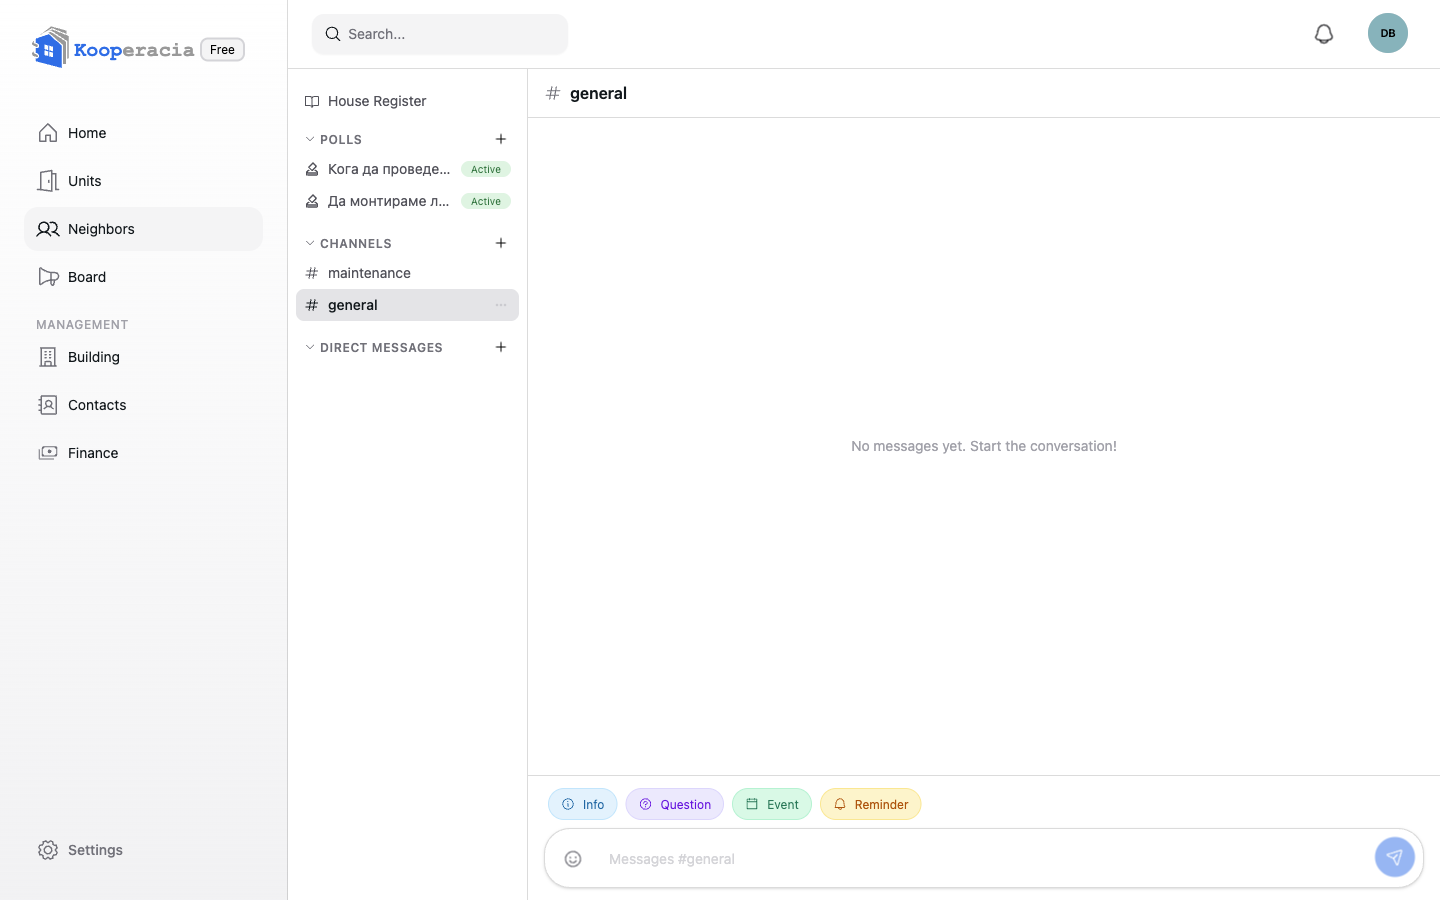
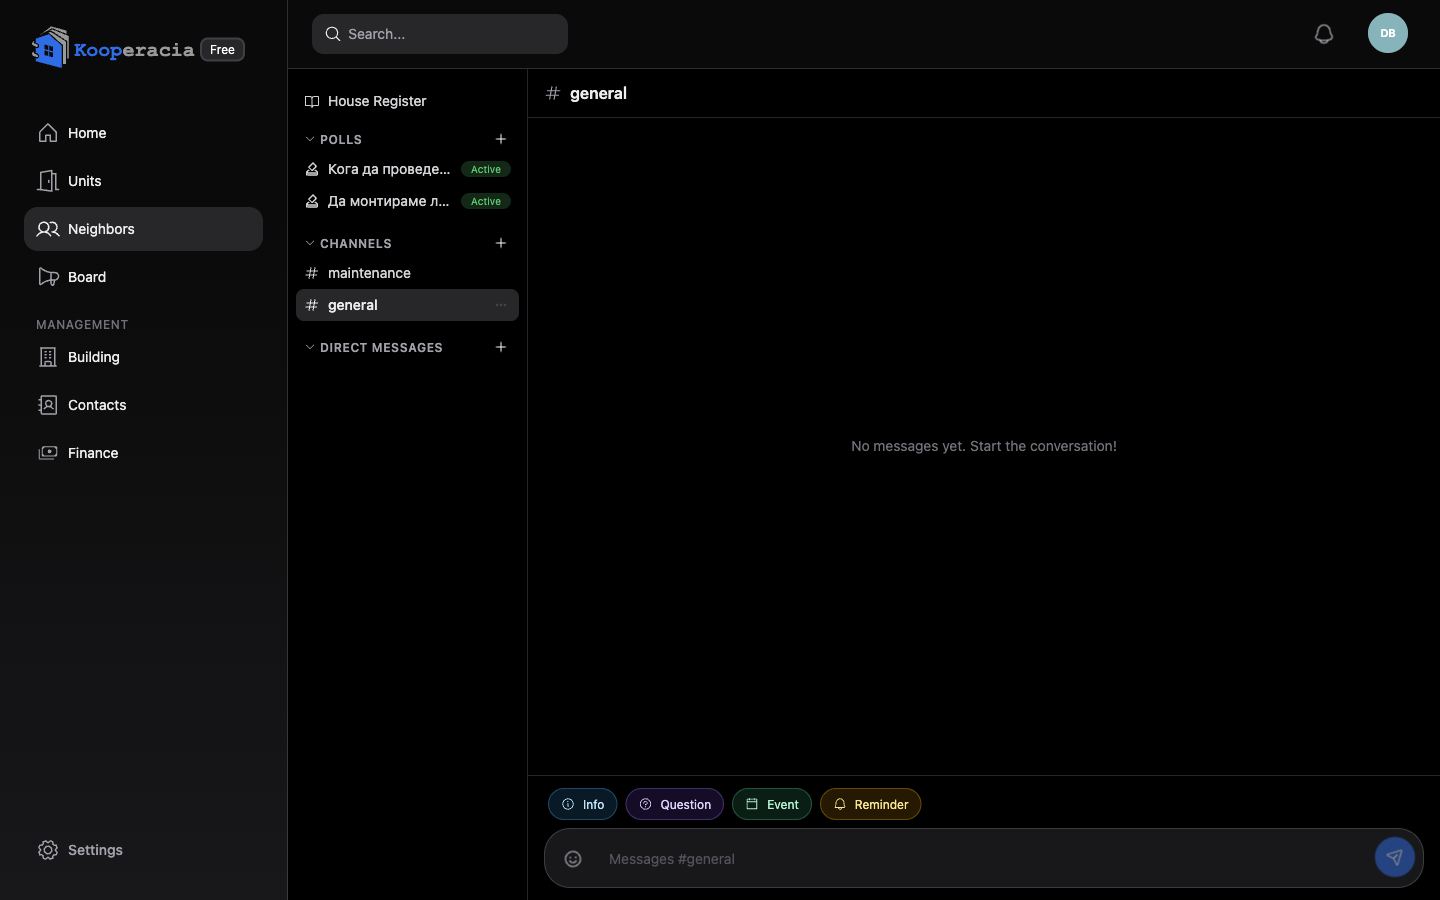 The chat view with the channel list on the left and a conversation open.
Direct messages
Need a private word with a neighbour or the manager? Start a direct message. If you're the only member so far, the app will simply say there are no other members yet.
Sending messages
- Add emoji from the picker, edit a message after sending, or copy its text.
- You'll see typing indicators ("is typing…") and can load earlier messages in long threads.
Highlight tags
In channels like maintenance, start a message with a tag to make it stand out - #attention, #warning or #danger. There are also quick markers such as Info, Question, Reminder and Event. Managers choose which special message buttons are available per channel.
Polls & surveys
Use Polls to make decisions together - from "Which day for the assembly?" to formal building votes:
- Open Polls and click Create poll.
- Give it a title, an optional description, and 2 to 6 options.
- Create it - members vote and you watch the results in real time.
Polls are listed as Active or Closed, with the vote count for each. Members can receive notifications when a new poll is published, when one is closing soon, and when it closes (see Notifications).
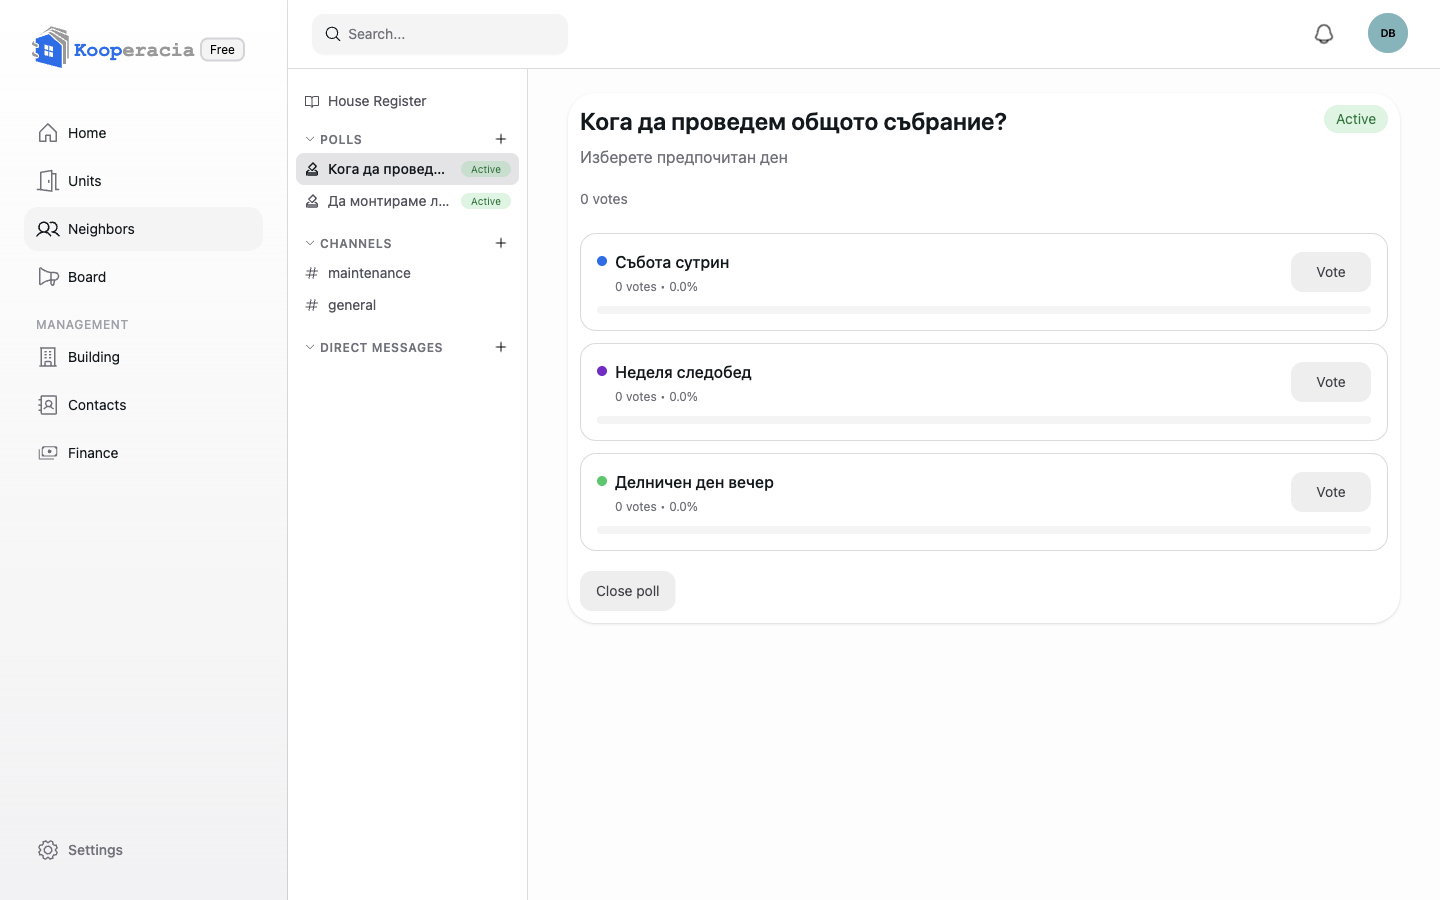
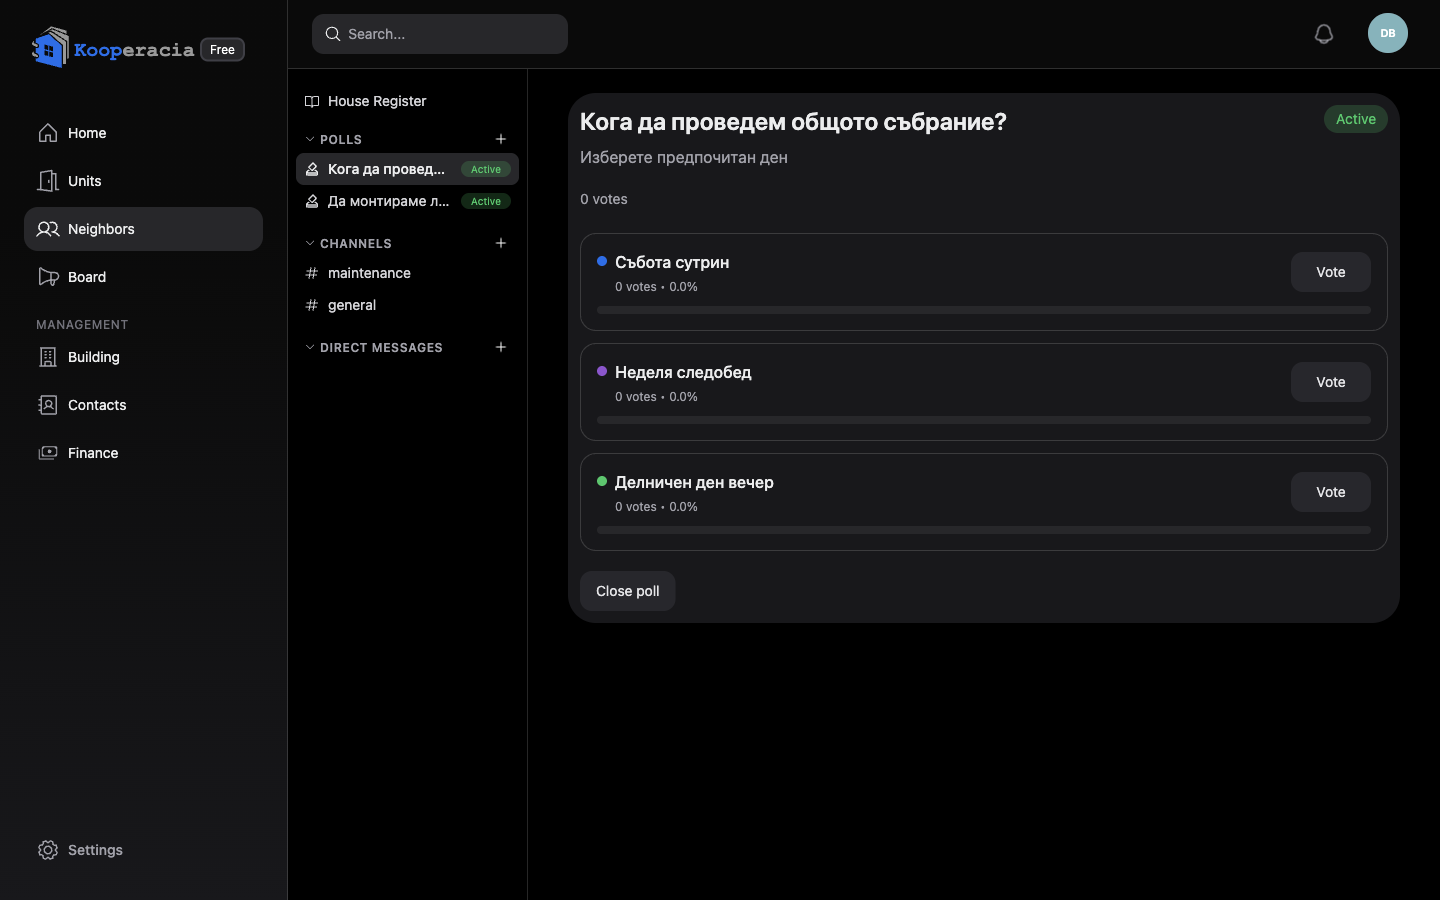 An active poll showing options and the live vote tally.
Next steps
- Post formal notices on the Bulletin Board.
- Schedule the outcome in Events & Calendar.
Notifications & Reminders
Notifications & Reminders
Kooperacia keeps everyone in the loop automatically - new fees, fresh bulletins, upcoming events, polls and payment reminders all reach the right people without you chasing them.
Where notifications appear
- In-app - the bell icon shows everything addressed to you.
- Email - important items also arrive in your inbox.
- Push - on the mobile apps.
- Desktop notifications - the web app can show pop-ups on your computer if you allow them in your browser. If they're blocked, you'll see a note explaining how to re-enable them in your browser settings.
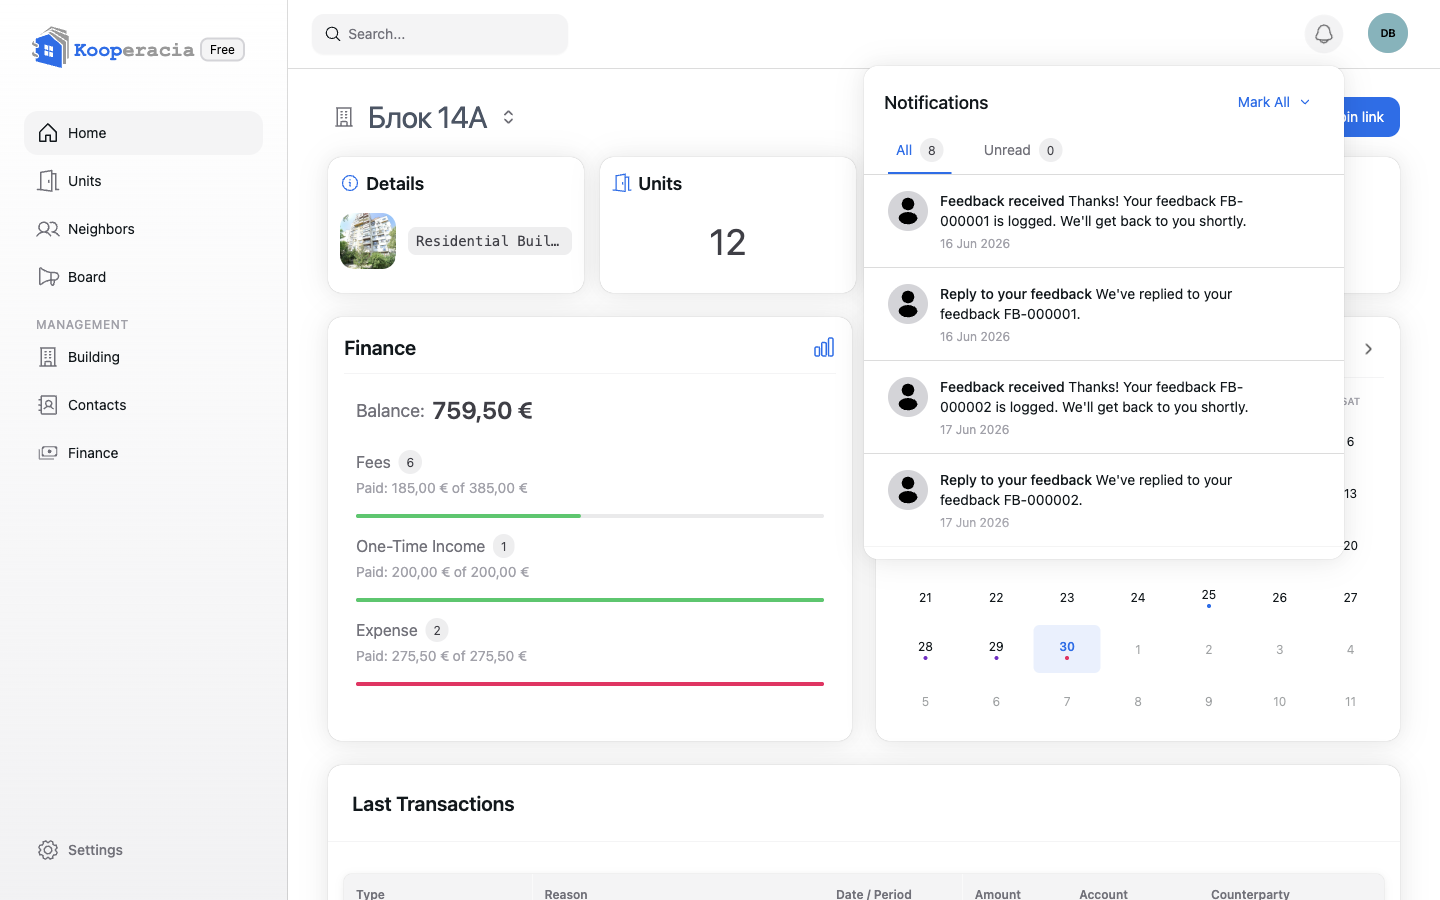
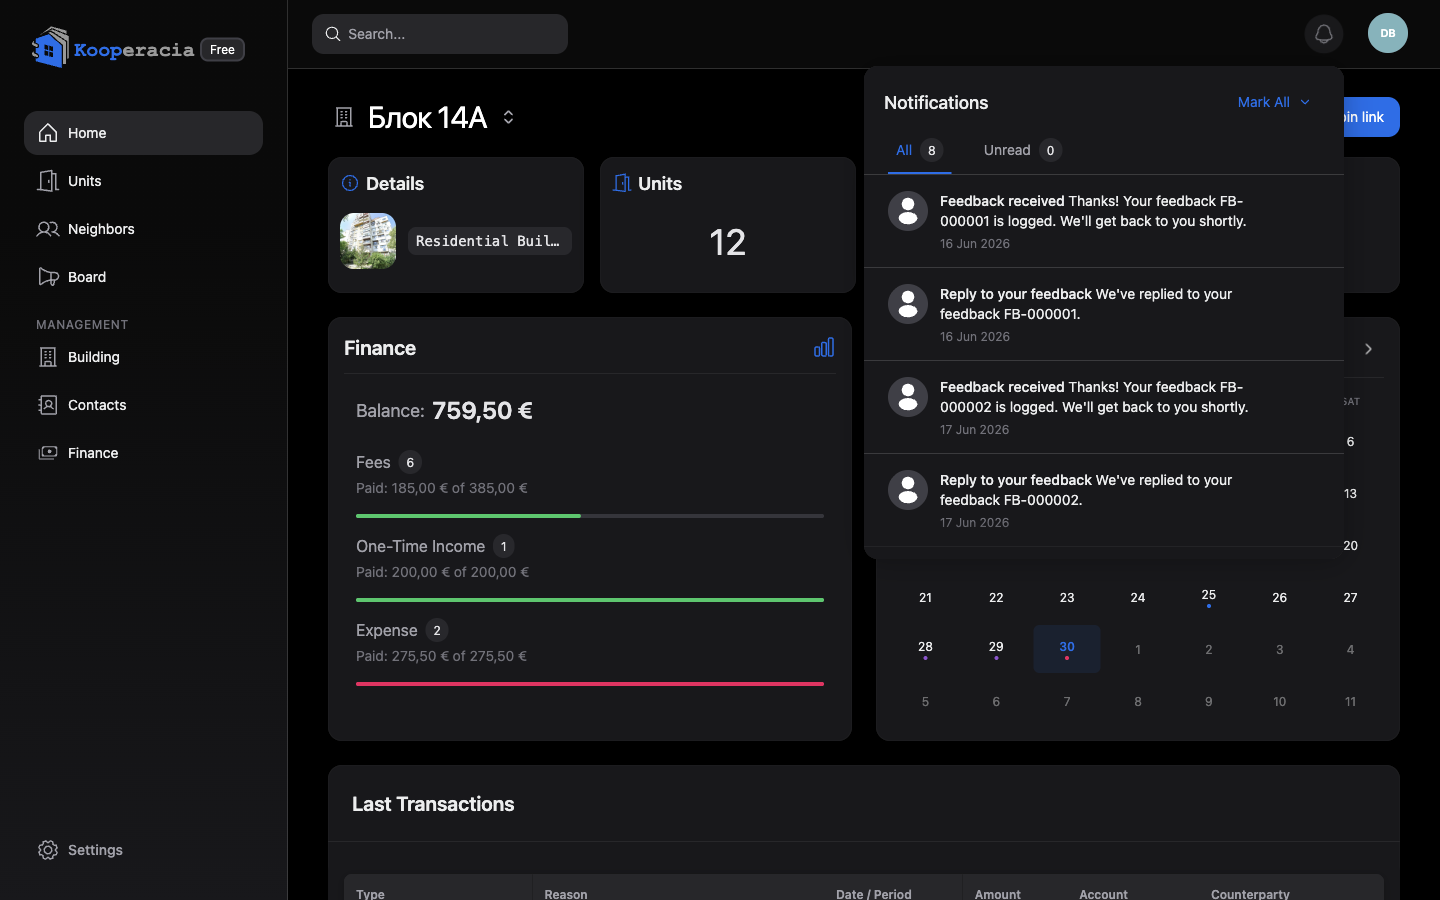 The notifications bell open, showing a list of recent notifications.
What you'll be notified about
| Area | Examples |
|---|---|
| Finance | New fees posted for your unit, and updates when a payment's status changes. |
| Bulletin board | A new bulletin is posted. |
| Events | A new event is added or an existing one is updated. |
| Polls | A new poll opens, one is closing soon, or a poll closes. |
| Joining | A new join request is submitted (managers), or your own request is approved or rejected. |
| Subscription | Billing reminders for the building's plan. |
| Feedback | Confirmation that your feedback was received, and replies from the team. |
Your notification preferences
You're in control of what reaches you. In your preferences you can switch individual notification types on or off, and choose the channel (in-app, email, push) where it makes sense. For example, a resident might keep new fees and payment status on, but mute chatty channels.
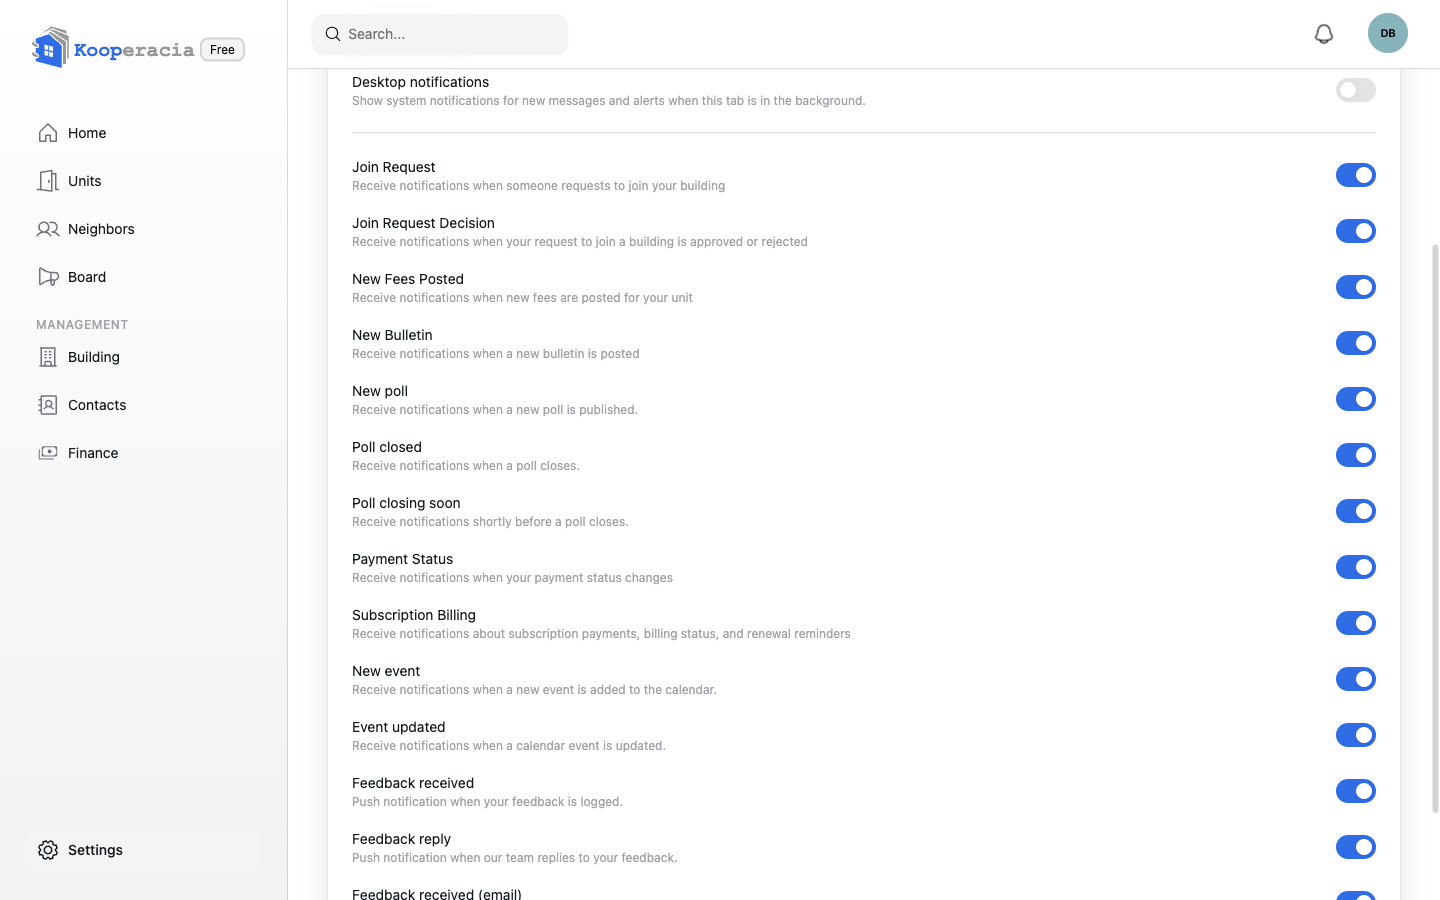
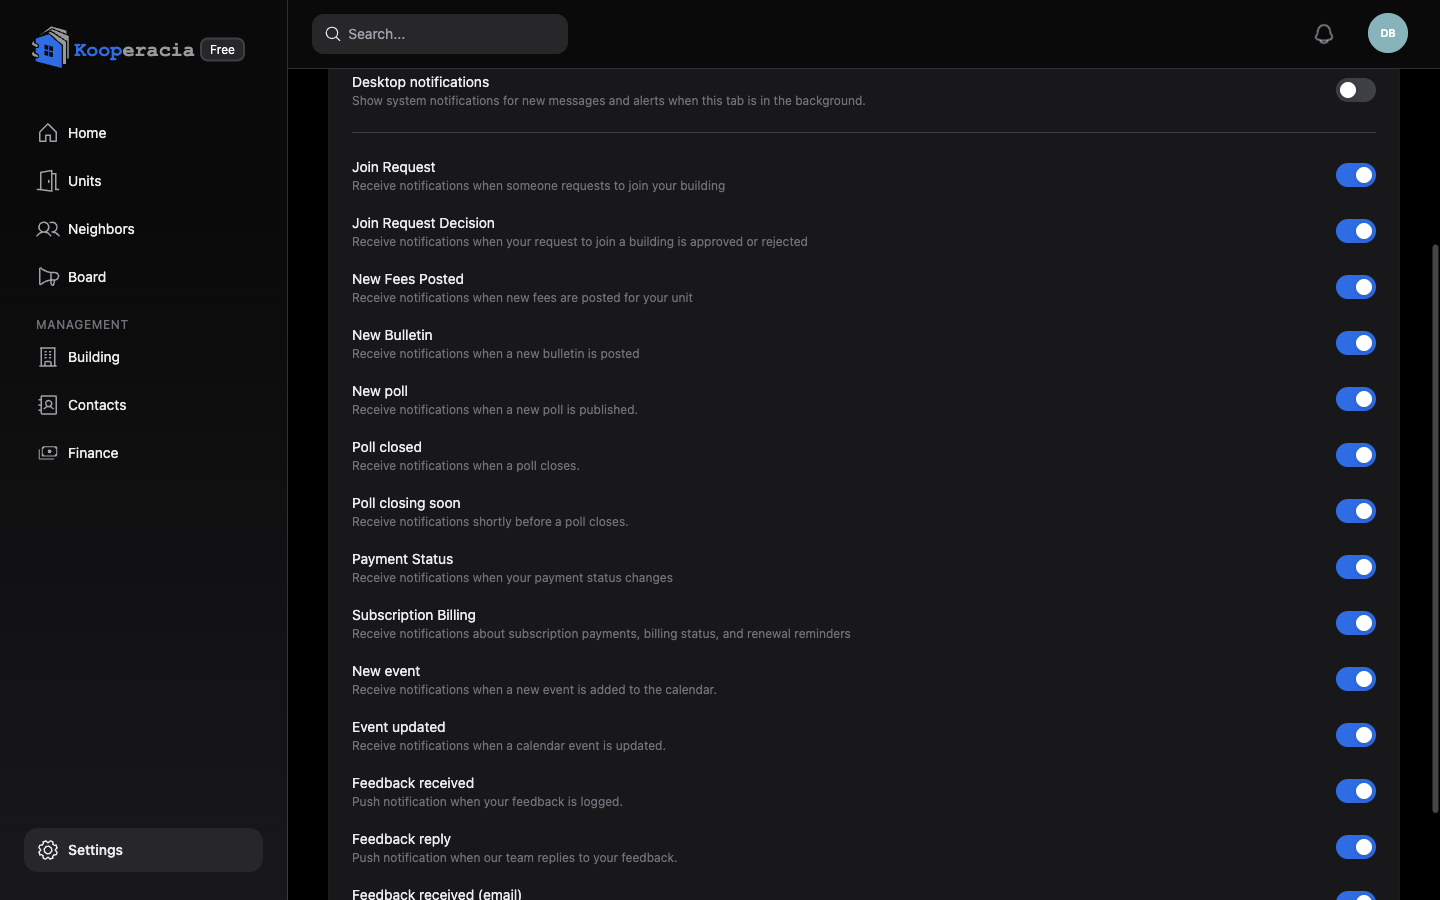 The notification preferences with per-type toggles.
Tip for managers
When you post fees, every affected resident gets a New Fees notification straight away - so you don't have to message anyone to tell them. Overdue amounts are then flagged in Finance and on the dashboard.
Next steps
- Post fees and set due dates in Finance.
- Adjust appearance and account-wide options in Settings & Subscription.
Settings & Subscription
Settings & Subscription
The Settings page (in the menu) is short and personal: appearance, language, notifications and feedback. Building-wide management - users, payments and your plan - lives under Building Management; your subscription is also one click away from the sidebar.
Resident view: residents see exactly this Settings page - appearance, language, notifications and Send feedback. Everything else (users, payments, subscription) is manager-only and lives under Building.
Appearance & language
Switch between light and dark themes and change the language (Bulgarian or English) at any time. These are personal preferences and don't affect other members.
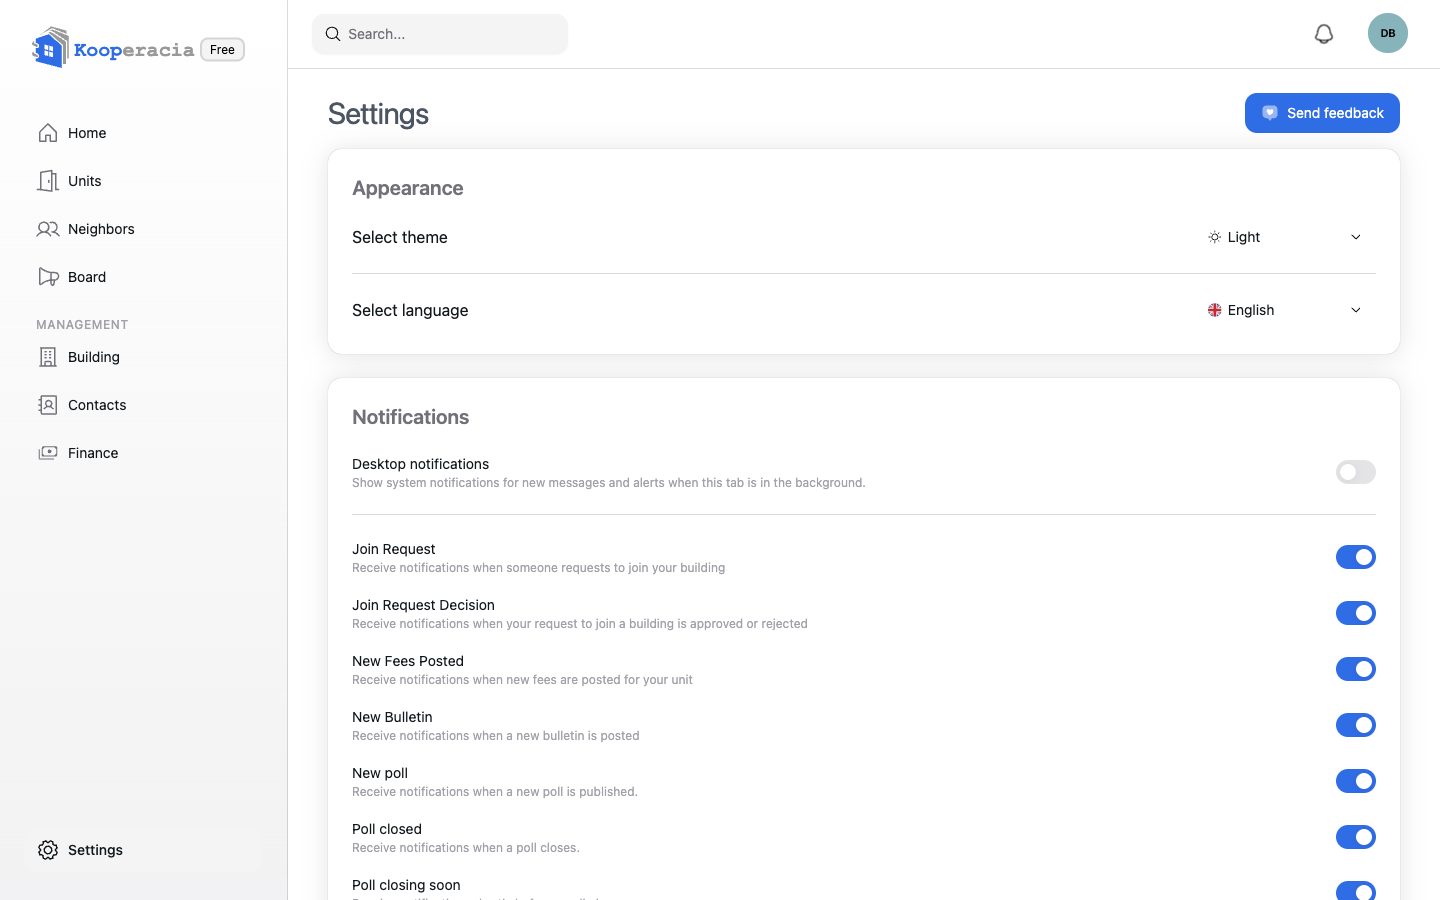
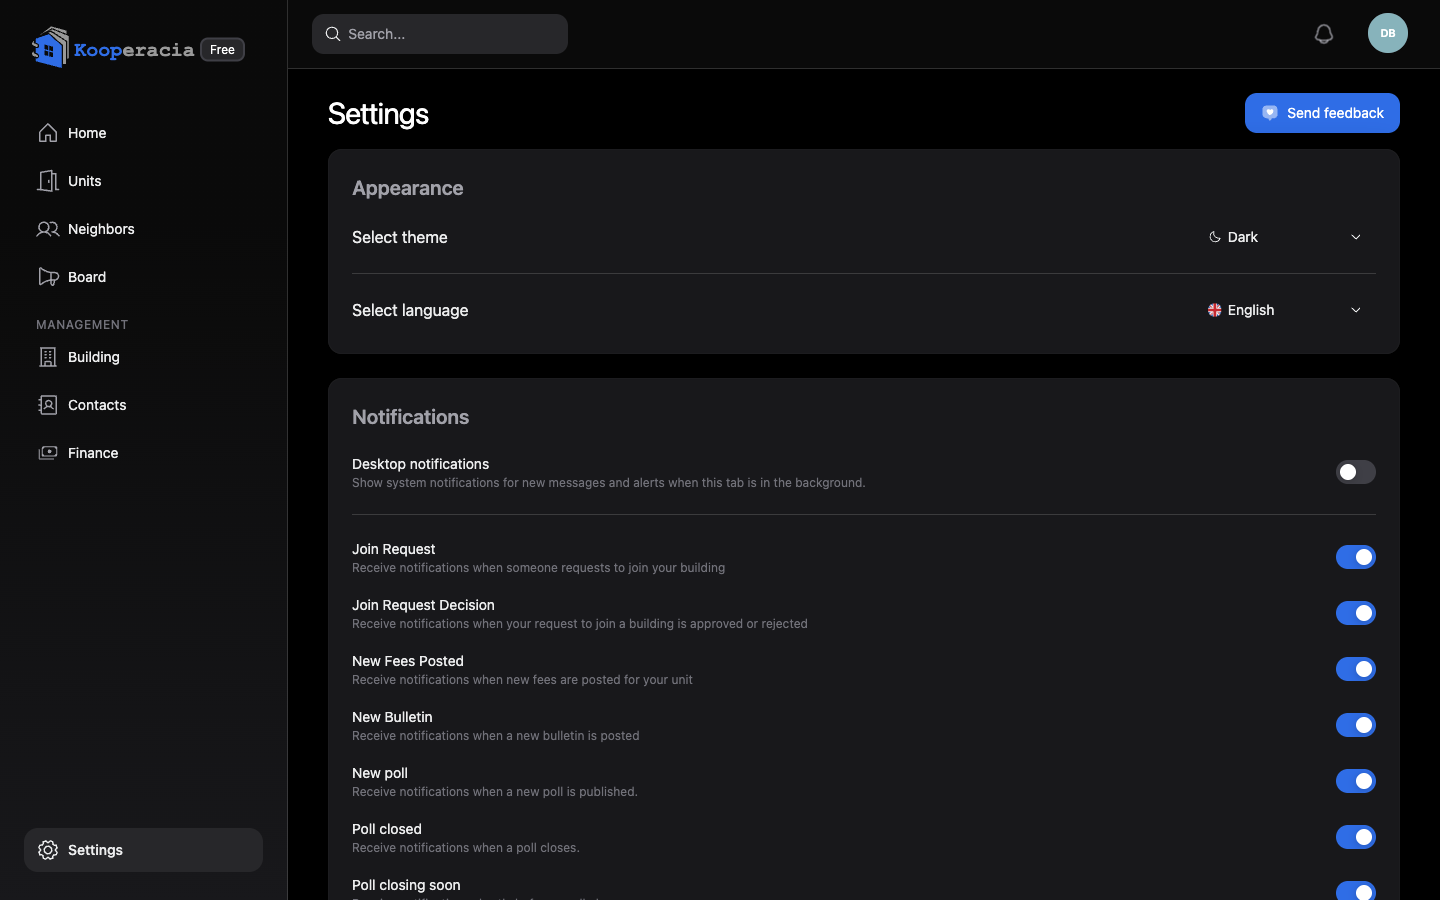 The Settings page with the theme and language options.
Notifications
Choose which notifications you receive and how (in-app, email, push, and desktop pop-ups). Each type has its own toggle. See Notifications & Reminders for the full list.
Send feedback
Use Send feedback to report a problem or suggest an idea. You can get a notification or email when your feedback is received and when the team replies.
Subscription & plan
Open Subscription from the sidebar (or Building -> Plan) to manage the building's plan:
- See your current plan and the available plans.
- Choose, manage or cancel a plan, or schedule a downgrade for the end of the period (upgrades activate after payment).
- Review payments and billing reminders.
Plans range from Free through Pro to Max. They all include the same core features - units, finances, communication, reports and the House Register - and differ mainly by the number of units they allow, the storage quota, and priority support on the top plan. Shared files from bulletins and documents count toward that storage.
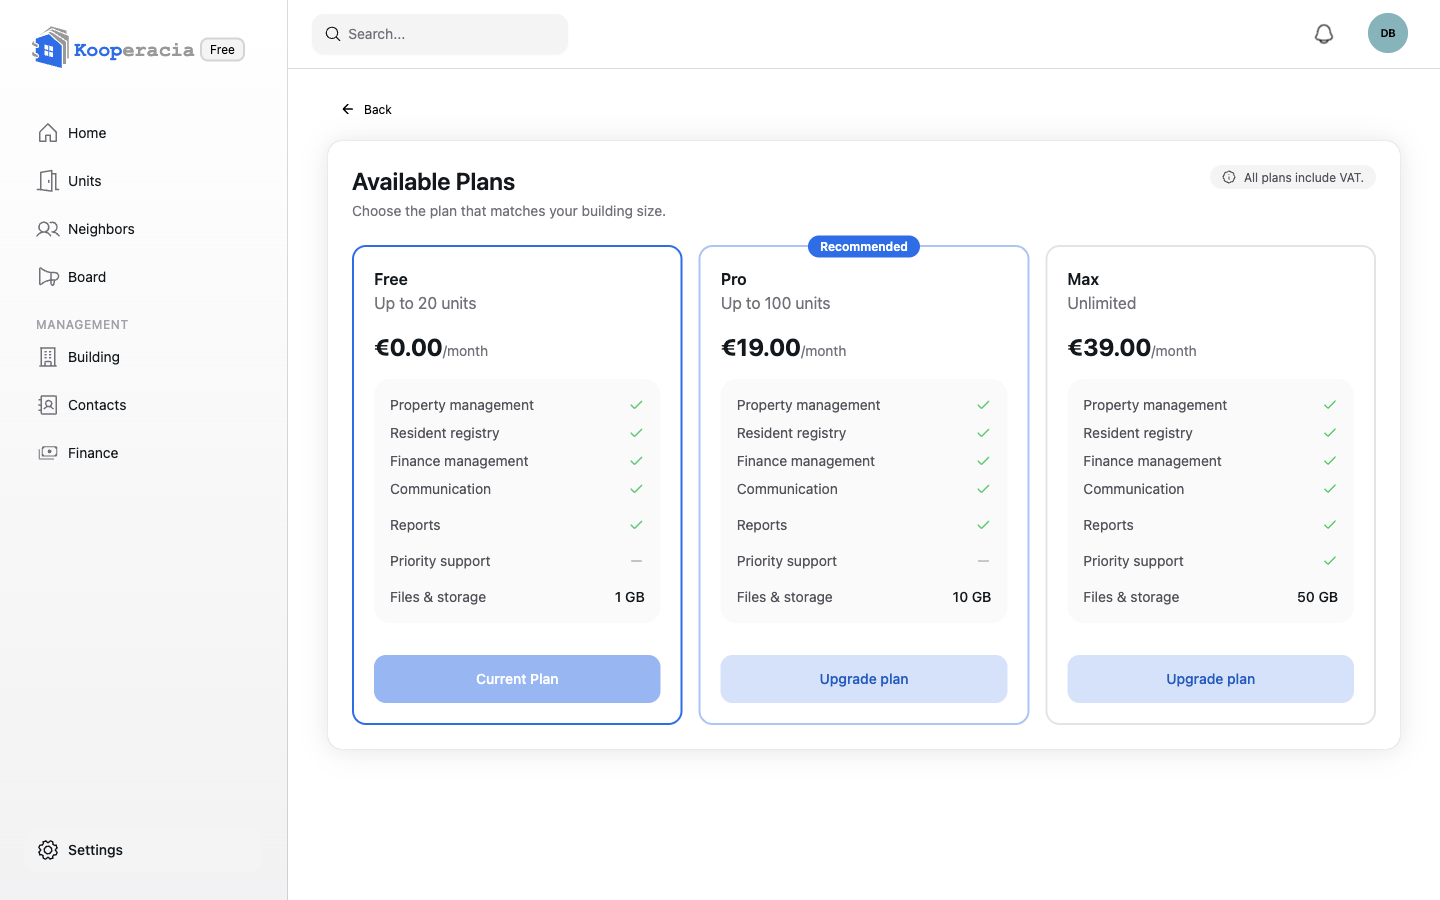
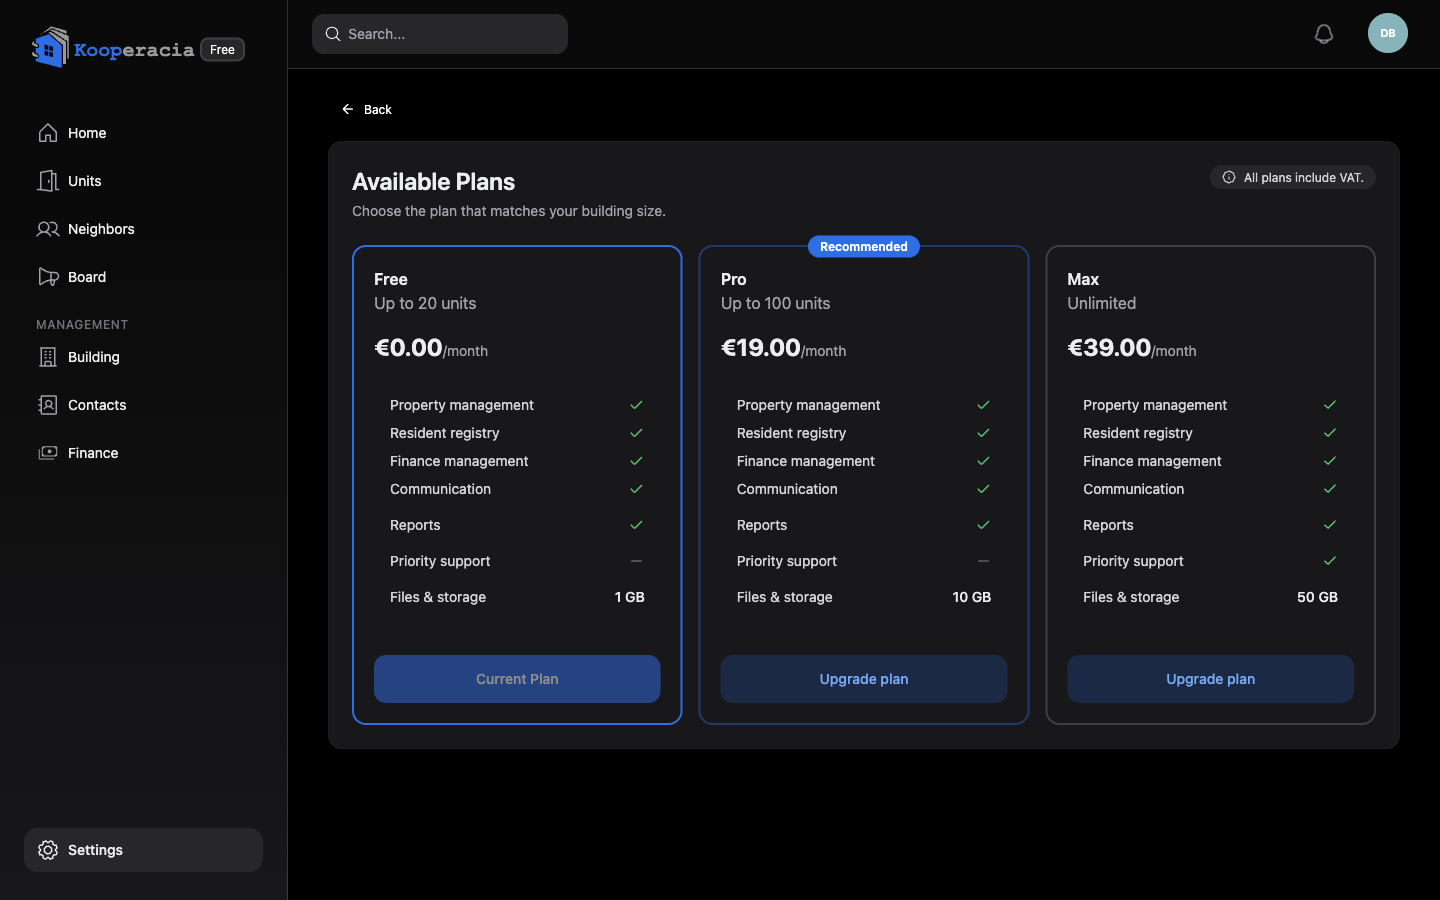 The Subscription screen with the current plan and available plans.
Where to find users and payments
These are under Building Management, not Settings:
- Users & roles, and the join link -> Building -> Users
- Online payment providers -> Building -> Accounts
Next steps
- Manage your personal profile in Your Account & Profile.
- Fine-tune what reaches you in Notifications & Reminders.
Your Account & Profile
Your Account & Profile
Your account is personal and stays with you across every building you belong to. This is separate from the building's Settings - it's about you.
Your profile
Open Manage your account to keep your details current:
- Name
- Phone
- Date of birth
- Gender
- Profile photo
- Language
Your email is your sign-in identity and is shown here too. Keeping your details up to date helps managers reach you and keeps the building's records accurate.
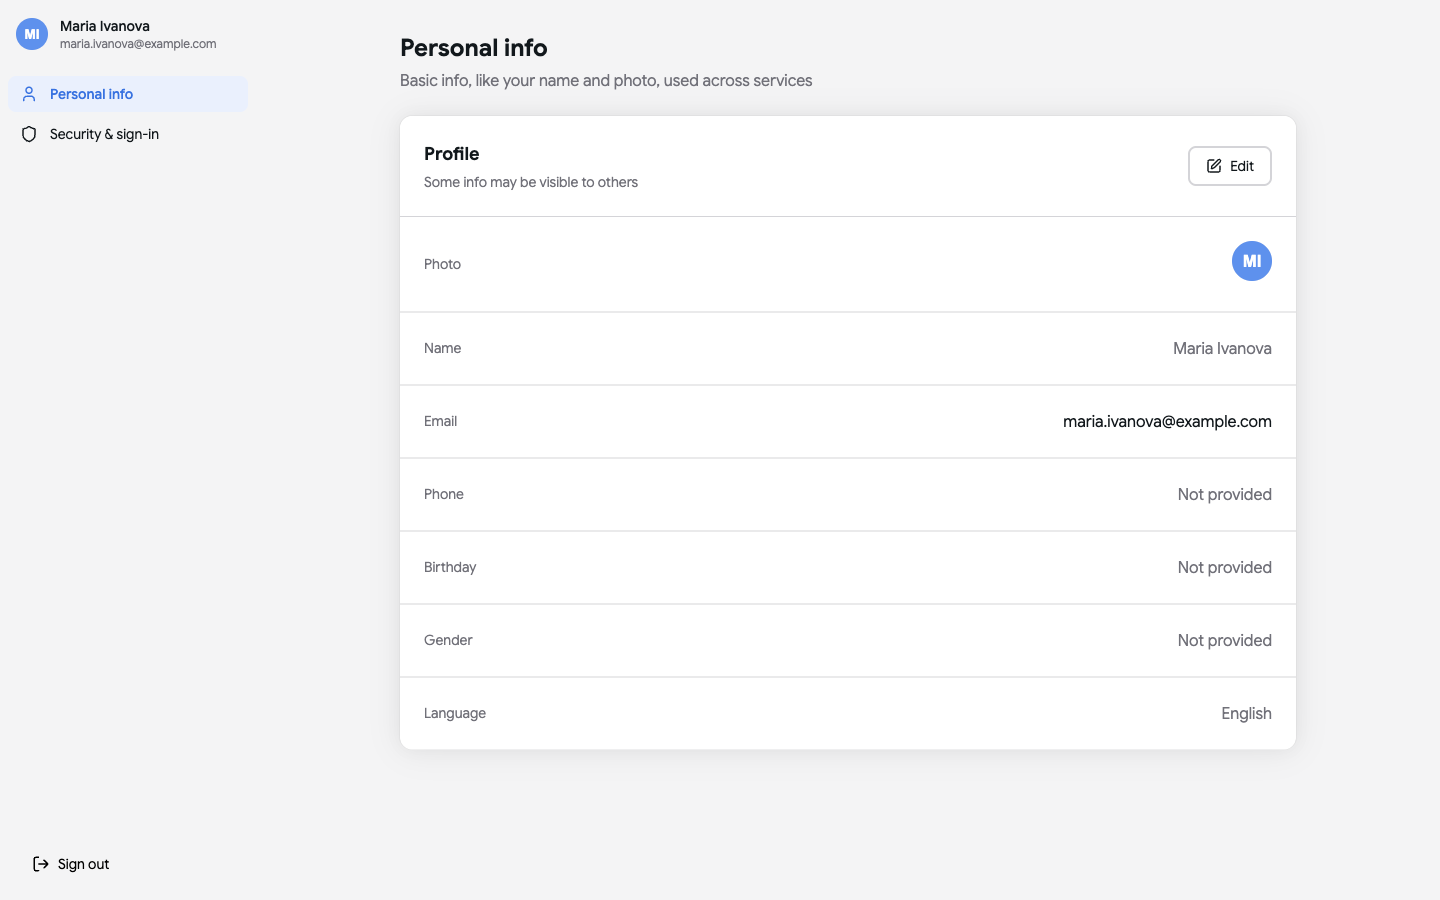
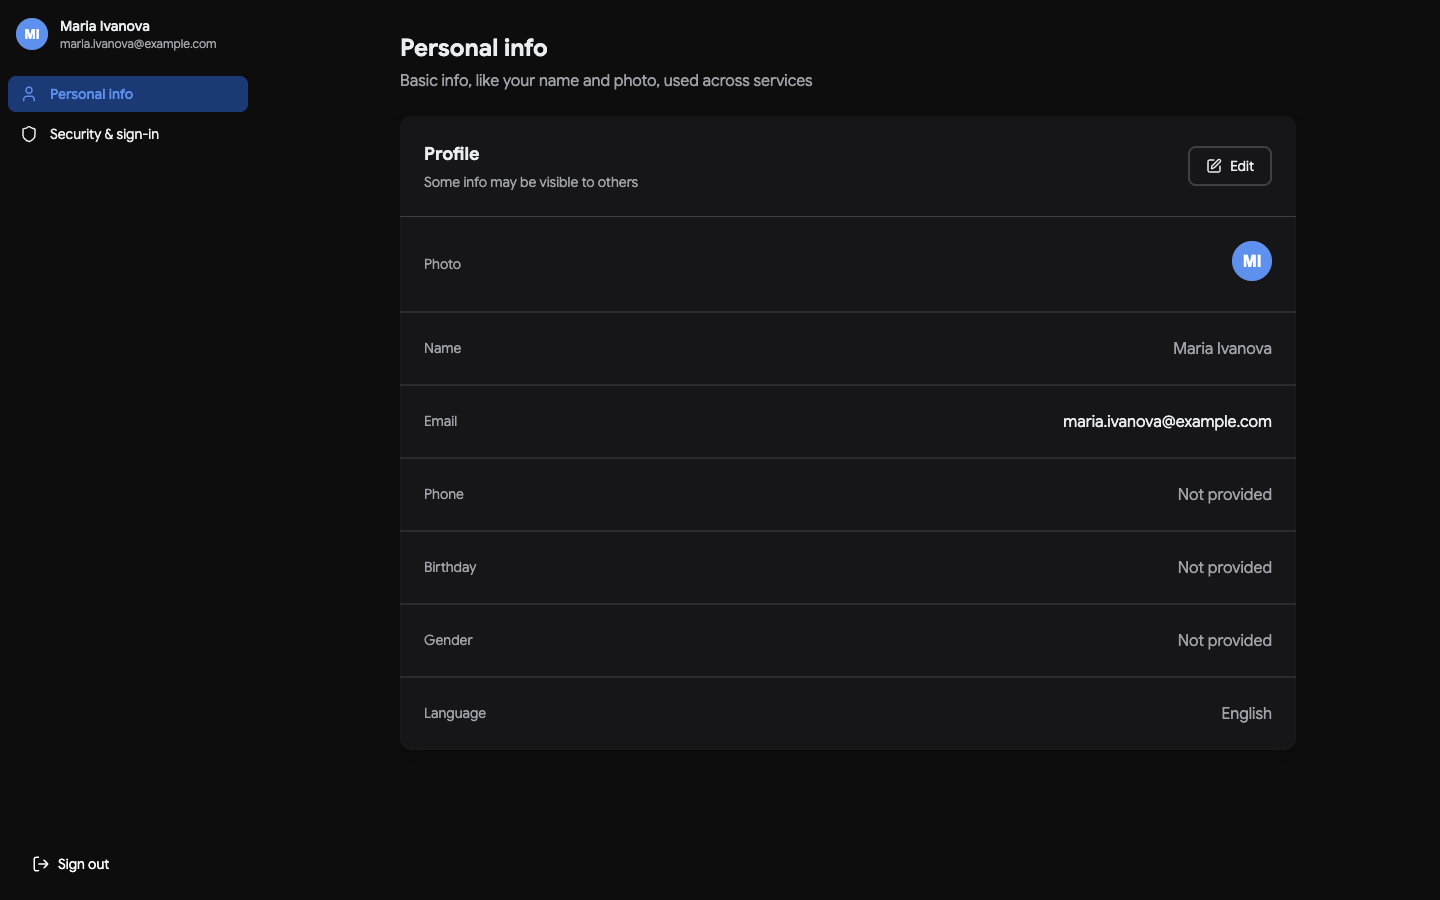 The personal profile screen with name, display name and contact fields.
Security & sign-in
From Manage your account → Security & sign-in you control how you get into your account and keep it safe:
- Connected accounts - sign in with an email one-time code, Google or Apple. Connect or disconnect each method.
- Sign-in & recovery - change your email address, set a password, and turn on 2-Step Verification for an extra layer of security.
- Active sessions - see every device currently signed in, and sign out other devices if something looks unfamiliar.
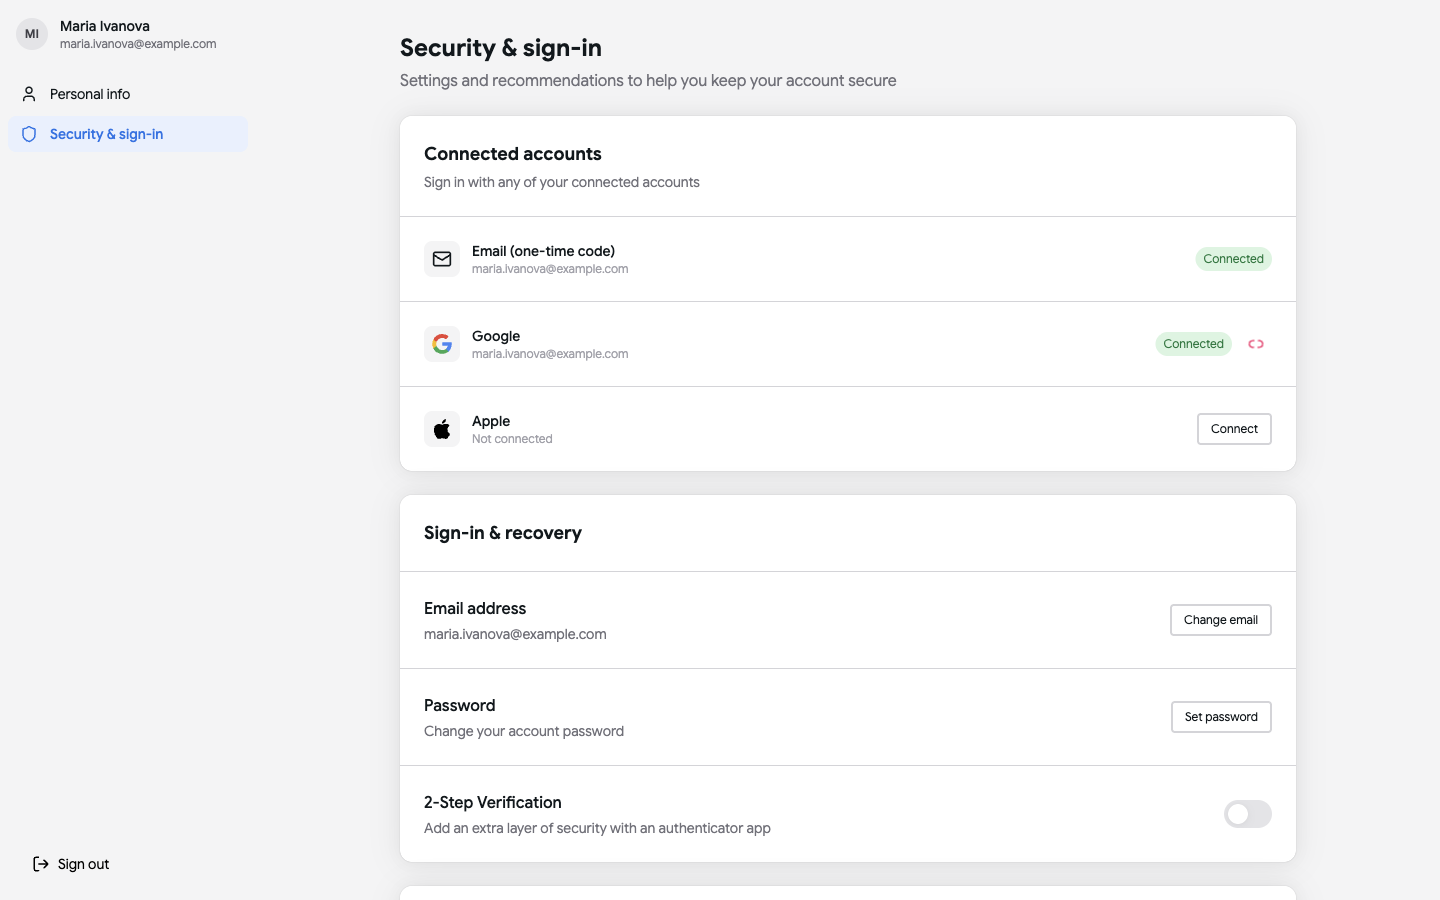
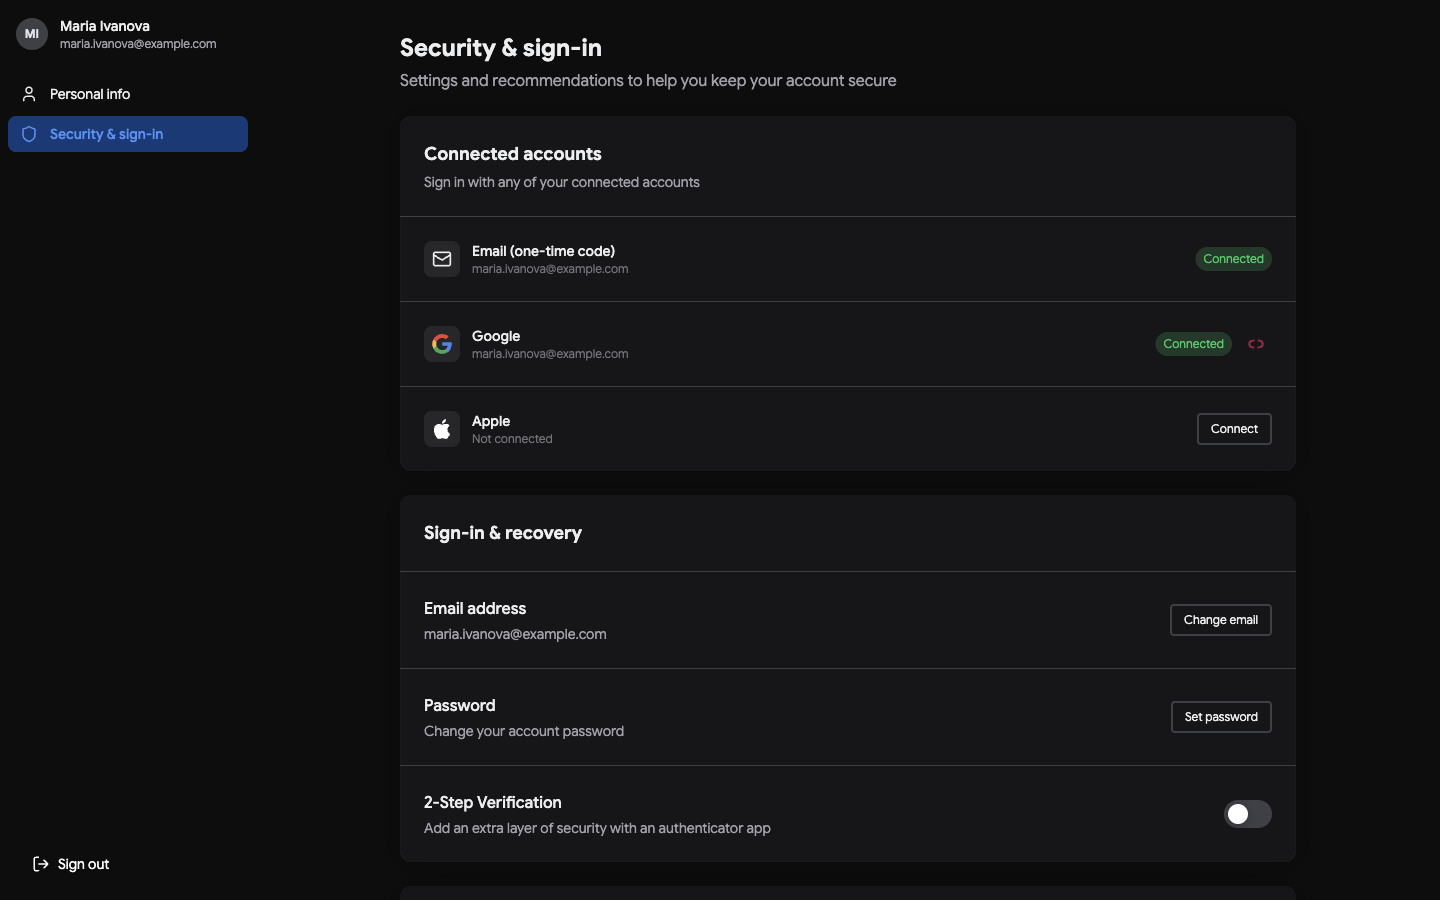 Connected accounts and the sign-in & recovery options.
Switching buildings
If you belong to more than one building - say you own a flat in one block and manage another - you can switch between buildings from your account. Each building keeps its own units, finances and members; switching simply changes which one you're looking at.
Language & appearance
Theme and language live in Settings and follow you wherever you sign in.
Signing out
Use Log out when you're done, especially on a shared computer. You can sign back in any time with your email code, Google or Apple.
Next steps
- Adjust app-wide options in Settings & Subscription.
- New here? Start with Getting Started.